Home
» How To
»
How to Season Gas Grill Grates Without Damaging the Finish
How to Season Gas Grill Grates Without Damaging the Finish
Food sticking to the grate, small orange rust spots, or a patchy, dry-looking cooking surface can make a gas grill feel harder to use than it should. The tempting fix is to brush oil onto every grate and fire up the burners, but that is not always the right move. Some gas-grill grates should be seasoned, while others are designed to be used without a baked-on seasoning layer.
The safest approach is to identify the grate material first, do the simplest maintenance that matches that material, and only perform a full seasoning cycle when the grill manufacturer recommends it. That matters especially with porcelain-enameled cast iron: Weber says its porcelain-enameled cast-iron grates do not need seasoning, and Char-Broil gives the same guidance for the porcelain-enamel grates on its Cruise gas grill. Raw or uncoated cast iron is different and usually benefits from an oil-based protective layer.
First, Decide Whether Your Gas Grill Grates Need Seasoning
Grate material
Should you season it?
Best first move
Raw or uncoated cast iron
Usually yes, especially when new, restored, or showing light rust.
Clean, dry completely, apply a very thin coat of suitable oil, then heat according to the grill manual.
Porcelain-enameled cast iron
Often no. Many manufacturers treat the enamel itself as the protective cooking surface.
Preheat and brush clean using the method specified for the model. Do not assume bare-cast-iron seasoning instructions apply.
Stainless steel
Manufacturer-dependent. Some brands recommend seasoning; others focus on preheating, brushing, and oiling the food.
Check the owner’s manual before building a baked-on oil layer.
For example, Weber’s cast-iron grate care guidance says its porcelain-enameled cast iron does not need seasoning. Its current stainless-steel grate care instructions call for preheating and brushing rather than a seasoning cycle. Napoleon, by contrast, publishes a seasoning procedure for both stainless steel and cast iron. The practical lesson is simple: grate material and brand instructions matter more than a one-size-fits-all rule.
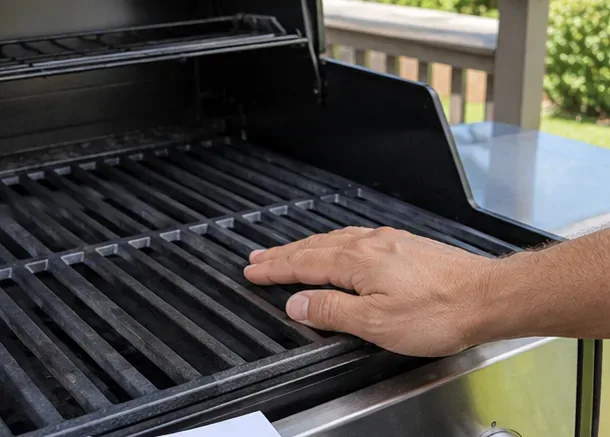
Start by identifying the grate material and checking the grill manual. Raw cast iron, porcelain-enameled cast iron, and stainless steel may require different care.
How to Season Gas Grill Grates When the Manufacturer Recommends It
Step 1: Confirm that you are working with seasonable grates
Look in the owner’s manual, replacement-parts listing, or manufacturer support page for the exact grate material. If the documentation says “porcelain-enameled cast iron,” do not strip or abrade the coating in an attempt to expose bare iron. On many grills, the enamel is the protective finish and does not need a separate seasoning layer.
If you have raw or uncoated cast iron, seasoning creates a thin bonded layer of heated oil that helps protect the iron from moisture and can improve release. Lodge describes the underlying process as polymerization: oil changes under heat into a hardened layer bonded to the iron. See Lodge’s explanation of cast-iron seasoning for the material science behind the process.
Step 2: Remove loose residue before doing anything more aggressive
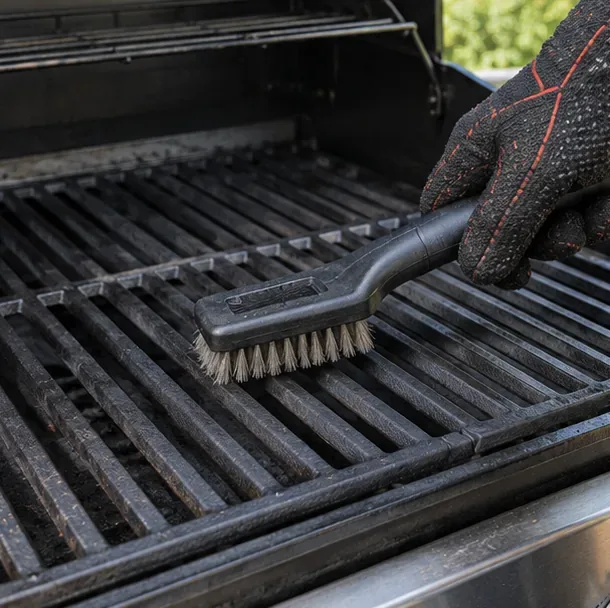
If the problem is simply old food residue, start with brushing rather than a full reset. Follow the brush type and temperature guidance for your grill. A suitable grill brush or scraper can remove carbonized food without unnecessarily stripping a sound seasoning layer.
If you are dealing with porcelain enamel, this may be the only maintenance you need. Weber recommends preheating its porcelain-enameled grates and brushing them clean; seasoning is not required for those grates.
Brush away loose cooking residue before deciding that the grates need a full seasoning cycle. Use the brush type recommended for your grill.
Step 3: Wash raw cast iron only when the procedure calls for it
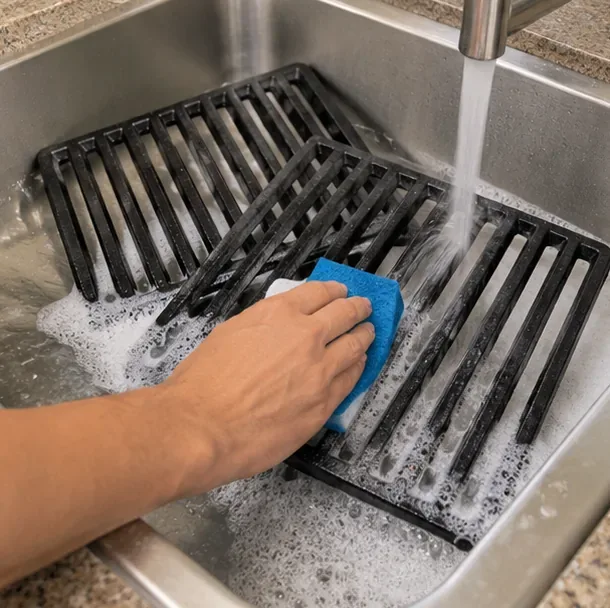
For a new raw cast-iron grate, a restored grate, or a grate that needs a complete re-seasoning, the manufacturer may instruct you to wash it with warm water and mild dish soap before seasoning. Napoleon’s first-use guidance, for example, begins with warm soapy water and complete drying.
This is not a reason to soak cast iron. Keep the wash brief, rinse away soap, and move directly to drying. Moisture left on bare iron can quickly create surface rust.
When the manufacturer calls for a first-use or restoration wash, clean the raw cast-iron grates briefly and avoid leaving them to soak.
Step 4: Dry the grates completely
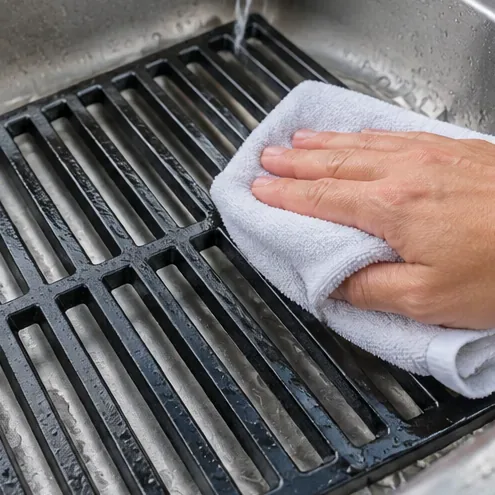
Drying is not a cosmetic step. Seasoning works best on a clean, dry surface, and water trapped in corners or on the underside can encourage rust. Wipe the grates thoroughly with a clean lint-free towel. If your grill manual permits it, brief gentle heat can help remove residual moisture before oiling.
Do not handle hot metal without suitable heat protection. If you removed the grates for washing, make sure they are cool enough to handle safely before wiping them and reinstalling them.
Dry every bar, corner, and underside surface thoroughly. Bare cast iron should not be left wet or allowed to air-dry for a long period.
Step 5: Choose an oil your grill manufacturer accepts
Use a plain cooking oil or shortening that the manufacturer lists as suitable for seasoning. Napoleon names options such as vegetable shortening and other high-temperature oils in its support guidance. Avoid salted fats such as butter or margarine for this job.
You do not need a deep pool of oil. The goal is a thin film that can bond to the metal. Heavy oil tends to leave gummy or uneven patches instead of a hard, even finish.
Choose a seasoning oil that your grill manufacturer permits. A small amount is enough because the coating should be extremely thin.
Step 6: Apply a very thin, even coat
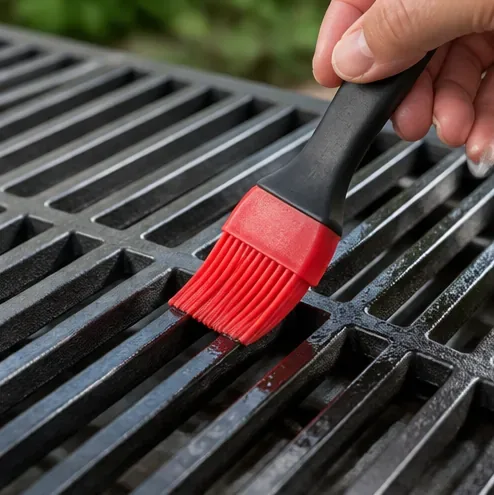
Coat the entire grate surface, including the sides, corners, and underside if the manufacturer’s procedure calls for full coverage. A silicone basting brush or lint-free cloth can spread the oil without leaving a thick layer behind.
After spreading it, the grate should look lightly coated rather than wet. If oil is pooling between bars or dripping from the underside, you have applied too much. Wipe away the excess before heating.
Spread the oil into a thin, even film. Excess oil can produce sticky patches, so wipe away visible pools or drips before heating.
Step 7: Heat the oiled grates using the grill’s own instructions
Reinstall the grates, open the lid for ignition, light the gas grill using its normal safe start procedure, and then set the burners and lid position exactly as the manufacturer specifies for seasoning. Do not invent a universal temperature or time.
Published procedures differ. Napoleon’s grill support guidance gives one example: after preheating, it directs users seasoning cast-iron cooking grids to use medium heat with the lid closed for about 30 minutes, then turn the burners off and shut off the gas at the source. Napoleon’s longer seasoning guide also describes a 350–400°F range for 30–60 minutes. Those values are useful examples, not universal settings for every grill.
When the specified heating period is complete, turn off the burners and gas supply as directed and let the grates cool naturally. Do not spray hot cast iron with water to cool it quickly.
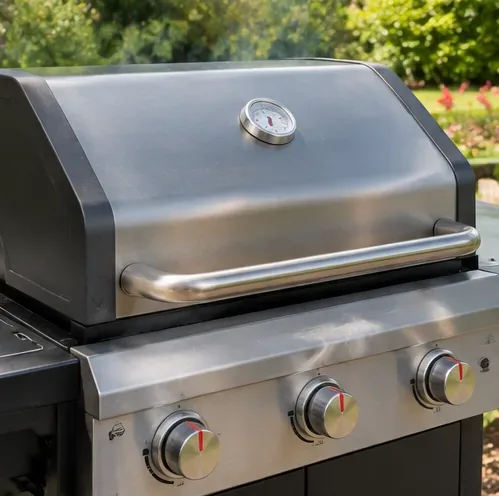
Heat the oiled grates with the lid and burner settings specified by your grill manufacturer, then shut the grill down and let the grates cool naturally.
Step 8: Check the result before cooking a full meal
A properly seasoned raw cast-iron grate should look evenly darkened and feel dry or satin-like rather than sticky. There should be no obvious wet oil, gummy beads, loose rust, or flaking material. The exact color can vary, so judge the finish by even coverage and condition rather than expecting a perfect glossy black surface after one cycle.
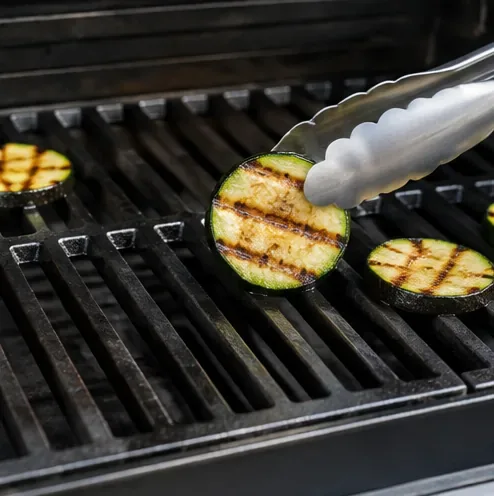
For a practical check, cook a small item that normally releases cleanly when the grate is properly preheated and lightly oiled, such as a slice of zucchini. Good release is encouraging, but it is not a laboratory test; sticking can also come from putting food down too early, moving it before it sears, or failing to oil the food when the recipe calls for it.
After seasoning, check for an even dry finish and normal food release. A small test item can help confirm that the grate is ready for regular cooking.
What If Your Grates Are Porcelain-Enameled Cast Iron?
Do not treat “cast iron” in the product name as proof that seasoning is required. Porcelain-enameled cast iron is cast iron covered with a glass-like protective enamel. Weber says this finish eliminates the need to season its newer cast-iron grates, and Char-Broil states that the porcelain-enamel finish on its Cruise cast-iron grates protects them from rust without seasoning. See the Char-Broil Cruise gas grill FAQ for that model-specific example.
For these grates, the better response to sticking or residue is usually proper preheating, cleaning, and cooking technique. Avoid aggressive rust removal or repeated high-heat seasoning cycles unless the manufacturer explicitly tells you to use them, because damaged enamel cannot be restored by adding oil.
What About Stainless-Steel Gas Grill Grates?
Stainless steel is less dependent on an oil seasoning layer for corrosion protection. Care advice also varies by brand. Weber’s current stainless-steel replacement-grate instructions emphasize preheating on high and brushing the grates, while Napoleon recommends seasoning its stainless-steel grids as part of maintenance.
If your manual does not call for seasoning stainless steel, do not assume that a cast-iron process is necessary. Clean the grates as directed, preheat properly, and oil the food when appropriate. Some discoloration from heat and cooking is normal and does not mean the stainless steel needs to be stripped back to a bright factory finish.
If the Grates Are Rusty, Sticky, or Patchy
Light surface rust on raw cast iron
Remove loose rust using the method approved for the grate, clean away the residue, dry thoroughly, and re-season. Napoleon’s maintenance guidance specifically includes removing surface corrosion before applying a fresh thin oil layer.
Sticky seasoning
A sticky feel usually points to too much oil or oil that did not fully set. Wipe away any removable excess and repeat the manufacturer’s heating procedure with a much thinner coat. More oil is not better.
Flaking coating
First determine whether the flakes are old carbonized residue, seasoning, or damaged porcelain enamel. If the grate is enamel-coated and the enamel itself is chipped or failing, seasoning cannot recreate the factory coating. Check the warranty or replacement guidance for the model.
Mistakes That Make Seasoning Less Effective
Seasoning before identifying the grate material. This is the biggest avoidable mistake because porcelain-enamel grates may not need seasoning at all.
Leaving water on raw cast iron. Dry the grate immediately after washing.
Applying a thick coat of oil. Thin layers bond more evenly; heavy layers can become sticky.
Using butter or another salted fat. Use an oil or shortening specifically accepted by the manufacturer.
Assuming every grill uses the same temperature and time. Manufacturer instructions vary substantially.
Cooling hot cast iron with water. Let the grate cool naturally after the seasoning cycle.
Trying to “season over” damaged porcelain enamel. Oil cannot replace a chipped factory coating.
How to Tell Whether You Are Done
For raw cast iron, the seasoning job is complete when the grate is dry, evenly coated, free of active orange rust, and not tacky. After the next proper preheat, food should release normally for the recipe and cooking technique you are using. If the grate immediately develops new rust, feels gummy, or flakes heavily, clean the affected area and repeat the process with a thinner oil layer.
For porcelain-enameled cast iron or stainless steel that does not require seasoning, success looks different: the grate is clean, structurally sound, and ready to cook after the maintenance routine recommended for that grill. In other words, the best “seasoning” result is not always a darker grate—it is following the care method the grate was actually designed to use.
Quick Beginner Checklist
Identify raw cast iron, porcelain-enameled cast iron, or stainless steel.
Read the exact grill manual before applying oil or abrasive tools.
For porcelain enamel, do not season unless the manufacturer says to.
For raw cast iron, remove residue and rust before seasoning.
Dry washed grates completely.
Use only a thin film of an approved oil.
Follow the grill maker’s burner setting, lid position, temperature, and time.
Shut down the grill safely and let the grates cool naturally.
Check for an even, dry finish with no sticky oil or active rust.