Home
» How To
»
How to Remove Nail Glue from Clothes Without Making the Stain Worse
How to Remove Nail Glue from Clothes Without Making the Stain Worse
Nail glue on clothing is usually treatable, but the safest method depends on two things: what the adhesive is made of and what the garment is made of. Many press-on nail glues are cyanoacrylate adhesives. For example, KISS currently lists ethyl cyanoacrylate in its PowerFlex nail glue ingredients, so advice for cyanoacrylate “super glue” is relevant to many nail-glue stains. Formulas still vary, so the first useful action is to check the glue package rather than assume every nail adhesive behaves the same way. See the manufacturer’s current ingredient information on the KISS PowerFlex nail glue page.
The key distinction is between a fresh spill that may still be reacting and a fully dried spot that can be treated as a stain. Once the glue is dry, the practical sequence is: identify the fabric, scrape off what you can, test any solvent in a hidden area, loosen the remaining adhesive, pretreat with detergent, wash according to the care label, and air-dry for inspection. That sequence is consistent with guidance from adhesive manufacturers and textile-care authorities, but not every garment can tolerate acetone.
Before You Start: Know What Is Verified and What Depends on the Fabric
Verified: Cyanoacrylate is a fast-bonding adhesive family, and many nail glues use it. Adhesive-maker Loctite recommends allowing super-glue stains on fabric to dry before scraping, then using water and, when appropriate, acetone for residue. Its fabric-specific guidance also warns that acetone is not suitable for every textile. Review Loctite’s fabric glue-removal guidance before treating a valuable item.
Depends on the garment: Acetone can be useful on many fabrics, but it can damage dyes, finishes, and certain fibers. University of Georgia textile-care guidance states that acetone destroys acetate and dissolves triacetate. It also recommends checking colorfastness before using stain-removal chemicals. If the fiber content is acetate or triacetate, skip acetone and take the garment to a professional cleaner. See the university’s fiber-care reference and stain-removal product guidance.
Unknown until you test: A label may tell you the fiber content and normal wash method, but it cannot predict how a particular dye, print, coating, stretch finish, or decorative trim will react to solvent. The useful action is simple: test any acetone-based treatment on an inside seam or other hidden spot first.
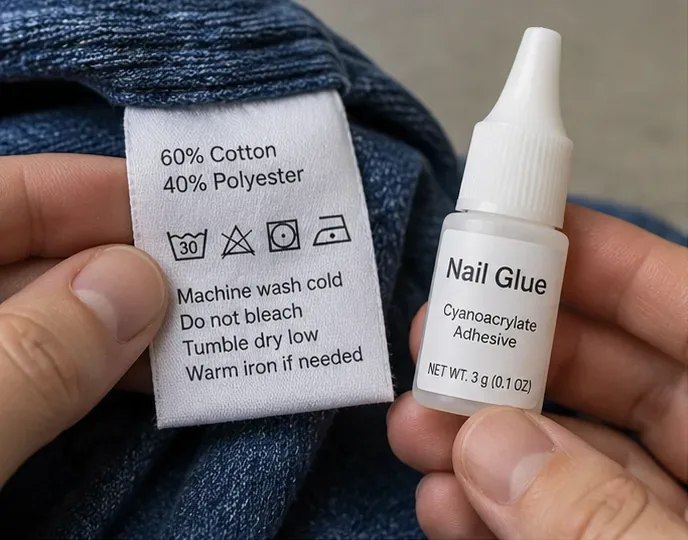
Start by checking both the garment care label and the nail-glue ingredients. Fiber content determines whether solvent treatment is a reasonable option.
A Safety Note About Fresh Nail Glue on Cotton or Wool
One common misunderstanding is that the fastest response to any glue spill is to grab a cotton pad and rub. That is not a safe rule for liquid cyanoacrylate. Poison Control notes that cyanoacrylate can react with cotton or wool and release enough heat to cause burns. If the glue is still wet, do not press a cotton ball, cotton swab, or wool cloth into it. If the spill is hot, smoking, painful, or bonded to skin, stop stain treatment and follow the adhesive label’s first-aid directions instead. Do not force bonded skin apart. Poison Control has additional cyanoacrylate safety information in its cyanoacrylate exposure guidance.
For an ordinary dried spot on a garment that is no longer reacting, proceed with the steps below.
How to Remove Nail Glue from Clothes Step by Step
1. Let the Glue Dry Completely Before Scraping
If the stain is already cool and the glue is not on skin, avoid smearing the adhesive farther into the weave. Loctite’s fabric instructions recommend waiting until cyanoacrylate glue is fully dry before trying to remove it. That makes the adhesive more likely to lift as a brittle layer instead of spreading as a sticky liquid.
Action: Leave the garment flat until the spot is hard to the touch. Do not use a hair dryer or clothes dryer to speed this up; you want the stain fully set without adding unnecessary heat to the garment.
Once the glue is fully dry, use a dull edge such as a spoon to lift brittle residue without cutting the fabric.
2. Scrape Off Only What Comes Away Easily
Use the edge of a spoon, a dull table knife, or a plastic card to lift dried glue from the surface. Work from the outside of the spot toward the center so you do not spread fragments over a larger area. Do not dig aggressively into the yarns; pulling hard can roughen denim, snag knits, or distort delicate weaves.
Action: Stop scraping when the remaining glue is level with or embedded in the fabric. The next steps are for residue that cannot be lifted mechanically.
3. Check the Care Label and Spot-Test Acetone
Care labels deserve more weight than internet stain hacks. The Federal Trade Commission’s Care Labeling Rule requires manufacturers and importers to provide care instructions backed by a reasonable basis. That does not mean the label covers every possible stain remover, but it does tell you which routine cleaning methods the garment is designed to tolerate. The FTC explains those requirements in its Care Labeling Rule guidance.
Acetone is effective at softening many cyanoacrylate residues, but it is not universally safe. If the garment contains acetate or triacetate, or if it is labeled for professional cleaning only, skip the home solvent step. For other washable fabrics, test a tiny amount on an inconspicuous seam. Wait for the area to dry, then check for color loss, surface change, stiffness, or a ring.
Action: If the test changes the fabric at all, rinse the test area according to the care label and switch to professional cleaning rather than treating the visible stain.
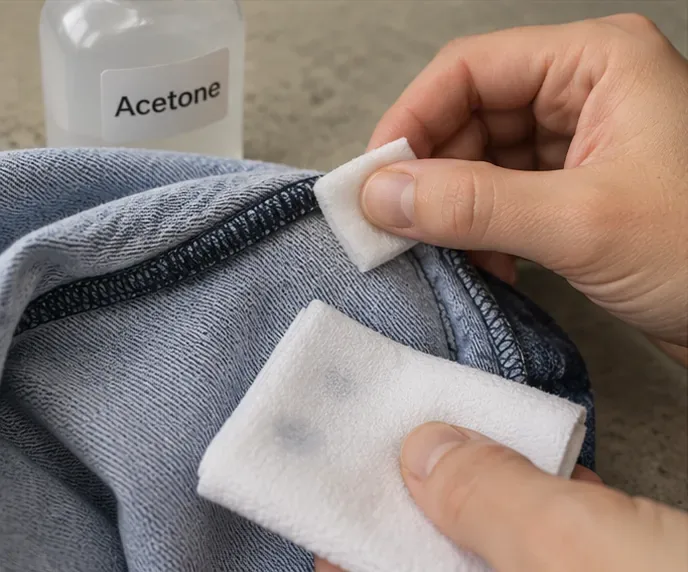
Pretest acetone on an inside seam and let it dry before treating the visible stain. Stop if the color or texture changes.
4. If the Test Passes, Use a Small Amount of Acetone on the Dried Residue
Place a clean, absorbent white towel under the stained area. Apply a small amount of pure acetone or an acetone-based remover to the dried glue, keeping the treatment localized. Loctite recommends working carefully and using only enough solvent to soften the adhesive. University of Georgia guidance also notes that some nail polish removers contain additional ingredients that can complicate stain removal, so pure acetone gives you a more predictable solvent than an oily or heavily fragranced remover.
Acetone is highly flammable. NIOSH classifies it as a Class IB flammable liquid and lists eye, skin, and respiratory irritation among potential exposure effects. Work with ventilation, keep the solvent away from flames, sparks, cigarettes, heaters, and other ignition sources, and close the container when you are finished. See the NIOSH Pocket Guide entry for acetone.
Action: Apply a few drops, pause to let the residue soften, and avoid soaking a large area of the garment.
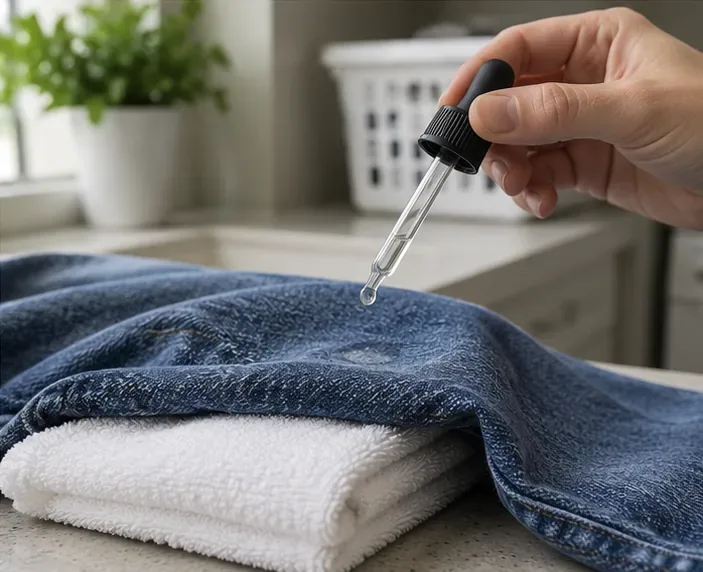
Use only a small, controlled amount of acetone on a garment that passed the hidden-area test, with an absorbent towel underneath.
5. Blot Away Softened Adhesive Instead of Rubbing Hard
As the residue softens, blot and lift it with a clean white cloth. Move to a fresh section of the cloth as glue transfers. The goal is to carry softened adhesive away from the fibers, not grind it deeper into the weave.
If the spot stays hard after one careful application, repeat the small-dose treatment rather than flooding the fabric. For thick deposits, several short cycles of soften-and-blot are usually gentler than one long soak.
Action: Continue only while you can see residue transferring. Stop if the dye begins to bleed or the fabric texture changes.
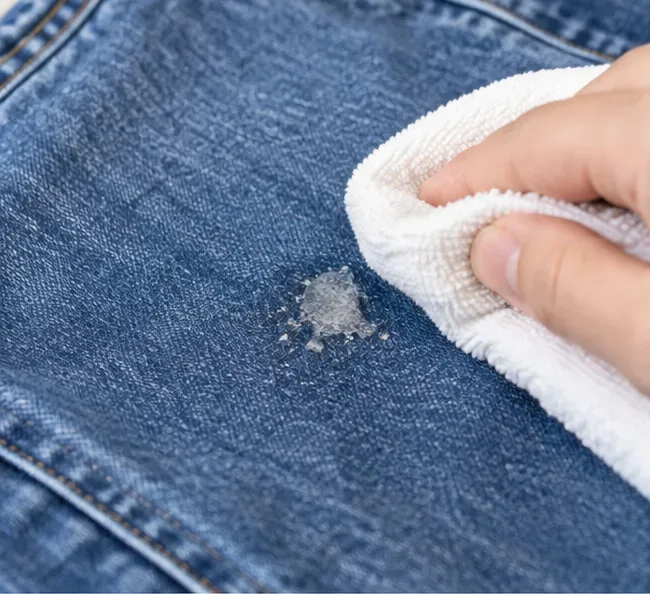
Blot softened residue with a clean cloth and rotate to a fresh area as the adhesive transfers.
6. Work Laundry Detergent Into the Remaining Mark
After the adhesive itself is mostly gone, a faint ring or stiffness may remain. Loctite’s fabric guidance recommends working laundry detergent into the treated area before laundering. Use the detergent you normally use for that garment and follow its label directions.
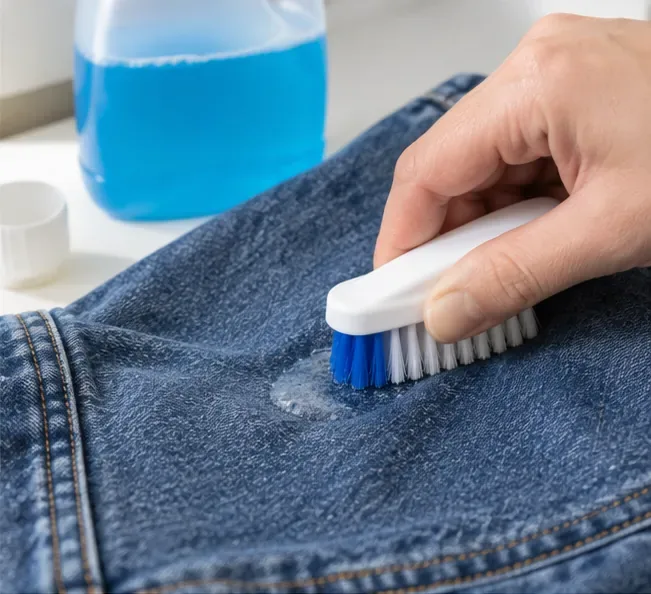
A soft brush can help on sturdy woven fabric such as denim, but it is not appropriate for every textile. On knits, silk, loosely woven fabric, or garments with delicate finishes, use your fingers or a soft cloth instead of scrubbing.
Action: Gently work detergent through the treated area, then rinse or wash as directed by the garment’s care label.
After the adhesive has been lifted, gently work laundry detergent into the remaining mark. Use a brush only on fabric sturdy enough to tolerate it.
7. Wash According to the Care Label
Wash the garment using the temperature and cycle on its permanent care label. Do not assume hotter water is better. The stain-removal chemistry has already happened in the previous steps; washing is mainly for removing loosened residue, detergent, and solvent traces.
Action: Wash the item separately or with similar colors if you are concerned that the solvent treatment may have affected dye stability.
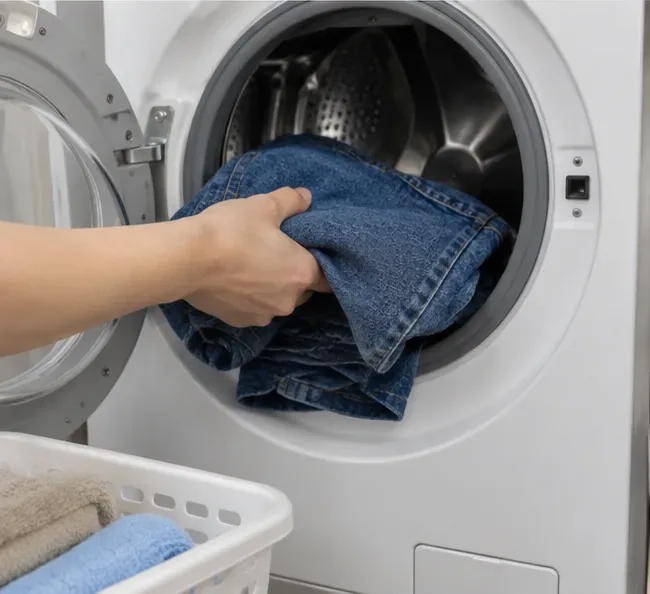
Wash the garment only after the glue residue has been lifted and the care label confirms that machine washing is appropriate.
8. Air-Dry and Inspect Before Using the Dryer
Do not send the garment straight from the washer into a hot dryer without checking it. Loctite specifically advises making sure the glue is fully removed before high-heat drying. Air-drying first gives you a chance to inspect the fabric in good light and repeat treatment if necessary.
Action: Let the garment dry naturally, then look and feel for a hard spot, glossy patch, stiffness, or remaining discoloration. If adhesive is still present, repeat the safe portion of the process instead of heat-setting the residue.
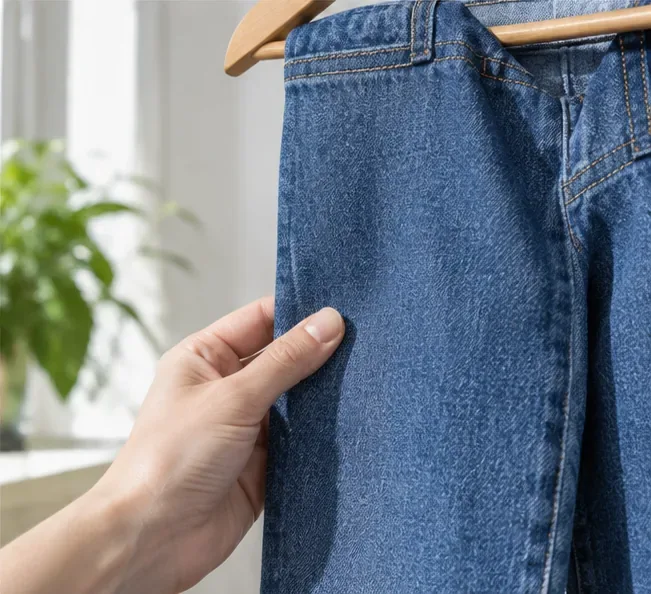
Air-dry first and inspect the treated area in good light. Use the dryer only after the glue is gone and the care label allows it.
What If You Cannot Use Acetone?
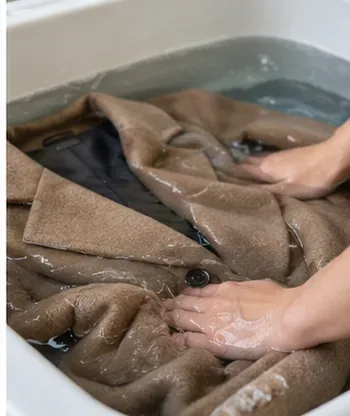
If the garment contains acetate or triacetate, the solvent test fails, or the item is especially valuable, skip acetone. Water-based loosening can still help some cyanoacrylate residue, although it may be slower. Loctite’s super-glue guidance for fabric includes soaking in soapy water as an option, and Poison Control notes that prolonged soaking in warm soapy water can help loosen nail glue in exposure situations. For clothing, follow the garment’s permitted water temperature and do not override a “dry clean only” instruction.
Action: For washable fabric, soak or rinse within the care-label limits, then gently flex and scrape away what loosens. If the glue remains hard and the garment cannot tolerate acetone, take it to a cleaner and tell them the stain is nail glue or cyanoacrylate if you know that from the package.
Common Misunderstandings That Can Make the Stain Worse
“Acetone is safe on all clothes.” False. It can destroy acetate and dissolve triacetate, and it may affect dyes or finishes on other textiles. Do this instead: check fiber content and spot-test first.
“Nail polish remover and pure acetone are interchangeable.” Not always. Some removers contain oils, fragrances, water, or other ingredients. Do this instead: if you decide to use acetone, choose a product whose ingredients you understand and use the smallest amount needed.
“The harder you scrub, the faster the glue comes out.” Not reliably. Aggressive rubbing can damage yarns while leaving embedded adhesive behind. Do this instead: scrape dried glue gently, soften residue, then blot and pretreat.
“A dryer will finish the job.” It may make later inspection and retreatment harder, and adhesive guidance recommends confirming removal before high heat. Do this instead: air-dry and inspect first.
Quick Decision Guide
Situation
Best next action
Fresh liquid glue on cotton or wool
Do not rub with cotton or wool. If there is heat, smoke, pain, or skin bonding, prioritize first aid and product safety instructions.
Dried glue on sturdy washable cotton or polyester
Scrape gently, spot-test acetone, then treat, blot, pretreat with detergent, wash, and air-dry.
Acetate or triacetate garment
Do not use acetone. Use only care-label-safe methods or professional cleaning.
Dry-clean-only, embellished, coated, vintage, or expensive garment
Stop after gentle surface removal and take it to a professional cleaner.
Fiber content or glue formula is unknown
Treat that uncertainty as a reason to test first or use a professional rather than escalating solvent strength.
When to Stop DIY Treatment
Home treatment is reasonable when the glue is dry, the garment is washable, the fiber content is known, and a hidden-area test shows no damage. Stop if color transfers to your cloth, the fabric becomes tacky or distorted, a coating lifts, the stain is on delicate trim, or you cannot identify the fiber. Those signs mean the risk of garment damage is now greater than the likely benefit of another solvent cycle.
The most important point is not that acetone is “the answer.” The reliable approach is to match the treatment to the adhesive and the textile. Identify the glue, respect the care label, test before using solvent, remove residue gradually, and avoid heat until you know the stain is gone.