How to Clean a PS5 Fan Without Taking It Apart: A Safe Beginner Guide

Learn how to clean PS5 vents safely without opening the console, using Sony-recommended low-power vacuuming, dry wiping, and proper airflow.
You wash your makeup brushes at night, set them on the counter, and discover the next morning that the dense face brushes are still damp. The problem is usually not that you cleaned them incorrectly. Thick bundles of bristles can hold a surprising amount of water, and moisture trapped near the metal ferrule has less exposed surface area from which to evaporate.
The fastest safe approach is simple: keep water out of the ferrule as much as possible, remove more water before air-drying, expose the bristles to moving room air, and give dense brushes enough time to dry completely. Avoid shortcuts that trade speed for damage, especially standing wet brushes handle-down in a cup or applying strong direct heat.
Brush drying time varies with bristle density, brush size, the amount of water left after rinsing, room humidity, and airflow. A fluffy powder brush generally holds more water than a small liner brush because it has far more fibers packed together. A humid bathroom also slows evaporation compared with a drier, better-ventilated room.
The underlying physics is straightforward. Water leaves the brush by evaporation. The U.S. Geological Survey notes that drier air makes evaporation easier and that increased air movement replaces moist air near a wet surface with drier air. That principle applies to wet brush bristles too: gentle room airflow can help them dry faster without the risks of concentrated heat. See the USGS explanation of humidity, air movement, and evaporation-related water loss.
Construction matters as well. The American Academy of Dermatology (AAD) recommends rinsing only the tips of makeup brushes rather than submerging the whole head, because repeated soaking can weaken the glue that connects the brush head to the handle. The AAD also recommends squeezing out excess moisture and drying brushes flat with the tips hanging over a counter edge. See the AAD makeup-brush cleaning guidance.
Start the drying process while you are still at the sink. Hold the brush so the bristles point downward or slightly downward, and rinse the bristle tips with lukewarm water. Try not to send water directly into the ferrule, which is the metal sleeve between the bristles and handle.
Continue rinsing until the water runs clear, then stop. Leaving a brush under running water longer than needed only gives the fibers more time to absorb and trap moisture. The AAD specifically advises against submerging the entire brush head because that can eventually loosen the adhesive inside.
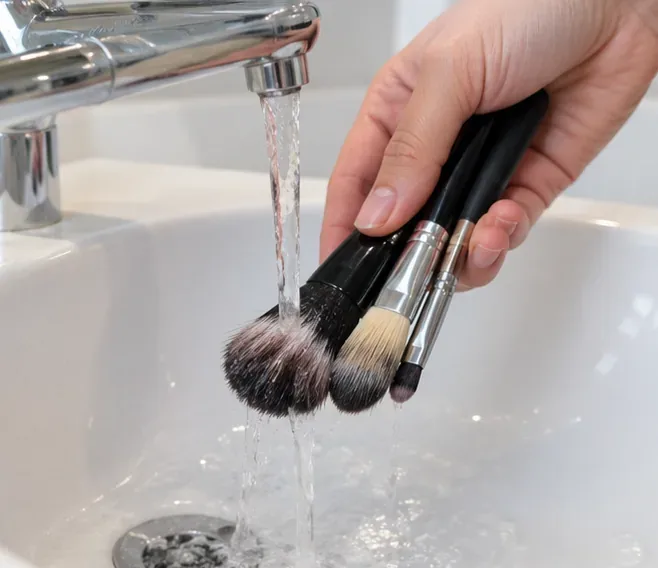
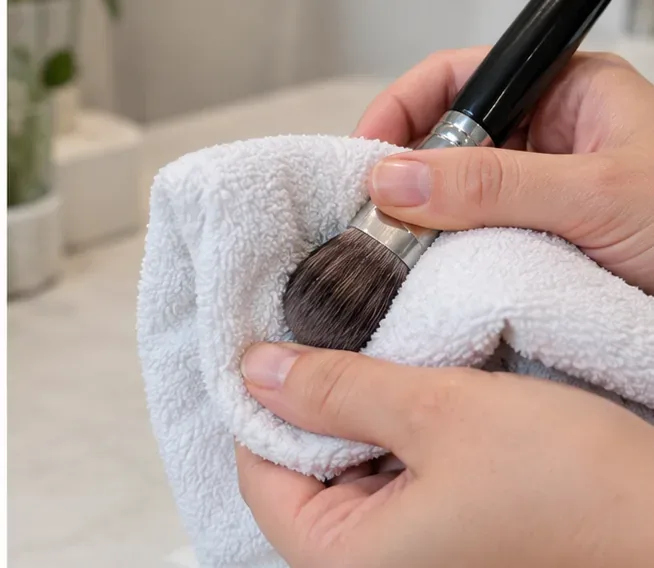
This is the easiest way to shorten drying time. After rinsing, hold the brush over the sink and gently squeeze the bristles from the ferrule area toward the tips. Do not twist, wring, or yank the fibers. Then press the bristles into a clean, dry towel or paper towel.
Move to a dry section of the towel and repeat until the brush is no longer dripping and the towel is picking up much less moisture. Real Techniques likewise instructs users to rinse thoroughly, squeeze out excess water, reshape, and lay brushes flat to dry. See the brand's official cleansing-palette care instructions.
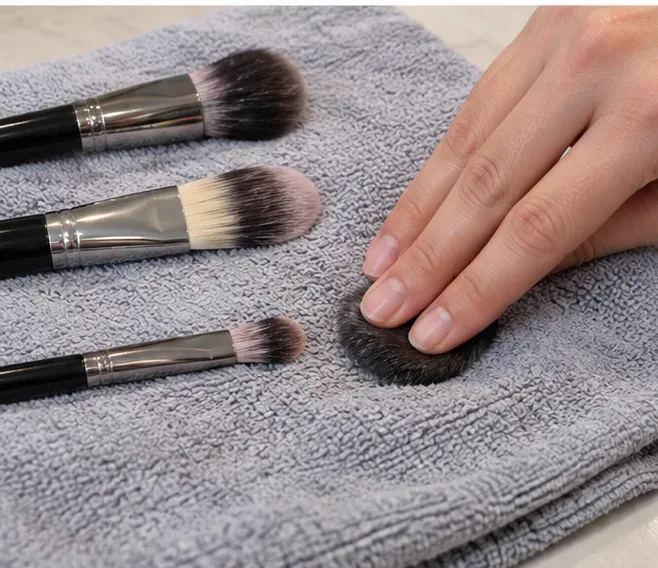
Once the brush is damp rather than wet, use your fingers to smooth the bristles back into their normal shape. Place the handle on a clean, dry towel with the bristle tips extending beyond the edge of a counter or table. That leaves more of the bristle bundle exposed to air instead of pressing one side against a wet towel.
Do not stand wet brushes upright with the handles down in a cup. The AAD warns that this orientation lets water run downward into the brush and can loosen the glue. Morphe's official brush-care instructions similarly recommend squeezing out excess moisture, reshaping the bristles, and then air-drying the brush flat or upside down; the brand also cautions against hot water and wetting the ferrule. See Morphe's brush-care directions.
Move the brushes out of a steamy bathroom if that room stays humid after showers. A dry bedroom, dressing area, or other clean space with normal ventilation is often better. If you want faster drying, place a small fan several feet away so it moves room air across the brushes without blasting the bristles hard enough to deform them.
A dehumidifier can also help in a persistently humid room because lower surrounding humidity supports evaporation. You do not need heated air. In fact, the safest default is ordinary room-temperature airflow because brush manufacturers commonly specify air-drying and warn against exposing the ferrule to hot water. If a particular brush brand gives different care instructions, follow that manufacturer rather than a generic method.
Direct sunlight, a radiator, or a hot hair dryer may seem faster, but they are unnecessary for normal drying and can expose adhesives, coatings, handles, and fibers to more heat than the maker intended. Cool or room-temperature airflow is the lower-risk choice.
If you regularly wash large powder or foundation brushes, an upside-down drying rack can be useful because gravity helps keep water moving away from the ferrule while air reaches the bristles. This is different from standing brushes handle-down in a cup.
Sigma's official Dry'n Shape Tower instructions position brushes so they dry in a suspended rack and say to gently squeeze out excess water first. Sigma states that brushes in that product may need about 6 to 8 hours or overnight, with drying time depending on brush size and bristle density. That is a product-specific estimate, not a universal drying-time promise. See the Sigma Dry'n Shape Tower instructions.
| Method | Why it helps | Best use |
|---|---|---|
| Thorough towel blotting | Removes liquid water before evaporation has to do the rest | Every brush after washing |
| Flat drying with tips over an edge | Exposes more bristle surface to air and keeps water from draining toward the handle | Most brush types |
| Gentle fan airflow | Moves moist air away from the bristles | Humid rooms or dense face brushes |
| Dehumidified room | Reduces moisture in surrounding air | Rainy or naturally humid climates |
| Bristles-down rack | Keeps water away from the ferrule while allowing air around the head | Frequent brush washing or large collections |
Speed should not come from rough handling. Do not wring the bristles, aggressively scrub them with a towel, submerge the full brush head, or store a brush while the center is still damp. Avoid standing a wet brush upright with the bristles at the top, because water can run into the ferrule and adhesive.
If you need a brush again within minutes, a full water wash may simply be the wrong timing. Some manufacturers sell quick-clean products intended for removing surface product between deeper washes. For example, IT Cosmetics says its Brush Love cleaner is designed to be sprayed on the brush head, wiped off, and laid flat briefly to dry. A quick cleaner should be used according to its label and is not a reason to skip periodic deeper cleaning. See the IT Cosmetics quick-clean brush directions.
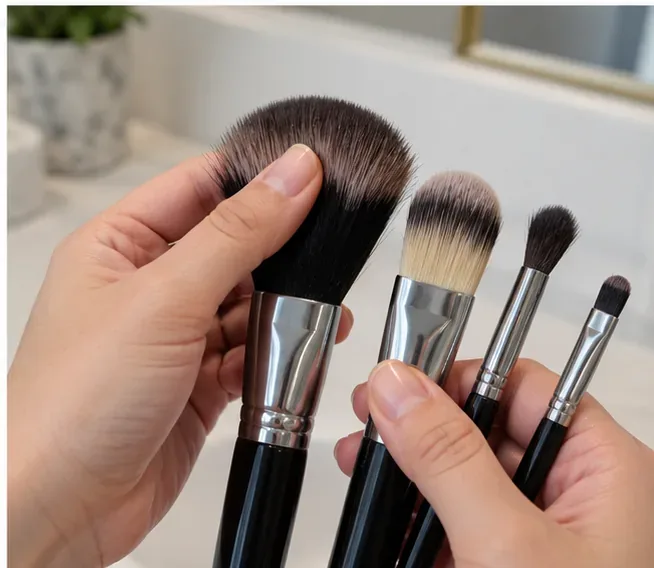
Do not judge dryness only by the outermost bristles. Dense brushes can feel dry on the surface while the center remains cool or damp. Before storing or using the brush, check it in three places:
If you are unsure, give the brush more air-drying time. There is no single reliable number of minutes that works for every brush because density, fiber type, humidity, airflow, and how well you blotted the brush all change the result.
For most people, the practical routine is: rinse only the bristles with lukewarm water, squeeze and blot thoroughly, reshape the brush, lay it flat with the tips over an edge, and move it to a clean room with good airflow. Add a low, indirect fan or a bristles-down rack when you need extra help with dense brushes or humid conditions.
That approach follows the central points shared by dermatologist guidance and major brush manufacturers: minimize water around the ferrule, remove excess moisture before drying, preserve the brush's shape, and let it air-dry completely before storage or reuse.
Learn how to clean PS5 vents safely without opening the console, using Sony-recommended low-power vacuuming, dry wiping, and proper airflow.
Learn how to clean a car air filter safely, when a paper filter should be replaced instead, and how reusable filters require different care.
Learn how to clean a Keurig entrance and exit needle safely, clear coffee-ground clogs, rinse the brewer, and know when descaling is the next step.
Learn how to remove dried nail glue from clothes safely, when acetone is appropriate, which fabrics need extra care, and when to stop and call a cleaner.
Learn how to clean a metal range hood filter safely, when dishwasher cleaning is okay, and why charcoal filter care depends on your exact model.
Learn how to remove rust from golf clubs safely, judge the result, protect raw and plated finishes, and know when cleaning should stop.
Learn how to clean fabric blinds safely with gentle vacuuming, spot cleaning, rinsing, and drying—plus when water, washing, or DIY deep cleaning can cause damage.
Learn how to season gas grill grates safely, including when cast iron needs seasoning, when porcelain enamel does not, and how to check the result.
Clean a Breville toaster oven safely with mild soap, soft cloths, and the right sequence. Learn what clean should look like, what to avoid, and when to stop.
Learn how to clean a microwave grease filter, when a dishwasher is appropriate, and why charcoal filters should be replaced instead of washed.








