How to Clean a PS5 Fan Without Taking It Apart: A Safe Beginner Guide

Learn how to clean PS5 vents safely without opening the console, using Sony-recommended low-power vacuuming, dry wiping, and proper airflow.
Sticker residue on clothing looks simple, but the wrong shortcut can turn a small tacky patch into a faded spot, a smeared adhesive mark, or a problem that survives the next wash. The safest practical approach is to start with the garment's care label, remove loose paper without grinding it into the fibers, use a fabric-compatible stain treatment, and only escalate to an alcohol-based treatment if the residue remains.
Illustrative example: imagine a blue cotton-blend T-shirt that accidentally went through the wash with a paper name-tag sticker still attached. The paper is mostly gone, but a fuzzy, sticky rectangle remains on the chest. This is a hypothetical scenario used to show how the method applies; it is not a reported test result or a testimonial.
Do not start with the strongest solvent you can find. First, read the care label. The U.S. Federal Trade Commission requires covered garments to carry regular-care instructions, and those instructions are the best starting boundary for washing, drying, and special warnings. If the label says “Dry Clean Only,” or the garment is especially delicate, embellished, leather, suede, or otherwise outside ordinary washable clothing, stop before soaking or experimenting and take it to a professional cleaner.
For washable clothing, the practical sequence is:
A directly verified example comes from Clorox's current guidance for sticker residue on clothing: it recommends soaking with Clorox 2 for Colors, using alcohol-based hand sanitizer on remaining residue if needed, machine washing, and then air-drying so the garment can be checked again. If you use another stain remover, use that product's own dosage and contact-time instructions rather than copying Clorox quantities to a different formula.
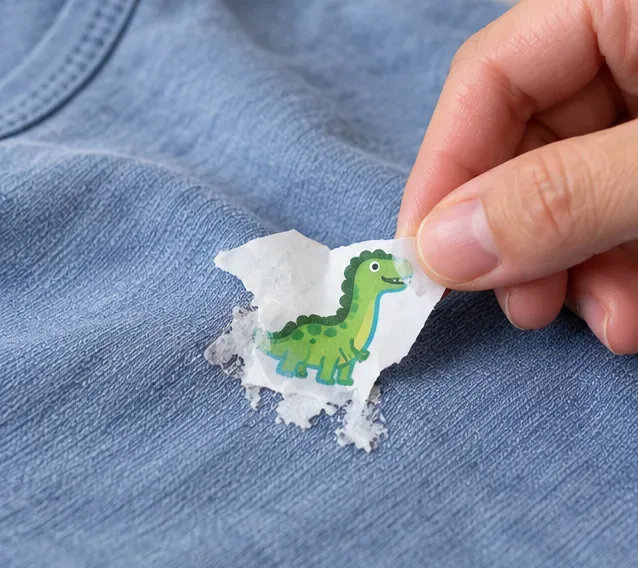
In the hypothetical T-shirt example, the first useful move is not a solvent. It is inspection. Check whether the shirt is machine washable and note any restrictions on bleach, water temperature, or drying. Then peel away what comes off easily. If paper fibers are clinging to the surface, use your fingers or the rounded edge of a spoon with light pressure rather than digging into the fabric with a sharp blade.
What is verified: care instructions matter. The FTC's Care Labeling Rule requires manufacturers and importers of covered textile apparel to provide regular-care information, including washing or dry-cleaning instructions and warnings where needed.
What depends on the garment: how much mechanical lifting the fabric can tolerate. Sturdy woven cotton usually handles more gentle manipulation than a loose knit, lace, decorated fabric, or a garment with a fragile surface finish.
Useful action: if the care label is missing or unclear and the item is valuable or delicate, stop here and use a professional cleaner rather than guessing.

For the hypothetical washable blue shirt, the next goal is to loosen the adhesive without jumping straight to a harsh solvent. Clorox's published sticker-residue method uses its bleach-free Clorox 2 for Colors product diluted in water, with the garment soaked for up to one hour. That exact ratio and timing belong to that specific product; they should not be assumed to apply to every oxygen stain remover or laundry pretreatment.
If you are using a different stain remover, read its label and follow its directions. Test any treatment on a hidden area first if colorfastness or finish is uncertain. A concealed seam allowance, inside hem, or other inconspicuous spot is more useful than discovering after treatment that the visible fabric changes color.
Common misunderstanding: “If a little cleaner helps, more will work faster.” That is not established. Laundry products have their own concentrations, dwell times, and fabric restrictions. Increasing strength or leaving a product on much longer than directed can create a new problem without proving that it will remove the adhesive better.
Useful action: use the product exactly as directed, then check whether the residue has softened enough to lift or blot away. Do not mix household chemicals or stain removers.
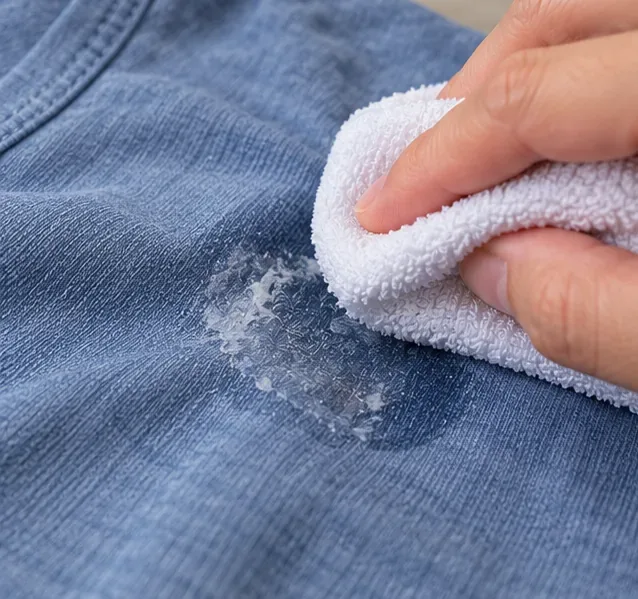
Suppose the imaginary shirt now has no paper left, but the rectangle still feels tacky. Clorox's instructions say that if a sticker is only partially removed, alcohol-based hand sanitizer can be applied to the remaining sticker residue to loosen it. That supports alcohol as a targeted escalation in that particular method; it does not mean that every alcohol-containing cleaner is safe on every textile.
Keep the application limited to the affected area and avoid soaking a large section unnecessarily. If you use any alcohol-containing treatment, rinse it out thoroughly before laundering. Appliance manufacturers also warn against putting garments with flammable solvent residues into washers or dryers, so “more solvent” is not a harmless escalation.
Common misunderstanding: “Nail-polish remover is the universal answer for adhesive.” It is not. Persil's guidance for household adhesive stains notes that acetone can help dissolve some glues but may remove dye from fabric, which is why it calls for a hidden-area test. Sticker adhesive formulas vary, and this article cannot verify that acetone is appropriate for your specific garment. For ordinary washable clothing, a care-label-compatible laundry treatment is a more conservative first route.
Useful action: if the residue does not respond to the verified laundry-treatment route, stop escalating randomly. For a valuable garment, take it to a cleaner and tell them exactly what you already applied.
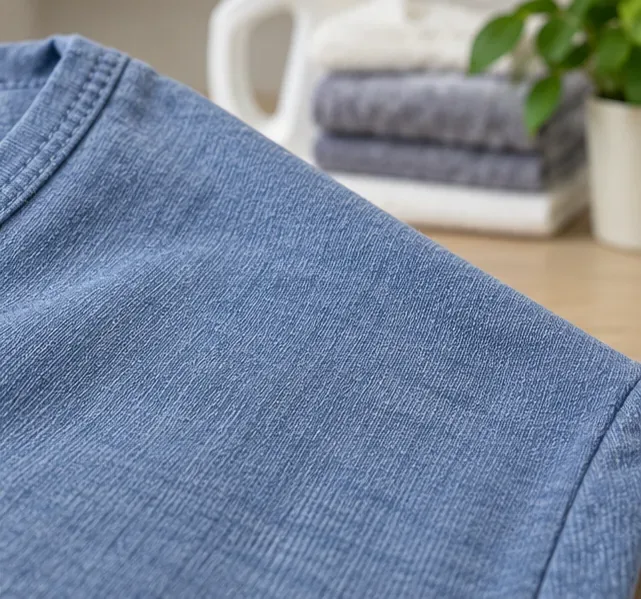
For the hypothetical T-shirt, wash it according to the care label after the residue has been treated. Clorox's sticker-residue instructions specifically finish with air-drying and repeating the process if needed. That is a useful checkpoint because you can feel and inspect the area before committing the garment to a heated dryer cycle.
If the surface is no longer sticky and there is no visible halo, you can return to the garment's normal care routine. If a tacky film remains, repeat only the compatible treatment step instead of increasing heat or scraping harder.
What is verified: the Clorox method calls for machine washing followed by air-drying, and the FTC requires care labels to specify normal washing/drying limits or warnings where applicable.
What is not known from a generic article: the exact adhesive chemistry of the sticker, the garment's dye stability, and whether a prior trip through a hot dryer has changed the residue. Those details can change what works.
Useful action: inspect by sight and touch in good light. If the fabric feels normal and no tackiness remains, the treatment is finished. If not, repeat conservatively or get professional help.
A washed sticker often leaves two problems at once: paper fibers and adhesive. Remove the paper portion first, then treat the remaining tackiness. If the garment has also been through a dryer, do not assume the residue is permanent, but expect that it may take more than one treatment cycle. Avoid aggressive heat as your next move unless the garment and the chosen method specifically call for it.
In our hypothetical example, if the blue shirt had already been tumble-dried, the decision would still begin with the care label and a hidden-area compatibility check. The presence of heat in the shirt's history does not make an unverified solvent automatically safe.
| Option | What can be said with confidence | Best next action |
|---|---|---|
| Alcohol-based hand sanitizer | Clorox specifically recommends it as a follow-up for remaining sticker residue in its published clothing method. | Use it only on a compatible washable garment, keep it targeted, and rinse thoroughly before laundering. |
| Rubbing alcohol | Alcohol can affect dyes and finishes differently, and the Clorox sticker guidance does not establish that every concentration is interchangeable with hand sanitizer. | Do not assume equivalence. Check garment and product guidance and spot-test if you choose to use it. |
| White vinegar | There are manufacturer guides for vinegar on some sticky residues, but suitability varies by fabric and finish. It is not necessary for the verified Clorox sticker-residue route. | Prefer the care-label-compatible laundry method first rather than adding an extra chemical without a reason. |
| Acetone or nail-polish remover | Persil notes acetone can dissolve some adhesive stains but can also remove fabric dye. | Do not make it your default. Hidden-area testing is essential, and delicate or valuable garments are better referred to a professional. |
Stop if the garment is labeled dry-clean-only, the dye transfers during a hidden-area test, the fabric finish changes, the adhesive is on leather or suede, or the item is expensive enough that an unsuccessful experiment would matter. Also stop if you cannot identify what chemical has already been applied. A professional cleaner can make a better decision when you tell them the garment fiber content, the sticker problem, and every product already used.
The main lesson from the hypothetical blue-shirt scenario is simple: sticker residue is not a contest to find the strongest solvent. It is a compatibility problem. Start with the care label, use a verified laundry method, escalate only as needed, and check the result before introducing heat.
This guide uses primary or manufacturer guidance rather than crowd-sourced stain-removal claims. The product-specific sticker-residue sequence is based on Clorox's instructions for removing stickers and sticker residue from clothing. Care-label guidance comes from the U.S. Federal Trade Commission Care Labeling Rule and the FTC's consumer and business guidance on clothing care labels. The caution about acetone and fabric dyes is drawn from Persil's manufacturer guidance for household adhesive stains. Guidance to rinse alcohol-containing treatments thoroughly before machine washing or drying is also consistent with Whirlpool's manufacturer guidance for sticky residue on clothing.
No generic article can verify the chemistry of a particular sticker adhesive, the colorfastness of a specific garment, or how an unknown prior treatment may interact with a new one. When those variables matter, the garment label and the cleaning-product label should take priority over a general-purpose guide.
Learn how to clean PS5 vents safely without opening the console, using Sony-recommended low-power vacuuming, dry wiping, and proper airflow.
Learn how to clean a car air filter safely, when a paper filter should be replaced instead, and how reusable filters require different care.
Learn how to clean a Keurig entrance and exit needle safely, clear coffee-ground clogs, rinse the brewer, and know when descaling is the next step.
Learn how to remove dried nail glue from clothes safely, when acetone is appropriate, which fabrics need extra care, and when to stop and call a cleaner.
Learn how to clean a metal range hood filter safely, when dishwasher cleaning is okay, and why charcoal filter care depends on your exact model.
Learn how to remove rust from golf clubs safely, judge the result, protect raw and plated finishes, and know when cleaning should stop.
Learn how to clean fabric blinds safely with gentle vacuuming, spot cleaning, rinsing, and drying—plus when water, washing, or DIY deep cleaning can cause damage.
Learn how to season gas grill grates safely, including when cast iron needs seasoning, when porcelain enamel does not, and how to check the result.
Clean a Breville toaster oven safely with mild soap, soft cloths, and the right sequence. Learn what clean should look like, what to avoid, and when to stop.
Learn how to clean a microwave grease filter, when a dishwasher is appropriate, and why charcoal filters should be replaced instead of washed.








