Home
» How To
»
How to Get Chewing Gum Out of Clothes: A Practical, Fabric-Safe Method
How to Get Chewing Gum Out of Clothes: A Practical, Fabric-Safe Method
Chewing gum is easier to remove from clothing when you change the gum before you attack the fabric. The most useful first move for many washable garments is to harden the gum with ice, lift off the solid pieces gently, pretreat what remains, and wash only as the care label allows.
Illustrative example: imagine Maya notices a piece of chewing gum stuck to the seat of a pair of machine-washable blue jeans. Maya is fictional, and this example is not a real test, testimonial, or measured result. It is simply a way to show how the decisions in this guide fit together in an ordinary situation.
Start with the care label and the fabric surface. Is the garment washable? Is the gum sitting on top of a sturdy weave, or is it wrapped around loops, embroidery, a delicate knit, or decorative trim? That answer matters more than finding the strongest household cleaner.
In Maya's hypothetical case, the jeans are labeled machine washable and the gum is sitting on a relatively flat denim surface. That makes a cold-hardening method a sensible first choice. If the same gum were tangled into a fragile knit or attached to a dry-clean-only garment, Maya should be more conservative and may be better off using a professional cleaner rather than escalating at home.
Good candidate for home treatment: a washable garment with gum mainly on the surface.
Use extra caution: loosely knitted fabric, embroidery, delicate finishes, prints, or trims that could lift or snag.
Change course early: if the care label says dry clean only, if color transfers during a spot test, or if removing the gum would require pulling hard on fibers.
Should you freeze the gum first?
Usually, yes. Tide recommends placing a small bag of ice over soft gum for about 15 minutes or putting a small garment in the freezer to solidify the gum. Clorox likewise recommends pressing ice against the gum until it hardens. The goal is not to make the garment wet or icy for its own sake; the goal is to make the gum firm enough to separate instead of stretching into a wider smear.
Step 1: Harden the gum
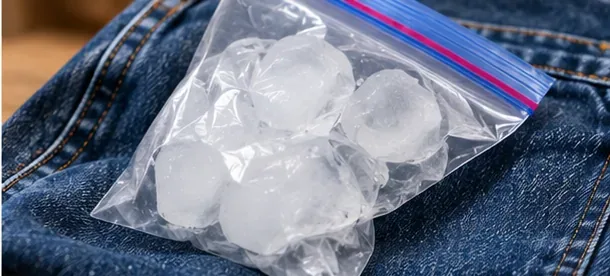
Maya places ice in a sealed bag and holds it over the gum. She does not rub the bag back and forth. She waits until the gum feels firm and resists bending. If the gum is still stretchy when she touches an edge, it is not ready.
A sealed bag of ice rests on denim so the gum can harden before any scraping begins.
If the garment is small enough, freezing the entire item is another option described by Tide. Keep the gum from touching another part of the garment while it is in the freezer.
Decision point: if the gum softens again while you work, stop and reapply ice. Trying to compensate with more scraping force can damage fibers.
How do you remove the hardened gum without harming the fabric?
Step 2: Lift and scrape gently
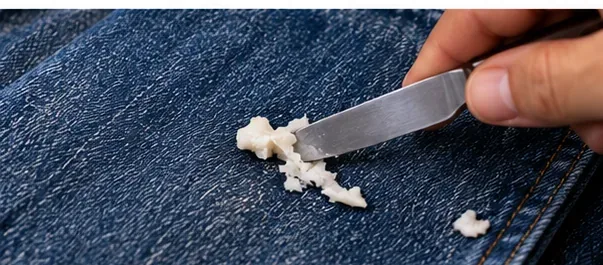
Once the gum is hard, use a plastic spoon, dull knife, or another smooth, blunt edge. Work from an outside edge toward the center. Keep the tool nearly parallel to the fabric instead of digging downward.
In the example, Maya lifts a small frozen edge and removes the gum in several pieces. She does not try to pull the entire blob off in one motion. That matters because Tide warns that forcing bonded gum can tear garment fibers, while Clorox specifically cautions against scraping so hard that the fabric's appearance becomes distorted.
A blunt edge lifts small pieces of hardened gum while staying nearly flat against the denim.
Stop scraping when the large solid pieces are gone. A thin film between fibers is better handled with pretreatment than with increasingly aggressive mechanical scraping.
What should you do with the sticky residue?
Step 3: Spot-test and pretreat
Tide advises checking the garment's care label, spot-testing the cleaning solution on an inconspicuous area for colorfastness, and then applying liquid laundry detergent to the remaining gum stain. Its published method uses a soft-bristled toothbrush and allows the detergent to sit before washing.
For Maya's jeans, the hidden test area shows no obvious color transfer, so she applies a small amount of liquid laundry detergent to the residue and works it in gently. She does not scrub until the denim looks lighter or fuzzy. Pretreatment is meant to loosen residue for laundering, not to sand the fabric clean.
When should you stop? If dye transfers to the cloth or swab used for testing, the fibers begin to pill, or the finish changes, rinse or remove the product as appropriate for the label and reconsider the method. A stronger treatment is not automatically a better treatment.
How should you wash the garment after the gum is gone?
Step 4: Launder according to the care label
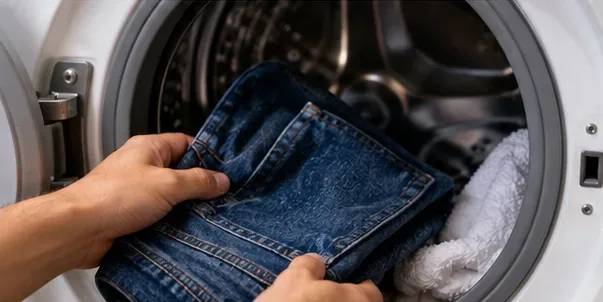
After the bulk gum is removed and any remaining mark has been pretreated, wash the item using a cycle and water temperature permitted by the care label. Clorox recommends washing at the warmest temperature allowed by the label for its gum-removal process; Tide similarly directs users to choose a cycle appropriate for the fabric.
Maya's hypothetical jeans can be machine washed, so she launders them according to their label rather than choosing a hotter cycle simply because the stain was stubborn.
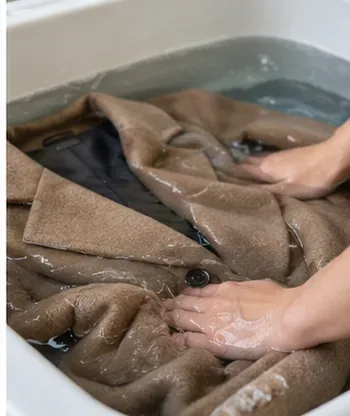
After scraping and pretreatment, the washable jeans go into the machine using the care-label-approved cycle.
If your item is hand-wash-only or has another special instruction, follow that instruction instead. The care label is not a minor detail; it is the manufacturer's regular-care direction for the garment.
Can you put the clothing in the dryer right away?
Inspect first. Tide warns that drying a remaining stain can set it into the fibers and make it harder to remove. Before using dryer heat, look at the treated area under good light and feel it with clean fingertips.
In Maya's example, the decision is simple: if the denim still feels tacky, rubbery, waxy, or unusually stiff, she repeats the pretreatment and wash process instead of putting the jeans into the dryer. If the gum and residue are gone, she dries the jeans only in the way allowed by the label.
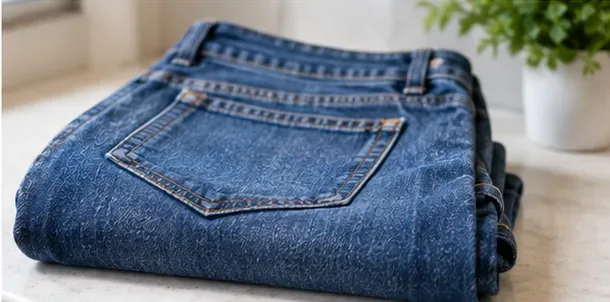
The finished garment should be free of sticky or rubbery residue before it is dried and put away.
Is vinegar a useful backup method?
It can be an alternative for some washable, colorfast fabrics. Tide's guidance includes warmed distilled white vinegar as one option for loosening gum after a spot test. That does not mean vinegar is necessary for every case, and it does not override the care label.
If Maya's detergent pretreatment had not worked and her jeans remained colorfast, she could consider the vinegar method described by Tide rather than jumping straight to a harsher solvent. If she were working on a delicate garment instead, professional cleaning could be the safer next step.
What about using an iron?
Tide also describes a gum-transfer technique using cardboard and an iron set to medium heat. Heat is a different strategy from freezing: it softens the gum so it can transfer to another surface. Because heat can affect fibers, coatings, prints, or finishes, it is not the default approach in this guide.
If the care label says not to iron, do not use an iron-based method. If you cannot confidently identify a safe iron setting, return to the cold method or seek professional help.
What if the gum is inside a pocket?
Pocket gum is harder because the lining can fold around the sticky material. Clorox recommends using plenty of ice and working in small portions so more of the pocket lining can gradually be pulled out and accessed. The same rule applies: harden, lift gently, and avoid stretching the lining.
Applied to the example, if Maya found gum inside the back pocket rather than on the outer denim, she would treat one small frozen area at a time rather than trying to yank the whole lining free while the gum was still soft.
When is professional cleaning the better choice?
Stop the home process if the garment is dry-clean-only, the gum is deeply wrapped around delicate fibers, color changes during spot-testing, or your scraping tool begins to distort the material. Clorox advises taking an item to a dry cleaner when the gum cannot be removed adequately by gentle scraping in situations where home treatment is not appropriate.
Also consider professional cleaning for high-value clothing, structured garments, delicate trims, suede, or items where a mistake would be more costly than the cleaning service.
How do you know the job is finished?
A successful result is not just "I cannot see the gum anymore." Check three things:
Touch: the area should no longer feel sticky, rubbery, greasy, or unusually stiff.
Surface: the fabric should not show pulled threads, fuzzing, or obvious abrasion caused by scraping.
Care: the item should still be cleaned and dried in a way allowed by its care label.
That is the real lesson from Maya's hypothetical jeans: the process is a sequence of decisions, not a contest to remove gum in one dramatic move. Harden the gum, remove only what releases easily, pretreat the residue, wash according to the label, and inspect before heat. If any step starts damaging the garment, change course.