How to Clean a PS5 Fan Without Taking It Apart: A Safe Beginner Guide

Learn how to clean PS5 vents safely without opening the console, using Sony-recommended low-power vacuuming, dry wiping, and proper airflow.
Cleaning a printer cartridge is usually not about scrubbing the whole cartridge. The useful cleaning point depends on the printer type: an inkjet may need its electrical contacts cleaned or its printhead cleaning cycle run, while a laser printer may need careful toner/drum maintenance instead. Starting with the wrong part can make print quality worse, so the first job is to identify what you actually have.
This guide is written for beginners and uses conservative steps that match current manufacturer guidance checked in September 2026. Printer designs vary, so your model's manual should take priority whenever it gives different instructions.
An ink cartridge contains liquid ink. Some inkjet cartridges also include the printhead—the tiny nozzle plate that sprays ink onto paper—while many printers use a separate, permanent printhead inside the machine. A toner cartridge contains fine powdered toner for a laser printer. On many laser models, the toner cartridge and the drum unit, the photosensitive cylinder that transfers the image, are separate parts.
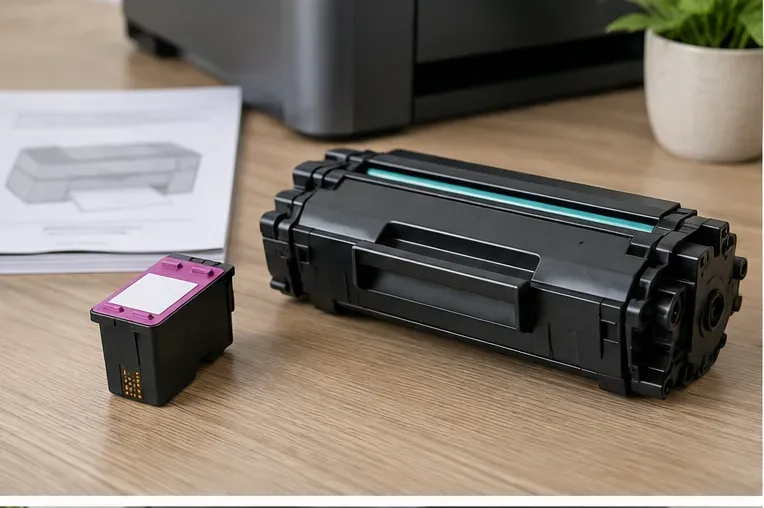
If your printer produces missing colors, white streaks, or broken lines, the problem is often a clogged printhead rather than a dirty cartridge body. Epson and Canon both direct users to start with a nozzle check and the printer's built-in printhead cleaning function. Cleaning cycles consume ink, so they should be used only when needed. See Epson's nozzle-check and printhead-cleaning instructions and Canon's printhead-cleaning guidance.
Keep the setup simple. For the ink-cartridge contact-cleaning method used on many HP models, the safest basic kit is a clean lint-free cloth, distilled water, disposable paper or paper towels for the work surface, and good lighting. A lint-free swab can help with recessed contacts, but avoid leaving cotton fibers behind.
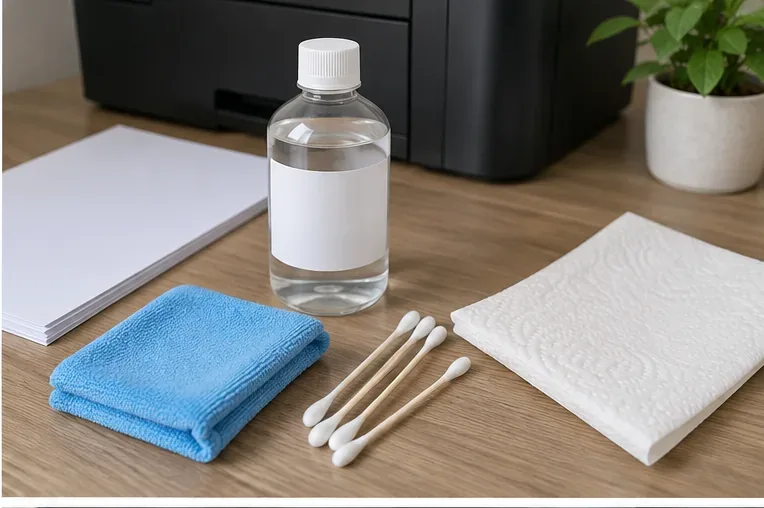
Do not assume rubbing alcohol, window cleaner, ammonia, or a spray cleaner is appropriate. Manufacturer instructions differ by model, and Brother specifically warns against alcohol, ammonia, sprays, and flammable cleaners inside certain laser printers. For a general home procedure, use only the materials named in your printer's support instructions.
Before removing anything, load plain paper and print a nozzle check, print-quality report, or diagnostic page from the printer's maintenance menu or companion software. This tells you whether the issue is actually clogged nozzles, a missing color, alignment, or a cartridge-recognition problem.
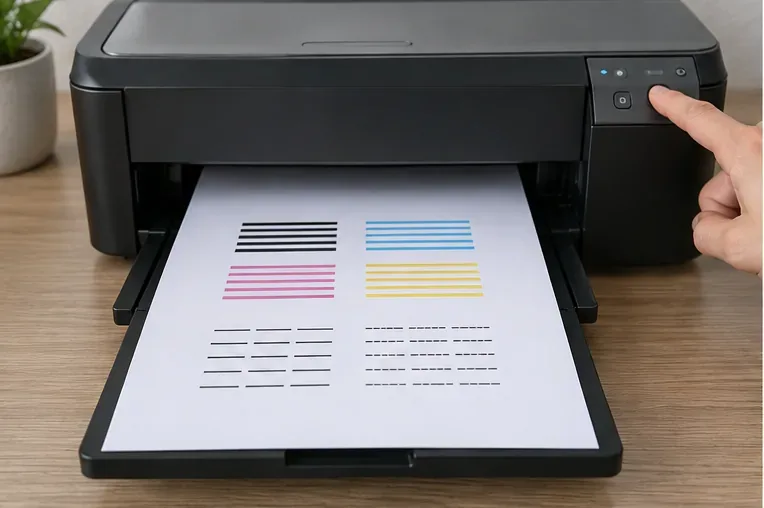
If the test pattern shows gaps, use the built-in cleaning routine before attempting manual cleaning. On the Canon models covered by its current manual, normal printhead cleaning is the first step and deep cleaning is recommended only if regular cleaning does not solve the issue. Epson similarly advises checking the nozzle pattern and then cleaning only when gaps or faint lines appear.
Open the printer exactly as your model manual describes. If the ink carriage moves into a service position, wait until it stops completely before reaching inside. This reduces the chance of damaging the carriage or pinching your fingers.
Release the latch or press the cartridge as directed for your model, then lift or pull it straight out. Hold it by the plastic body. Avoid touching the copper- or gold-colored electrical contacts with your fingers, and do not touch the ink nozzles. HP warns that both areas are delicate and that fingerprints or contamination can cause clogs, ink failures, or poor electrical connections.
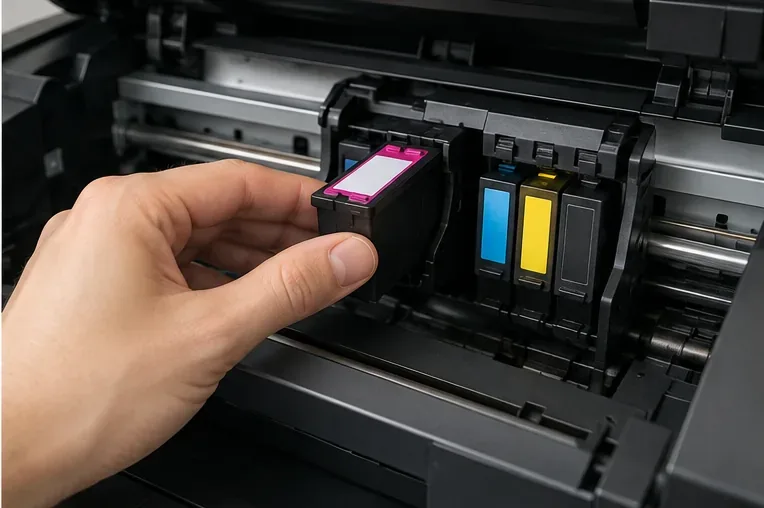
Look at the small copper- or gold-colored contact pads. If they appear clean and undamaged, reseating the cartridge may be enough. If you see ink residue, dust, or a film that could interfere with the connection, clean only the contact area that your manufacturer identifies.
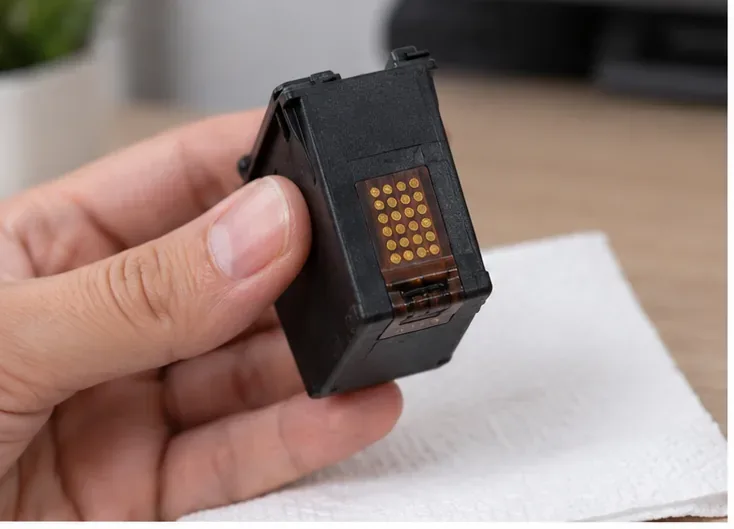
This distinction matters because the contacts are not the same thing as the nozzle plate. On some integrated cartridges, the printhead and nozzles sit on the underside. General-purpose wiping of the nozzle plate is not recommended unless your exact model's service instructions tell you to do it.
Lightly dampen a clean lint-free cloth with distilled water. It should be moist, not dripping. Gently wipe the electrical contacts using a fresh section of cloth. Do not soak the cartridge, pour water onto it, or push liquid into openings.
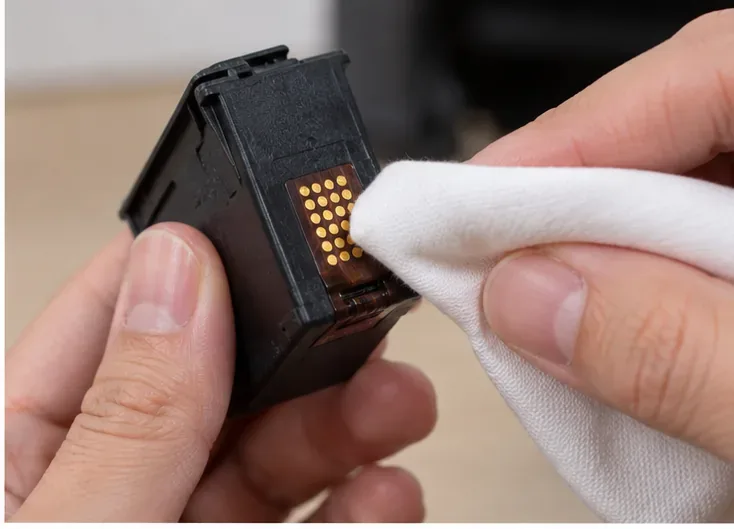
HP's current cartridge-error guidance for many models instructs users to lightly dampen a lint-free cloth with distilled water and wipe the copper-colored contacts. It also recommends cleaning the matching contacts in the carriage with a lightly dampened lint-free cloth or swab when needed. See HP's cartridge contact-cleaning instructions.
Place the cartridge on clean disposable paper with the cleaned contact area exposed and stable. Do not leave the ink cartridge out longer than necessary because some designs can dry at the nozzles. HP's cited procedure specifies waiting about 10 minutes for the contacts to dry before reinstalling.
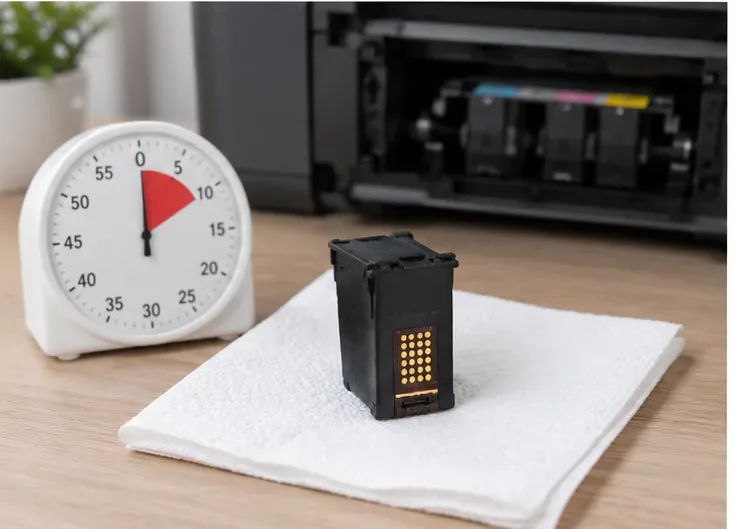
Return the cartridge to the correct color-coded slot and press it into place until it is seated as your printer manual describes. Close the access door, then print another nozzle check or print-quality page. If the printer asks for alignment, complete the alignment routine.
If the printer still says the cartridge is missing, incompatible, or not recognized, remove and reseat it once more and inspect the contacts for damage. Repeated cleaning will not repair a cracked cartridge, missing contact, failed chip, or empty cartridge.
Do not use the ink-cartridge method on toner. Toner is a fine powder, and water or liquid cleaners do not belong on the cartridge or drum unless your exact service manual explicitly says otherwise. Laser printers also contain parts that can become hot during use.
For many Brother laser models, the toner cartridge sits inside a separate drum unit. Brother recommends placing the assembly on clean disposable paper, handling the toner carefully, avoiding the electrodes and sensitive drum surface, and using cold water if toner gets on skin or clothing. Its maintenance guidance also says not to use alcohol, ammonia, sprays, or flammable cleaning products inside the machine. See Brother's drum and toner handling guidance.
Some Brother drum units include a small green tab used to clean the corona wire, a charged wire involved in transferring the toner image. Brother instructs users to slide that tab gently from side to side several times and then return it to its home position. This is not the same as wiping the toner cartridge or the photosensitive drum surface.
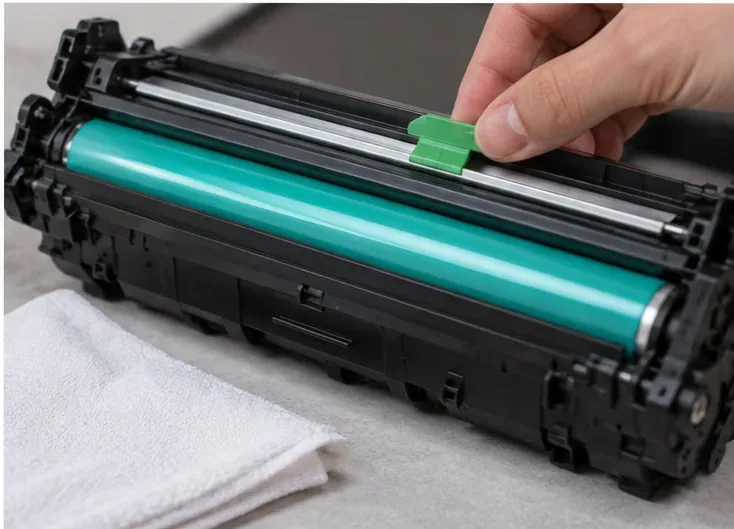
Follow your own laser printer's instructions because cartridge, drum, transfer roller, and corona-wire designs differ. Brother's model-specific procedure is shown in Brother's corona-wire cleaning instructions. HP likewise warns users not to touch the imaging drum on toner cartridges that expose one, because fingerprints can cause print-quality problems; see HP's LaserJet toner-cartridge handling guidance.
Print the same nozzle-check or diagnostic page you used at the beginning and compare the results. A successful inkjet cleaning should show more complete lines, fewer gaps, and restored colors. A successful contact cleaning may also clear a cartridge-recognition error. On a laser printer, proper corona-wire maintenance may reduce certain vertical streaks if that was the identified cause.
If the test page is unchanged after the model-specific cleaning sequence, stop repeating the procedure. For example, the cited Epson guidance tells users on applicable models to wait at least 12 hours after several unsuccessful cleaning attempts before trying again, while Canon's cited guidance moves from normal cleaning to deep cleaning after two unsuccessful normal cleanings. Those limits are model-dependent, so check your exact manual rather than treating them as universal rules.
Replace the cartridge if it is empty, leaking, physically damaged, or still not recognized after careful reseating and contact cleaning. If multiple cartridges fail at once, or a new cartridge produces the same error, the problem may be in the carriage, printhead, printer electronics, or laser drum rather than the cartridge itself.
If print quality remains poor after the official maintenance routine, contact the printer manufacturer or a qualified service center. At that point, additional DIY cleaning can waste ink or toner and may create damage that was not present initially.
For most home printers, that is enough: diagnose first, clean only the correct surface, retest, and stop before repeated maintenance becomes more costly than replacing the consumable.
Learn how to clean PS5 vents safely without opening the console, using Sony-recommended low-power vacuuming, dry wiping, and proper airflow.
Learn how to clean a car air filter safely, when a paper filter should be replaced instead, and how reusable filters require different care.
Learn how to clean a Keurig entrance and exit needle safely, clear coffee-ground clogs, rinse the brewer, and know when descaling is the next step.
Learn how to remove dried nail glue from clothes safely, when acetone is appropriate, which fabrics need extra care, and when to stop and call a cleaner.
Learn how to clean a metal range hood filter safely, when dishwasher cleaning is okay, and why charcoal filter care depends on your exact model.
Learn how to remove rust from golf clubs safely, judge the result, protect raw and plated finishes, and know when cleaning should stop.
Learn how to clean fabric blinds safely with gentle vacuuming, spot cleaning, rinsing, and drying—plus when water, washing, or DIY deep cleaning can cause damage.
Learn how to season gas grill grates safely, including when cast iron needs seasoning, when porcelain enamel does not, and how to check the result.
Clean a Breville toaster oven safely with mild soap, soft cloths, and the right sequence. Learn what clean should look like, what to avoid, and when to stop.
Learn how to clean a microwave grease filter, when a dishwasher is appropriate, and why charcoal filters should be replaced instead of washed.








