Home
» How To
»
How to Clean a Garbage Disposal With Ice: What Works, What Doesn’t, and When to Stop
How to Clean a Garbage Disposal With Ice: What Works, What Doesn’t, and When to Stop
A garbage disposal that suddenly smells sour, sounds rougher than usual, or leaves a film around the sink opening usually has a simple cause: food residue has collected in the grind chamber, around the splash guard, or in nearby drain surfaces. Ice can help knock loose some of that residue, but it is best treated as a maintenance tool—not a cure for every disposal problem.
The safest answer is: use plain ice only in the way your disposal manufacturer specifies. Current manufacturer instructions are not identical. InSinkErator's U.S. support guidance tells owners to run a medium stream of cold water and grind ice cubes, while GE's current disposer-cleaning guidance describes grinding roughly a dozen ice cubes with baking soda or scouring powder and specifically says not to run water during that ice step. That difference is why a generic internet trick should never override the manual for your exact model.
Ice can help dislodge food particles and residue inside a disposal. InSinkErator's New Zealand support page says a batch of ice can help clean the hammers and clear stubborn debris from the grinding chamber, while its U.S. support page recommends ice with cold water as a freshening method.
What ice should not be treated as is a universal “blade sharpener.” InSinkErator's 2026 U.S. product information describes its system as a bladeless grind system. Other brands use different internal designs and terminology, so the useful takeaway is simpler: ice is for cleaning and dislodging residue, not for sharpening some assumed set of knife-like blades.
Ice also will not fix a motor that only hums, a seized disposer, a leaking housing, a blocked drain farther down the plumbing, or a foreign object such as metal or glass. Those problems need troubleshooting, not more ice.
Before you start: know which method your brand uses
Manufacturer guidance
Ice step
Water instruction
InSinkErator U.S.
Ice cubes; lemon or lime wedges may be used for freshening
Run a medium stream of cold water while the disposer is operating
GE Appliances
About a dozen ice cubes with baking soda or regular household scouring powder
GE says not to use water while grinding the ice mixture in that cleaning method
If you own another brand, check its care-and-use manual first. Moen, for example, says to run cold water during normal disposal operation, but its official safety instructions are more important than any cleaning shortcut: never put fingers or hands inside the disposal, and disconnect power before trying to clear a jam or remove an object.
How to clean a garbage disposal with ice
1. Check the disposal before you run anything
If the sink is holding standing water, the disposal is humming without grinding, or you can see a foreign object inside, do not start by adding ice. A jam or downstream clog can make the problem worse.
Keep your hands out of the opening. If an object needs to be removed, switch the disposal off, disconnect its power as the manufacturer directs, and use long-handled tongs or pliers. InSinkErator and Moen both explicitly warn against putting your hand into the disposal.
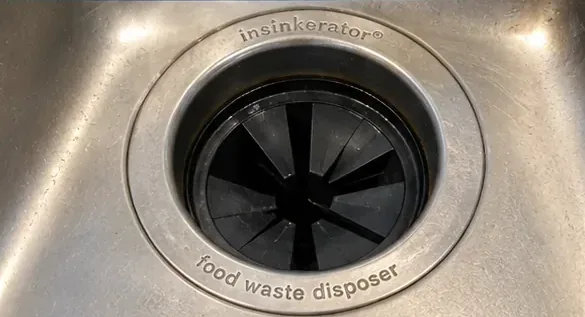
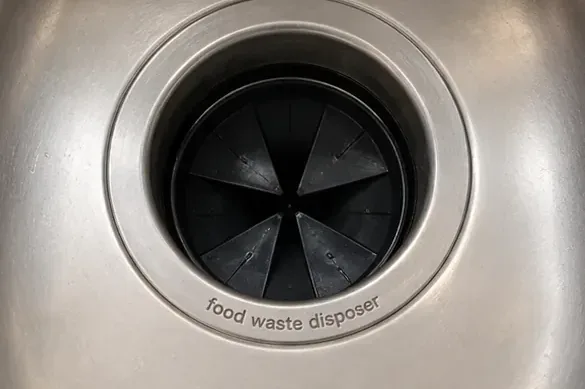
Start by checking the disposal opening for standing water, obvious debris, or signs of a jam before you use ice.
2. Prepare plain ice first
For the basic method, start with plain ice cubes. You do not need salt, vinegar, dish soap, or another additive just to perform the ice-cleaning step. Adding extra ingredients without checking the manual creates unnecessary uncertainty because manufacturers specify different cleaning combinations.
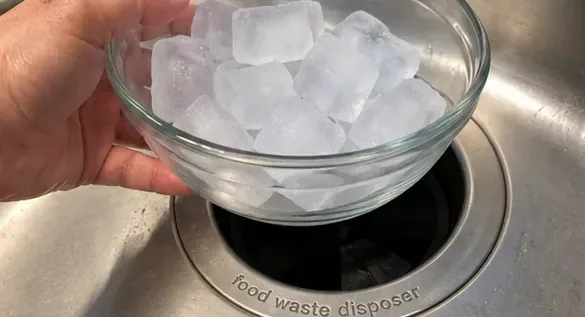
A small bowl or several handfuls is easier to control than dumping an entire ice bin into the opening at once.
Plain ice is enough for the basic cleaning method; you do not need salt or other additives unless your manufacturer specifically calls for them.
3. Follow your brand's water instruction
If you have an InSinkErator model and its current instructions apply, start a medium stream of cold water. If you have a GE disposer and are following GE's documented ice-and-baking-soda cleaning method, GE says not to use water during the ice-grinding portion.
This is the most important point in the whole process: there is no single water sequence that can be claimed for every garbage disposal. Use the model manual or manufacturer support page as the tie-breaker.
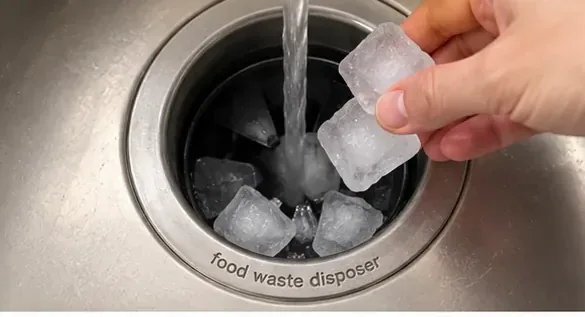
InSinkErator's current U.S. guidance pairs ice with a medium stream of cold water, so follow that sequence if it matches your model's instructions.
4. Turn on the disposal and feed the ice gradually
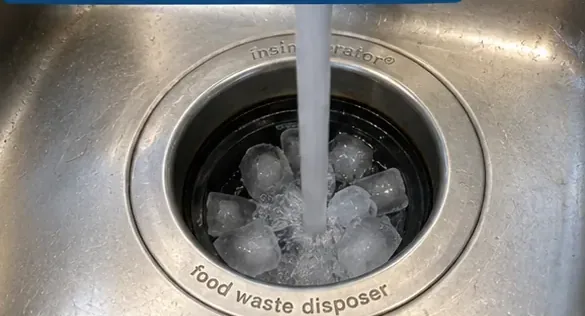
For continuous-feed models that call for water during operation, turn on the cold water first, then switch on the disposer and feed ice in gradually. Do not pack the opening tightly. Let the machine process the ice instead of forcing a large load into the chamber all at once.
The sound will be louder and rougher while ice is being crushed. That alone is expected. What is not normal is a persistent hum with no grinding, a metallic object rattling around, violent vibration, or the unit stopping repeatedly.
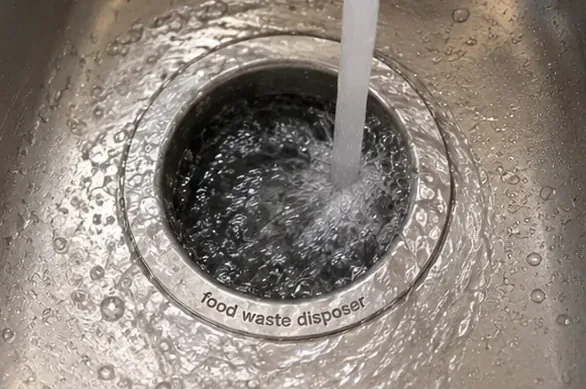
Run the disposal only after the water is flowing when your manufacturer's instructions call for cold water during operation.
5. Let the ice finish clearing
Continue only until the ice has been processed and the sound returns to the normal motor-and-water sound for your disposer. Do not keep loading ice indefinitely because “more” is not automatically “cleaner.”
If the disposer stalls, trips its overload protection, or starts humming, stop the cleaning routine. InSinkErator's jam guidance says to turn the switch off, keep hands out of the chamber, and troubleshoot the jam with the proper wrench and long-handled tools.
After the grinding sound settles, let the water continue briefly if your manual directs you to flush remaining particles through the drain.
6. Flush according to the manufacturer's directions
After the ice is gone, InSinkErator recommends continuing cold-water flow for a few seconds after grinding is complete so loosened particles can move through the drain. Other manufacturers may specify a different sequence.
If the sink begins draining more slowly rather than more freely, stop. That points toward a plumbing blockage rather than a dirty grinding chamber, and repeatedly running the disposal may not help.
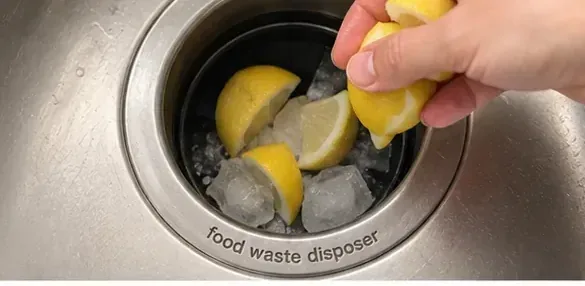
Citrus is optional for freshening. InSinkErator specifically mentions lemon or lime wedges, but use them only if your own model's instructions allow it.
7. Add citrus only if your model allows it
For odor freshening, InSinkErator's current support information allows ice cubes mixed with lemon or lime wedges. That can leave a fresher scent after residue has been removed.
Citrus is optional. It should not be used to mask an odor that returns immediately, because recurring smell usually means food buildup remains somewhere—often around the sink baffle or upper chamber.
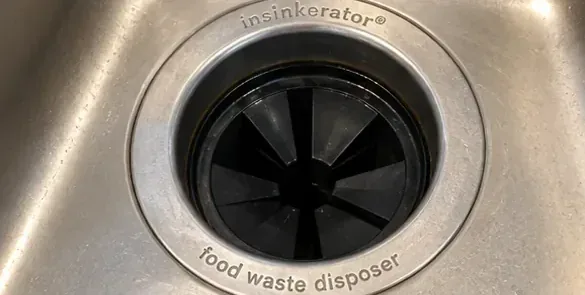
After cleaning, look for remaining residue around the opening and splash guard without putting your hand inside the disposal.
8. Check the result before deciding you are done
Turn the unit off and assess three things: smell, sound, and drainage. The disposal should smell better, return to its normal operating sound, and drain at least as freely as before. Look around the splash guard and upper opening for visible residue, but do not reach into the chamber.
If the odor remains, move to the deeper-cleaning step below rather than repeating ice over and over.
A successful cleaning should leave the unit sounding normal, draining freely, and smelling better without new vibration, humming, or leaking.
If the smell is still there: clean the splash guard and upper chamber
Ice may not touch the part that is actually causing the odor. InSinkErator says food buildup commonly collects under the sink baffle. Its official odor-cleaning procedure is more direct: turn off the disposal, disconnect the power supply, clean the underside of the baffle and inside the upper lip of the grind chamber with a scouring pad, then use its baking-soda-and-water rinse procedure.
That deeper clean is often more useful than adding more ice when the bad smell returns quickly. The InSinkErator odor troubleshooting page provides the complete manufacturer sequence.
Do not use ice for these problems
The disposal only hums: that often indicates a jam. Turn it off and follow the manufacturer's jam procedure.
You hear metal-on-metal rattling: a foreign object may be inside. Disconnect power and use long-handled tools as directed by the manufacturer.
The sink backs up: the blockage may be in the drain or trap rather than the disposal chamber.
The disposal leaks: ice will not repair a failed seal, mounting connection, discharge connection, or cracked housing.
The unit is electrically dead: check the reset, breaker, and manufacturer troubleshooting instructions instead of feeding material into the chamber.
What about drain cleaner, bleach, vinegar, or salt?
Do not pour caustic drain cleaner into a garbage disposal unless your manufacturer explicitly permits it. GE says lye and drain-cleaning chemicals may corrode disposer parts. Moen's safety instructions also list caustic drain cleaners among materials that should not be put into its disposal.
Salt and vinegar are common internet additions, but they are not required for the basic ice method described here. GE specifically documents baking soda or household scouring powder with ice; InSinkErator's current U.S. ice method does not require salt or vinegar. Keeping the routine simple makes it easier to stay within the instructions for your exact appliance.
How often should you clean a garbage disposal with ice?
There is no universal manufacturer schedule that fits every household. Frequency depends on how often the disposal is used, what kinds of food are processed, and whether residue or odor develops. InSinkErator describes disposals as low-maintenance appliances and emphasizes frequent use with adequate water flow rather than a rigid ice schedule.
A practical rule is to use ice as an occasional maintenance step when residue or mild odor appears, not as a daily ritual. Preventive habits matter more: use cold water when your manufacturer calls for it, feed waste gradually, let the system flush afterward, and keep fats, oils, and grease out of the disposal and drain.
Final self-check
Your cleaning worked if the disposal now smells neutral or noticeably fresher, drains normally, and runs with its familiar sound after the ice has cleared. The splash guard should not have an obvious slimy film, and there should be no new humming, rattling, vibration, or leaking.
If odor persists after the splash guard is cleaned, or if the disposal is jammed, leaking, repeatedly tripping, or draining slowly, stop treating it as a cleaning problem. Follow the manufacturer's troubleshooting procedure or call a qualified plumber or appliance service professional.
The useful role of ice is modest but real: it can help loosen debris and freshen a working disposal. The safest method is the one your specific manufacturer documents.