How to Download Games to Your Xbox Remotely: 2026 Guide

Learn how to download games to your Xbox remotely in 2026, set up Sleep and remote features, choose the right console, and fix stalled installs.
To take a photo in ARC Raiders, bring a Basic or Advanced Camera into your raid, assign it to a Quick Use slot, select it, aim at your subject, and use the capture control. For a quest, check that the objective advances after the shot. A Steam or console screenshot saves an image of your screen; it does not replace using the Camera for a photo objective.
This guide covers the Camera introduced with Frozen Trail 2.0 on October 8, 2026, including relevant changes in Live Update 2.3.0 on October 27, 2026. Information was checked on November 1, 2026. Older advice about completing photo objectives with only a location interaction can be outdated.
| Your goal | Recommended method | Practical tradeoff |
|---|---|---|
| Complete a photography objective | Start with a Basic Camera | Simple equipment for the job; you still need to carry and equip it. |
| Experiment with photographic effects | Consider an Advanced Camera | Extra creative options, with a more involved crafting requirement. |
| Save an image of your current screen | Use your platform's screenshot tool | Convenient for sharing or troubleshooting, but it captures the displayed view rather than performing a quest action. |
The Advanced Camera is a creative upgrade, not something to buy automatically because a quest mentions a photo. Embark's 2.3.0 notes specifically add Color Push and Black & White filters to the Advanced Camera. Choose it when those options matter to your pictures.
Embark confirms three acquisition routes: buy a Camera from Shani, craft one at the Workbench, or find one Topside. Buying avoids a scavenging detour; crafting uses materials you already own; finding one avoids the purchase but makes your photography plan depend on loot. Check any supplies offered by your accepted quest before spending resources.
For planning, the community-maintained ARC Raiders Wiki lists the Basic Camera recipe as eight Plastic Parts and one Wires item at Workbench 1. Its Advanced Camera entry lists a learned blueprint plus a Camera Lens, a Calculator, and Electrical Components. These item references are useful for comparing resource commitments; confirm the available recipe in your live crafting menu before gathering ingredients.
Sources: Embark’s Frozen Trail update, Basic Camera item data, and Advanced Camera item data. The wiki is community maintained and supported by Embark; its entries are not developer patch notes.
Check your raid loadout, not just your stash. Put the Camera into an available Quick Use slot, then select it from the item wheel when you are ready to shoot. Owning a Camera in storage does not put one in your hands during a raid.
If you are completing an objective, accept the relevant quest or project before leaving. Embark explicitly reminds players to accept the Outpost quest and bring a Camera.
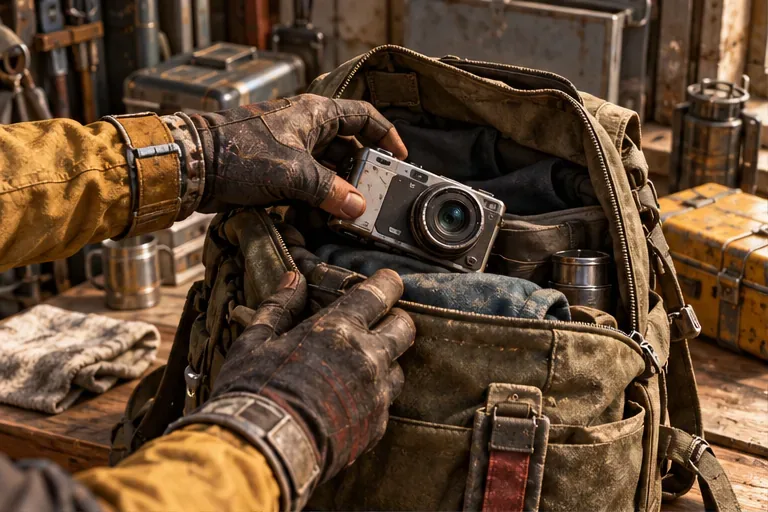
On the standard PC action layout, Q opens the item selection, the right mouse button aims, and the left mouse button activates the equipped item. Select the Camera, raise it to aim, and use the photo control shown on its interface. Follow your displayed binding if you have remapped controls. The community settings reference records the general PC action bindings; the prompt in your running game takes priority.
On PS5 or Xbox, use the item-selection, aim, and capture prompts displayed with the Camera equipped. Frozen Trail changed default gamepad mapping, so a remembered controller shortcut from an older guide may not match your layout.
For an objective, read the exact subject in the tracker. As a practical starting point, keep that subject unobstructed and large enough to identify. Photographing the surrounding scenery is a different task from photographing the named object.
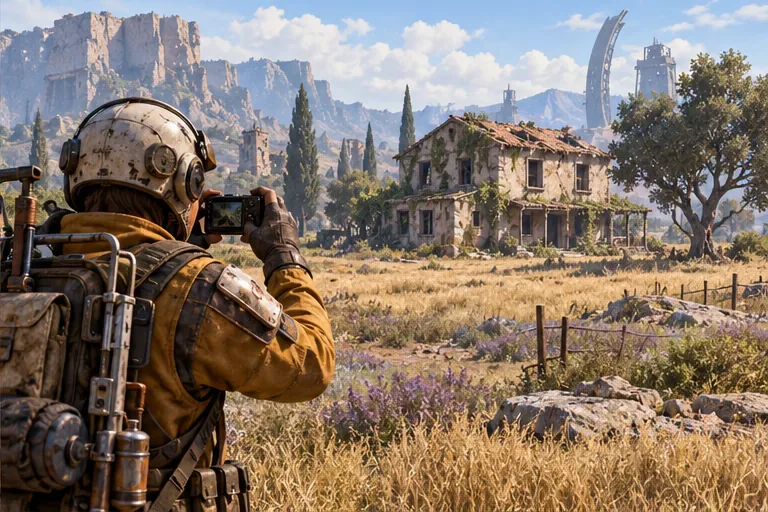
Press the Camera's capture input while aiming at the subject. Then check the quest tracker before moving on. Treat a saved picture and a completed objective as separate checks: the tracker is where you confirm progress.
Choose your position before spending time composing. A quick, clear objective shot is usually the sensible choice when you want to finish a task. For scenic photography, allow more time to find an angle, but keep a route back to cover. These are practical recommendations, not guarantees that a particular angle will satisfy every quest.
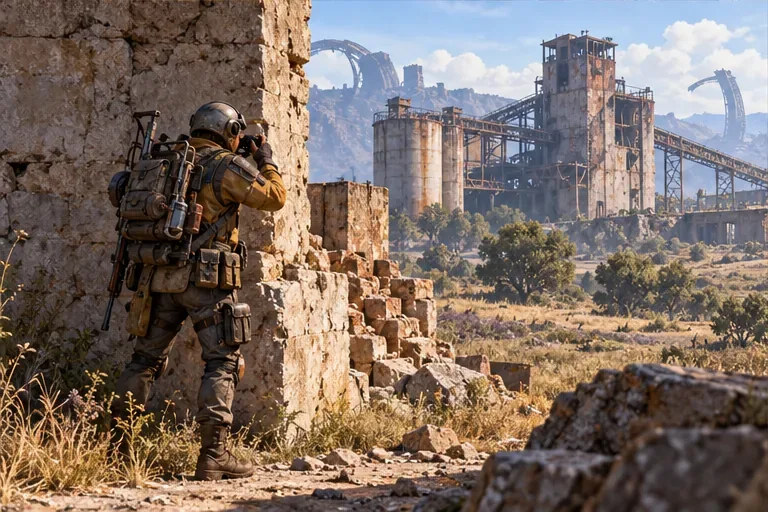
Embark says Camera pictures save to your Codex. Review them there when you are back in a suitable place to browse. The 2.3.0 update also clarified the Basic and Advanced Camera tooltips to explain where saved photos can be viewed. If you cannot find them, read your Camera's current tooltip rather than searching for an assumed desktop folder.
For a separate screenshot, Steam documents F12 as its default screenshot key. On PS5, press the DualSense Create button and choose Take Screenshot. These are platform capture actions, so use them when you want a copy of what is on screen, including a displayed photo. This guide does not assume that the game exports an original Camera image directly to your device.
Platform instructions: Steam screenshot support and PS5 capture support.
| Problem | What to check |
|---|---|
| The Camera is missing from your item selection | Confirm that you carried it into the raid and assigned it to Quick Use. |
| You reached the location but nothing happened | Equip and use the Camera. Do not rely on an old location-interaction walkthrough. |
| You saved a picture but the objective remains incomplete | Re-read the target description, check the active quest, and try a clearer view of the named subject. |
| “Photograph Port A” will not complete | Embark lists this among known issues affecting some players in the 2.3.0 notes. Repeated reframing is not a confirmed fix. |
Frozen Trail explicitly changed photo objectives in The League, Reduced to Rubble, Life of a Pharmacist, Battening Down, and Groundbreaking to use the Camera. The Outpost opener, Research Topside Living Conditions, also requires a farmland-house photograph. Check your active objective for its full requirements.
Embark's camera preview describes zoom, aperture, manual and automatic focus, and selfie features. Aperture and focus affect which parts of a picture appear sharp; those controls are useful for deliberate composition, while an objective run benefits from keeping the subject easy to recognize. Check the options on the Camera you actually equipped rather than assuming both tiers have identical settings.
For a first photography quest, start with the simpler Camera you can obtain readily. For portraits, selfies, or stylized scenery, consider the Advanced Camera and its additional filters. Version 2.3.0 also reduced depth-of-field blur on the Basic Camera to improve selfie clarity, so an upgrade is not the only factor affecting that result.
Developer references: Frozen Trail camera preview and Live Update 2.3.0 camera changes and known issues.
Learn how to download games to your Xbox remotely in 2026, set up Sleep and remote features, choose the right console, and fix stalled installs.
Fortnite lagging despite fast internet? Learn how to identify ping spikes, packet loss, FPS drops, shader stutter, and server issues—and what to try next.
Fix PS5 controller input lag on PC with a wired baseline, firmware updates, Bluetooth checks, Steam Input settings, and a repeatable response test.
Understand how Riot Vanguard anti-cheat works, why it uses a kernel driver, what On-Demand changes, and how privacy, security, and game access fit together.
Yes, Warzone is free to play. Learn what is included, which purchases and subscriptions are optional, and what platform limits to check before downloading.
Find the official VALORANT Mobile APK, check China-region availability, install it on Android, and understand how it differs from the Riot Mobile companion app.
Find out where you can play League of Legends, which PCs and Macs are supported, how Wild Rift differs, and what Xbox, browser, and region listings mean.
Learn how to play PUBG on Mac by streaming from a Windows PC with Steam Link, plus setup steps, compatibility limits, and fixes for common problems.
Learn how to save your game in GTA 5 with Quick Save, safehouse beds, and autosave, plus how to leave GTA Online and check that your progress was saved.
Can you still download Warzone on PS4? Check the 2026 restrictions, existing-library reinstall steps, support cutoff, and fixes for eligible downloads.