Git é un dos sistemas de control de versións máis populares, que che permite facer un seguimento de todos os cambios realizados nos ficheiros para que, cando sexa necesario, poidas volver facilmente a unha versión anterior. Git permíteche ter un repositorio local e outro remoto, fomentando a colaboración doutros e levando todos eses cambios a unha única fonte.
Hai algunhas formas de instalar Git en Windows 11. Aquí tes todo o que necesitas saber sobre el.
Contidos
Requisitos previos para instalar Git en Windows 11
Antes de comezar, hai algúns requisitos previos para instalar Git en Windows. Aquí están:
- Privilexios de administrador para a súa conta de Windows
- Acceso a unha ferramenta de liña de comandos (como CMD ou PowerShell)
- Nome de usuario e contrasinal para Git (opcional)
- O teu editor de texto favorito
- Ubuntu en WSL (se estás instalando nel)
Relacionado: Como crear un punto de restauración en Windows 11
Como instalar Git en Windows 11
Agora, vexamos como instalar Git do xeito tradicional. Aquí tes como facelo:
Paso 1: Descarga Git
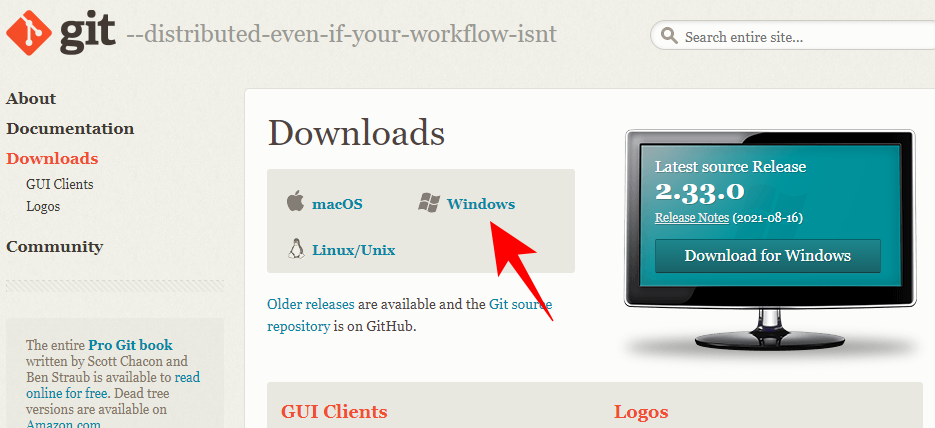
O primeiro paso é obter o ficheiro de configuración de Git. Para facelo, preme na seguinte ligazón:
Descarga : Páxina oficial de Git
Na páxina de descargas, fai clic en Windows para obter o ficheiro de configuración máis recente.
Paso 2: executa a configuración de Git
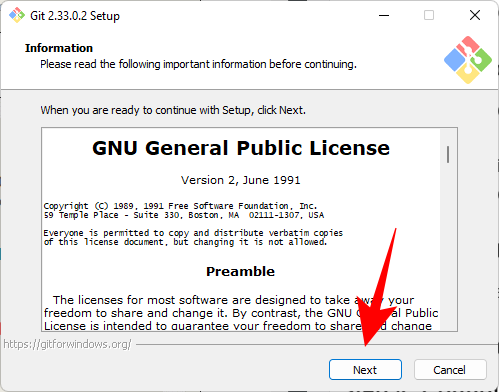
Agora, navegue ata o ficheiro de configuración descargado e prema dúas veces para executar o instalador. Fai clic en Seguinte .
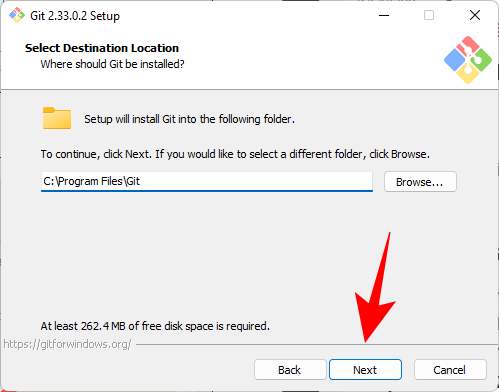
Manteña a localización de instalación predeterminada e faga clic en Seguinte .
Na seguinte pantalla, poderás seleccionar os compoñentes que queres instalar. A menos que necesites cambiar algo en concreto, recomendamos manter as opcións configuradas como predeterminadas. A continuación, fai clic en Seguinte .
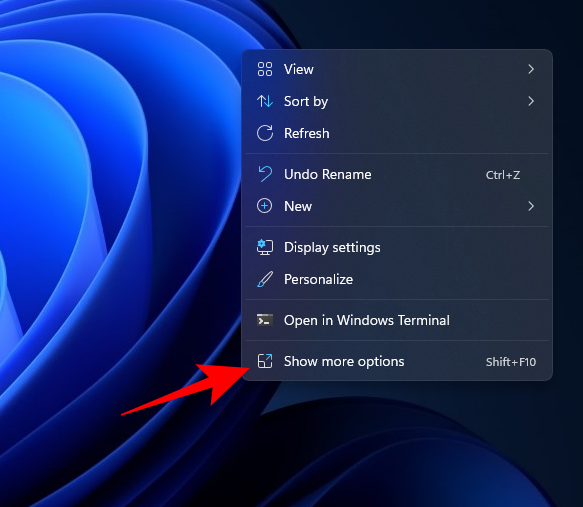
Fai clic de novo en Seguinte .
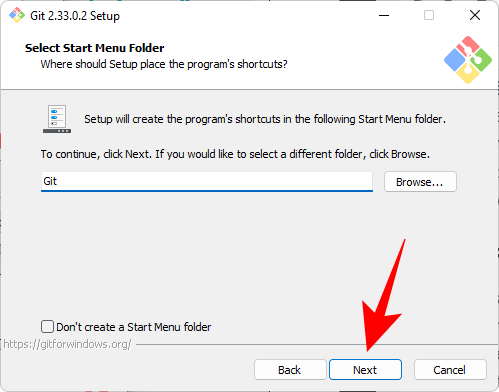
Na seguinte pantalla, terás que escoller o editor predeterminado para Git. Fai clic no menú despregable para facelo.
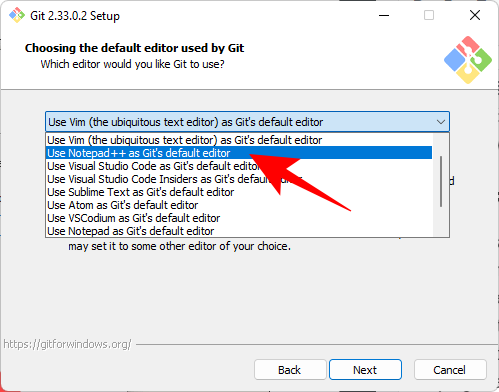
A continuación, selecciona o teu editor de texto. Imos con Notepad++.
Fai clic en Seguinte .
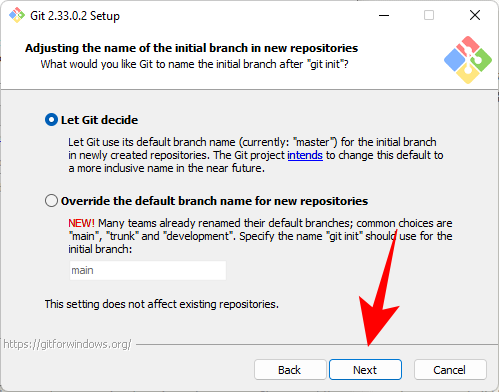
Na seguinte pantalla, terás a opción de escoller un nome diferente para a rama inicial nos novos repositorios. O nome predeterminado é 'master'. Mantéñase así a menos que queiras outro diferente e fai clic en Seguinte .
O seguinte paso engade o ambiente PATH para Git ao executar comandos desde aplicacións de liña de comandos (como CMD e PowerShell). Mantéñase configurado como predeterminado e faga clic en Seguinte .
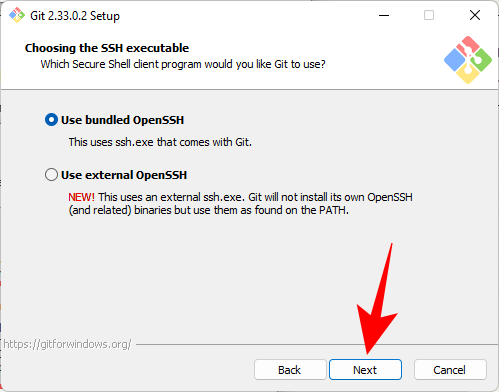
Agora, escolla o programa cliente Secure Shell para usar Git. Como o instalador vén incluído co OpenSSH, aquí non hai cambios necesarios (a non ser que queiras usar un OpenSSH externo). Fai clic en Seguinte .
Ao escoller certificados de servidor, recomendamos utilizar a biblioteca OpenSSL predeterminada. Fai clic en Seguinte .

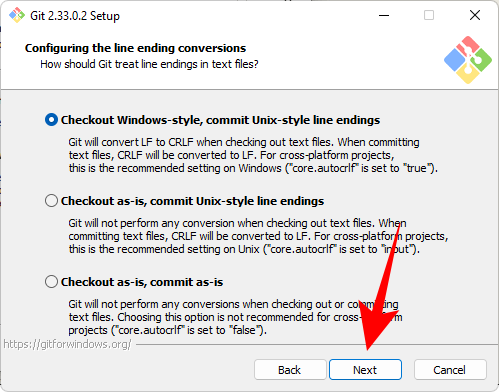
Esta sección permíteche configurar conversas de final de liña. Déixao como predeterminado e, a continuación, fai clic en Seguinte .
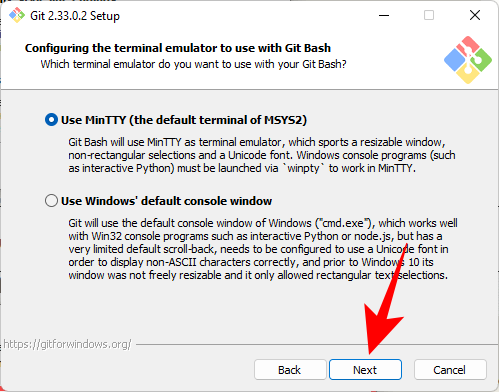
Agora escolle o teu emulador de terminal. De novo, recomendamos seguir co MinTTY predeterminado. Fai clic en Seguinte .
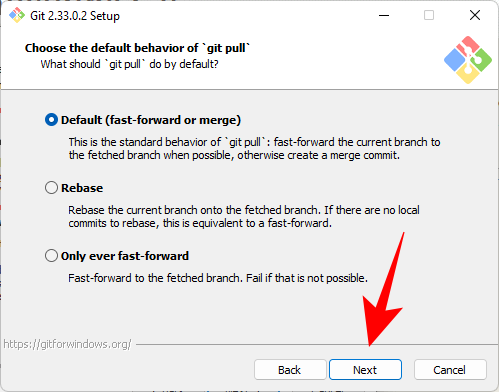
Manteña o comportamento predeterminado do comando git pull. Como antes, se non queres cambiar o seu comportamento, recoméndase a opción predeterminada. Fai clic en Seguinte .
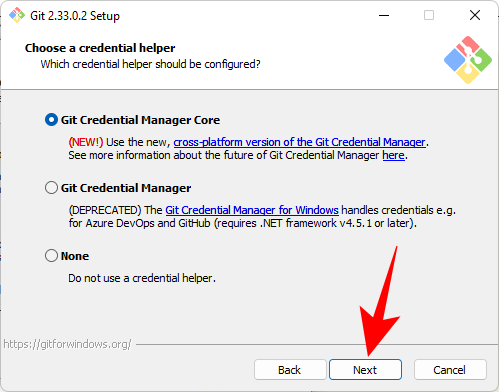
Agora, tes que escoller un axudante de credenciais que che axude a conseguir e gardar as credenciais. O núcleo de Git Credential Manager (selección predeterminada) é o máis estable do lote, así que só tes que facer clic en Seguinte .
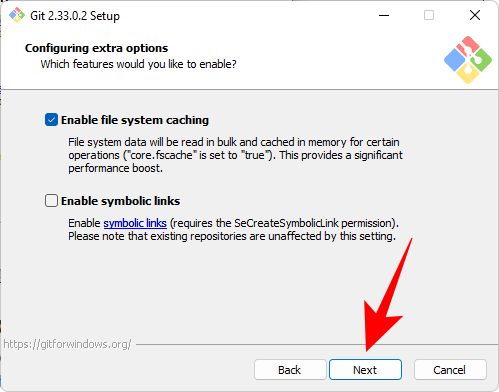
Tamén hai algúns extras para configurar. A primeira opción (seleccionada por defecto) é "Activar a caché do sistema de ficheiros". Isto é importante para determinadas funcións e tamén proporciona un aumento significativo do rendemento. A outra opción é "Activar ligazóns simbólicas", que son similares aos atallos da liña de comandos. Selecciónao se os usas ou déixao estar se non. A continuación, fai clic en Seguinte .
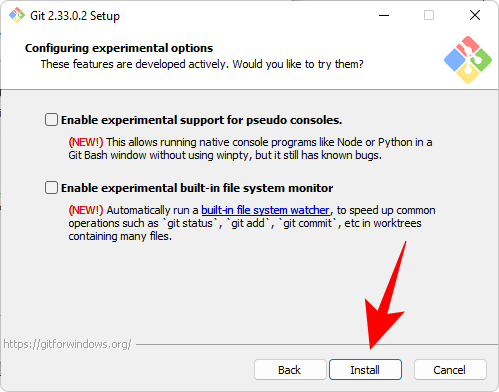
The last few options you get are “support for pseudo consoles” and a “built-in file system monitor”. These are experimental features that are being actively developed. So, unless you want to try them out, we recommend leaving them unchecked. Then, finally, click on Install.
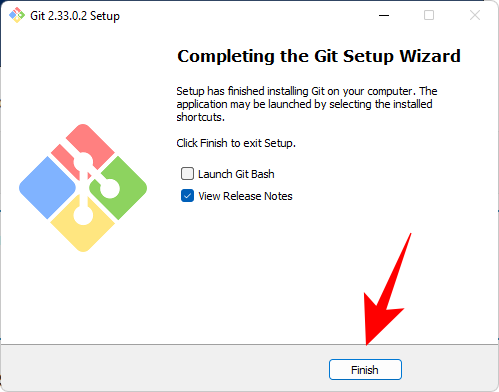
Once the installation is complete, click Finish.
Related: All the Windows 11 Shortcuts
Step 3: Check Git version
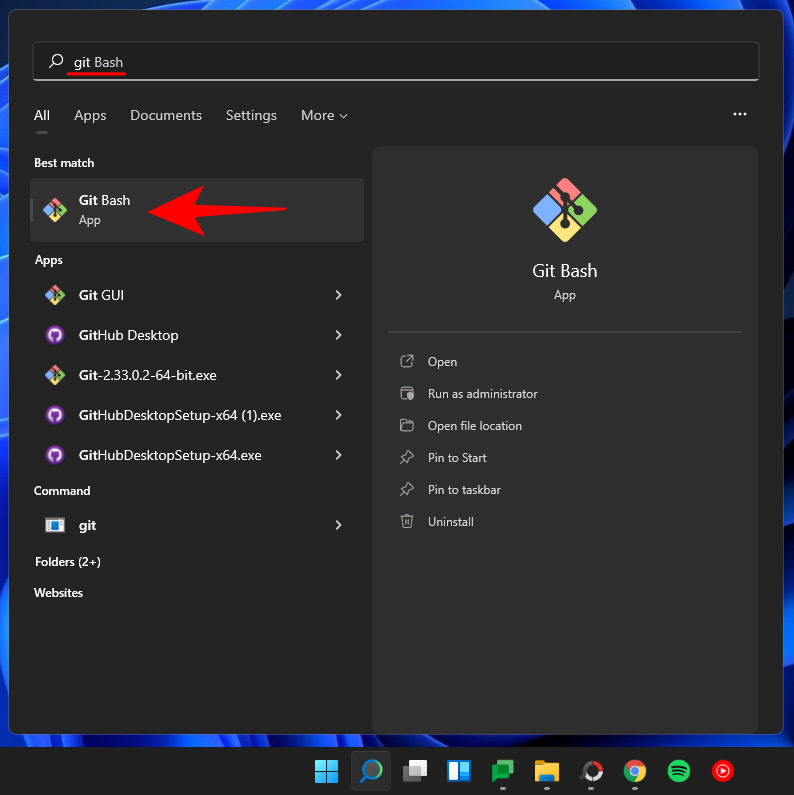
Once you’ve installed Git, it’s time to check if Git is installed properly and its version. To do this, launch the Git Bash from the Start menu.
Then type the following command and hit enter:
git --version
You should see the git version installed on your PC.

Step 4: Configure Git with username and email
To start using Git on Windows 11, you need to configure it by entering your credentials. Here is how you can do so:
Open Git Bash, then type the following to add your user name:
git config --global user.name "your user name"
Make sure to replace “your user name” with your actual username. Then press Enter.

Now type the following command:
git config --global user.email "your email address"
Again, make sure to replace “your email address” with your actual email address associated with your Git account. Then press Enter.

Now, if you want to check the configuration, type the following:
git config --global --list
Then press Enter.
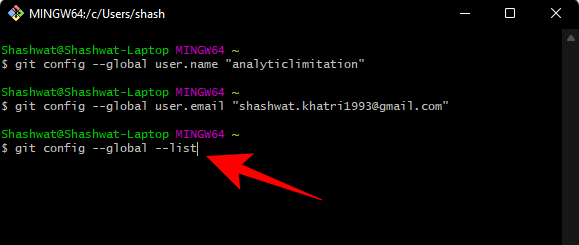
You will see your configuration details.
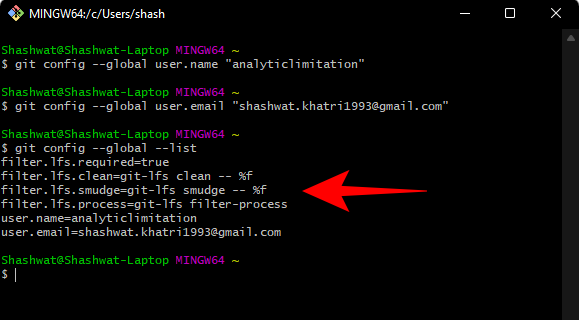
Note: The --global command tells Git to use the information you provided for all that you do on your system. If you use --local instead, the configuration will only apply to your current repository.
Related: How to Change a Wallpaper on Windows 11
Install GitHub Desktop for Windows 11
If you’re looking to get a GUI-aided application to manage your Git repositories and have others collaborate on it, GitHub Desktop is your friend. Its installation is also a very simple process.
Download: GitHub Desktop
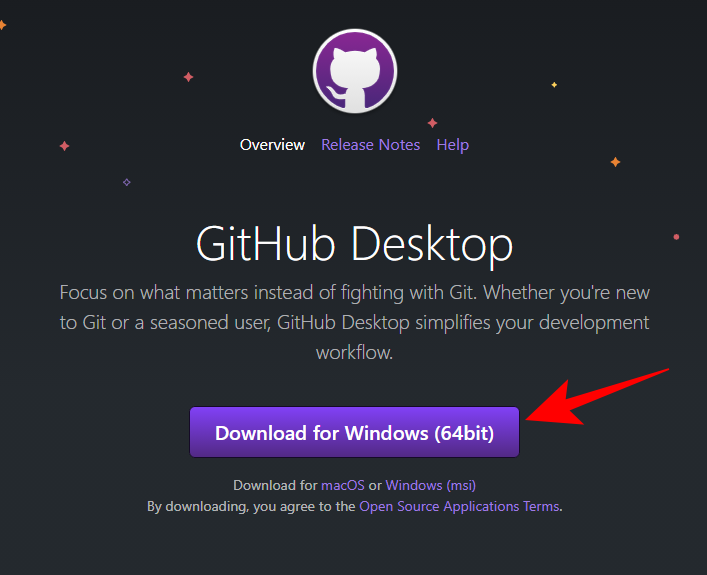
Go to the above link and click on Download for Windows (64-bit).
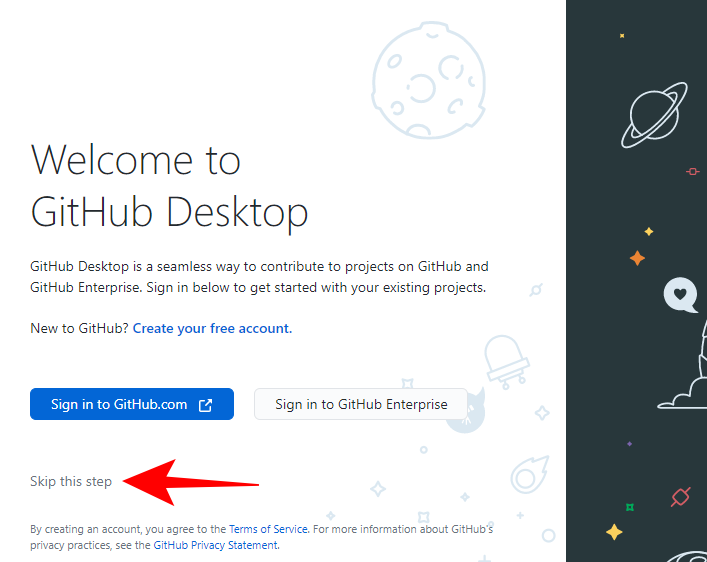
Then run the downloaded setup. The setup won’t require any changes and install GitHub automatically. Upon launch, you have the option to sign in to GitHub.com. Or you can go ahead and Skip this step.
Type in your username and email. Then click Finish.
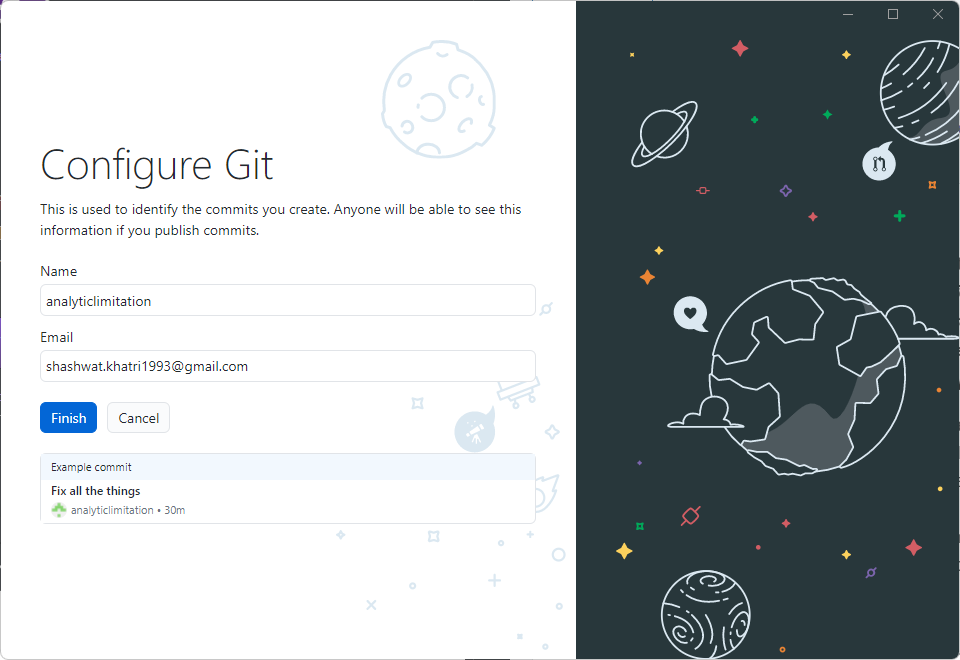
And that’s it! GitHub Desktop is now ready to use.
Related: How to Install PIP on Windows 11
Use Git with PowerShell
There’s a common misconception that Git only works well with Git Bash when in fact it works just as nicely on PowerShell too. But there’s a little addition that you have to make to PowerShell before that can be done.
Check for Execution Policy
First up, you need to have the PowerShell ExecutionPolicy set to “RemoteSigned”. So press Start, type powershell, and click on Run as administrator.
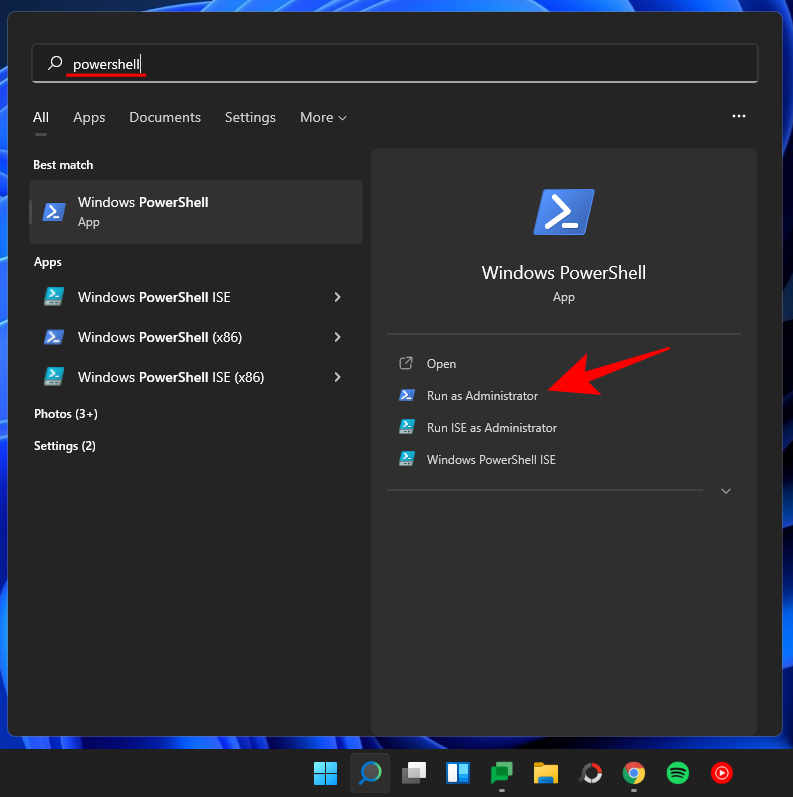
Now type the following command in PowerShell:
Get-ExecutionPolicy
Press Enter.
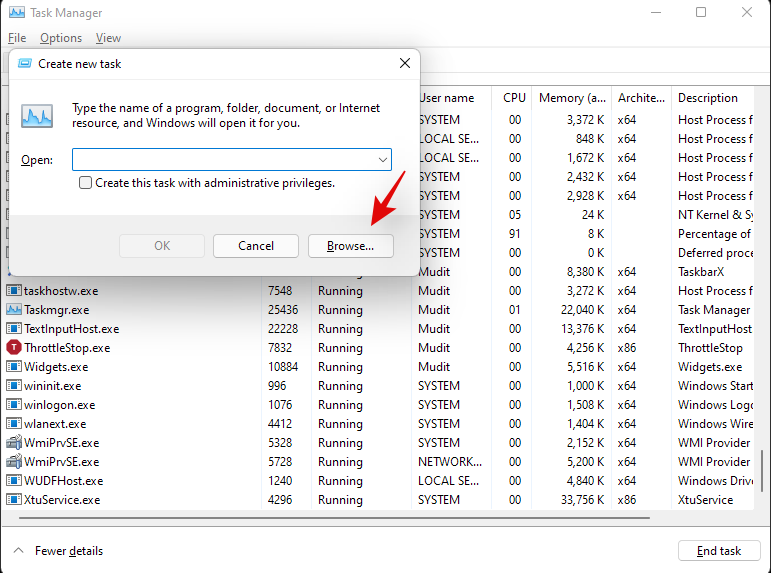
If you receive the “RemoteSigned” message, then it is already set.

If not, then type the following command:
Set-ExecutionPolicy -Scope CurrentUser -ExecutionPolicy RemoteSigned -Force
Then press Enter.

Now you’re ready to install the git module in PowerShell.
Add the Posh-git module
To add the Posh-git module, type the following command:
Install-Module posh-git -Scope CurrentUser -Force
Then press Enter.
Next, we’re going to import the module into PowerShell. To do this, type the following command:
Import-Module posh-git
Press Enter.

You may want to make sure that the module loads as default. For this, type the following command:
Add-PoshGitToProfile -AllHosts
Press Enter.

You are now ready to use PowerShell for your git experience whenever you’re in a directory with a git repository.
Install Git on Ubuntu WSL
If you’ve installed Ubuntu on Windows Subsystem for Linux (WSL), you can also install Git on it. Here’s how to go about it.
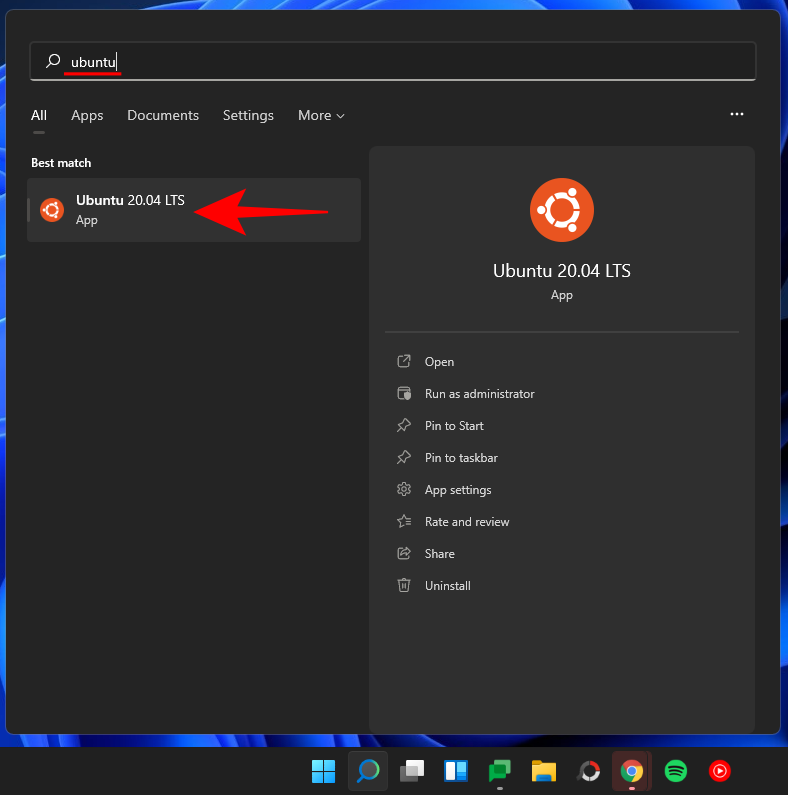
Open the Ubuntu App.
Then type the following command:
sudo add-apt-repository ppa:git-core/ppa
Press Enter.

Then enter your password and press Enter.

Press Enter to continue adding the git repository.

Now type the following command to update it.
sudo apt-get update
Press Enter.

Now type the following to install git:
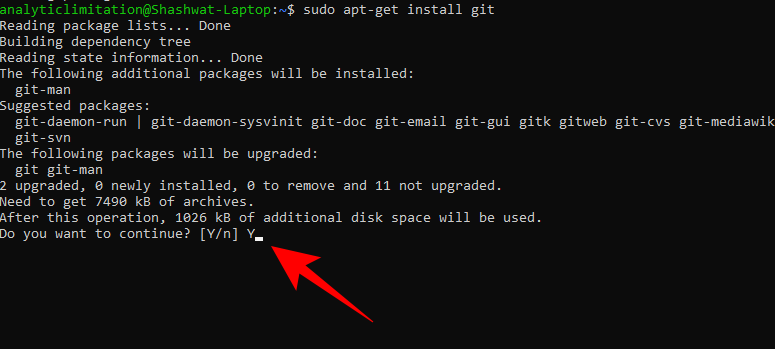
sudo apt-get install git
Press Enter.

When asked to confirm, type Y and press Enter.
You have now installed Git on Ubuntu WSL.
Frequently Asked Questions (FAQs)
Installing git to manage application versions and collaborating with others can be a little tricky for beginners and it’s natural to have questions about it. Here we address a few commonly asked queries that users generally have when installing git on Windows 11.
Can I use git in cmd?
When you install the Git GUI, you also install Git Bash and Git CMD. The latter is a command-line tool that is exactly like the Windows console but better at all things related to Git.
What is the difference between local and remote git repositories?
Git repos (short for repositories) come in two kinds – local and remote. In simplest terms, the local git repository is the one that you create and manage locally, that is, on your computer alone. Its features and functions are exactly like any other git repository.
On the other hand, the purpose of a remote repository (such as GitHub) is to share your own codes and files with the world, allowing others to branch, merge, rebase, etc.
Does installing GitHub install Git?
Yes, if you don’t already have git, GitHub will install git’s latest version as well.
We hope you were able to easily install git on your Windows 11 PC.
RELATED


