Ever joined a Microsoft Teams call only to hear awkward silence or see a blurry feed? 😩 You're not alone. Testing your setup beforehand is the secret to seamless communication. This guide walks you through how to test your Microsoft Teams audio and camera before a call – simple, quick, and foolproof. Let's dive in and make your next meeting shine! ⭐
Why Bother Testing Your Microsoft Teams Audio and Camera?
Picture this: You're presenting to the boss, but your mic is muted or your video is frozen. Disaster! Pre-call checks prevent 99% of issues, boost confidence, and impress your team. Microsoft Teams makes it effortless with built-in tools. Ready to level up? Follow these steps.
Step-by-Step: How to Test Your Audio in Microsoft Teams
Start with sound – the heart of any call. Here's how to test Microsoft Teams audio in under a minute.
- 1️⃣ Open Teams Settings: Launch the Microsoft Teams app (desktop, web, or mobile). Click your profile picture > Settings > Devices.
- 2️⃣ Select Your Microphone: Under Audio devices, choose your mic from the dropdown. Speak into it – watch the green bar jump! No movement? Switch mics.
- 3️⃣ Make a Test Call: Go to Calendar > Meet now. In the pop-up, click Make a test call. Teams plays back your voice. Crystal clear? 👍 You're golden.
Pro tip: Use headphones to kill echo. Still fuzzy? Check Windows/Mac sound settings outside Teams.
How to Test Your Camera in Microsoft Teams – Crystal Clear Every Time
Video woes? No more. Testing your camera ensures you're seen sharp and professional.
- 1️⃣ Access Devices: Back in Settings > Devices, pick your camera under Camera.
- 2️⃣ Preview Live Feed: Your preview pops up instantly. Adjust lighting, angle – smile! 👏 If it's dark or glitchy, tweak brightness.
- 3️⃣ Test in a Call: During your test call (from audio steps), toggle video on. See yourself? Perfect. Toggle effects if needed for fun backgrounds.
Bonus: Grant Teams camera/mic permissions in your browser or OS for web users.
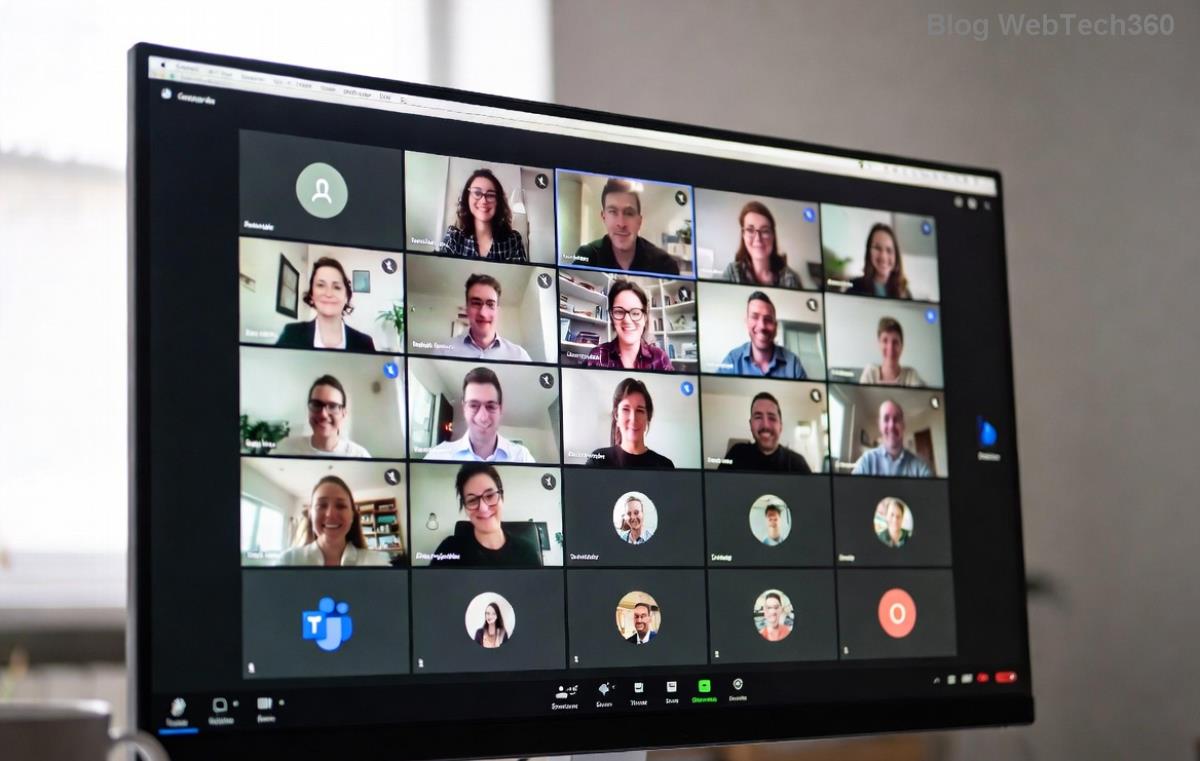
Leverage Microsoft Teams' Built-in Test Call Feature
The star of the show? Teams' Make a test call button. It simulates a real meeting:
- Records and plays back audio/video.
- Checks speakers, mic, and camera together.
- Flags issues with easy fixes.
Access it anytime via Calendar > Meet now. Do this 5 minutes before every call – habit-forming and stress-free!
Troubleshooting Common Teams Audio and Camera Issues
Glitches happen. Here's a quick-fix table:
| Issue |
Solution |
| No audio detected |
✅ Check mic permissions. Restart Teams. Update drivers. |
| Camera not showing |
✅ Close other apps using camera (Zoom, etc.). Re-plug USB. |
| Echo or feedback |
✅ Use headset. Mute others in large calls. |
| Choppy video |
✅ Lower resolution in Devices. Check internet speed. |
For deeper dives, visit Microsoft's official Teams audio/video guide.
Pro Tips to Ace Every Microsoft Teams Meeting
- Update Teams: Always run the latest version for bug fixes.
- Lighting Matters: Face a window or use a ring light for pro vibes.
- Backgrounds: Blur or customize – but test for lag.
- Mobile Users: Swipe up in Teams app > Settings > Test devices.
- Schedule Tests: Set a reminder for high-stakes calls.
These tweaks turn good meetings into great ones. Imagine the applause when your setup is flawless! 🎉
Wrap-Up: Test Now, Stress Less Later
Mastering how to test your Microsoft Teams audio and camera before a call is your ticket to confident, glitch-free interactions. Practice once, thank yourself forever. Got a big meeting tomorrow? Run that test call now. Your team will notice – and appreciate it.
Share your tips in the comments or try it and drop a ⭐ if it worked! Stay connected. 🚀


