Windows 11: Destinatario de correo Falta no menú Enviar a.
Busca a opción Destinatario de correo no menú Enviar a en Microsoft Windows 11.
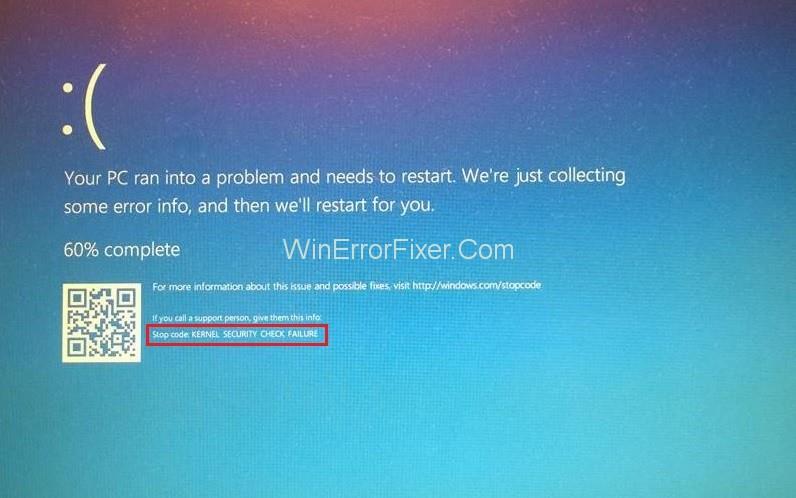
O erro " Kernel Security Check Failure " adoita enfrontarse aos usuarios de Windows 10. O seu código de erro é 0x000000139. É unha das diversas causas da pantalla azul da morte (BSoD). Os usuarios que o atopen ven unha pantalla azul coa mensaxe "O teu PC tivo un problema e ten que reiniciarse. Estamos a recompilar información de erros e despois reiniciaremos por ti " . Moitas veces, o sistema pode entrar nun bucle indefinido e non poder reiniciarse correctamente. Este artigo trata sobre as causas deste erro e as formas de solucionalo.
Hai unha serie de posibles causas do fallo da comprobación de seguranza do núcleo. Prodúcese principalmente despois dunha actualización de Windows, cando os controladores son incompatibles co sistema actualizado. Outras posibles causas inclúen a infección por malware, o disco duro defectuoso ou a corrupción dos ficheiros do sistema. En función destas causas, existen varias técnicas para corrixir o erro de erro da comprobación de seguranza do núcleo.
Contidos
Como corrixir o erro de falla da comprobación de seguranza do núcleo en Windows 10
O sistema pode reiniciarse correctamente despois de mostrar a pantalla azul e a mensaxe de erro. Non obstante, pode que se produza un bucle e non se reinicie e o usuario non poida iniciar sesión. Dependendo de cal destes escenarios exista, as seguintes solucións poden axudar a corrixir o erro da comprobación de seguranza do núcleo.
Solución 1: verifique a ranura de memoria
As ranuras de memoria dun ordenador determinan a natureza da RAM. Un problema coas ranuras da memoria ou da RAM pode ser a causa do erro da comprobación da seguranza do núcleo. Examine manualmente as ranuras de memoria e asegúrese de que están colocadas correctamente nos sockets ou de que non se danan. Consulte a un experto técnico para obter axuda con este método.
Solución 2: comproba o teu disco duro
Como na solución anterior, comprobe manualmente se o disco duro está inserido e funciona normalmente. De novo, busque axuda de expertos con este método.
Solución 3: actualiza o teu PC
O problema pódese resolver instalando calquera actualización pendente do sistema operativo Windows. Para facelo, siga os seguintes pasos:
Paso 1: vai a Configuración no menú Inicio ou preme Windows + I.
Paso 2: en Configuración, selecciona Actualización e seguridade.
Paso 3: na sección Actualización de Windows, comprobe as actualizacións dispoñibles e instálaas.
Despois de instalar a última actualización de Windows, comprobe se o problema está resolto.
Solución 4: escanea o teu PC
O fallo da comprobación de seguranza do núcleo pode ocorrer debido á invasión de malware no sistema. Se esa é a causa, un exame completo do sistema detectarao. Podes escanear o teu ordenador co programa antimalware integrado de Windows, Windows Defender ou o software antivirus de terceiros instalado desde a liña. Para realizar unha exploración completa do sistema mediante Windows Defender, siga os pasos seguintes:
Paso 1: vai a Configuración> Actualización e seguranza e selecciona Windows Defender. Alternativamente, busque Windows Defender na barra de busca de Windows e ábreo.
Paso 2: vai a "Protección contra virus e ameazas".
Paso 3: na xanela Protección contra virus e ameazas, faga clic na opción Análisis avanzado.
Paso 4: Seleccione a opción Escaneo completo.
Despois da exploración e eliminación do malware, comprobe se o erro foi corrixido. Se Windows Defender non pode eliminar o malware, proba a usar un programa de terceiros para eliminalos.
Solución 5: habilite o menú de inicio avanzado
Este método é útil se non pode iniciar sesión no sistema debido ao erro. Para iso, necesitas un disco de arranque ou unidade flash de Windows 10. Despois de obter ou crear un, siga os pasos seguintes:
Paso 1: acenda o ordenador e insira o disco ou a unidade de inicio.
Paso 2: mentres o dispositivo está acendido, preme F12 e abre o menú de inicio.
Paso 3: Seleccione a opción Arrancar desde unidade/disco e prema Intro.
Paso 4: se aparece a mensaxe "Preme calquera tecla para continuar", preme calquera dos botóns do teclado segundo as instrucións.
Step 5: The Windows Setup box will appear. In it, click Next.
Step 6: Then, select “Repair your computer”.
Step 7: Under “Choose an option”, select Troubleshoot.
Step 8: Under Troubleshoot, select Advanced Options.
Step 9: Then, select Command Prompt.
Step 10: Once Command Prompt opens, type C: and press Enter.
Step 11: Next, type the following command and press Enter. Running this command will enable legacy advanced boot menu.
BCDEDIT /SET {DEFAULT} BOOTMENUPOLICY LEGACY
Step 12: After this command is executed, type Exit and press Enter to exit Command prompt
Step 13: Return to the “Choose an option” screen and then click Continue, and start Windows successfully
After this entire process, verify whether the Kernel Security Check Failure error is fixed.
Solution 6: Use System File Checker and Memory Diagnostic
If the first method is unable to start Windows properly, conduct a system file checker (SFC) scan and a memory diagnostic. The problem might be due to corrupted system files or hardware issues.
Step 1: If you are able to log into your system, you need to restart in safe mode before SFC or memory diagnostic scan. Go to Settings → Update and Security → Recovery → Advanced Startup and click Restart Now.
If you are unable to log in, use the bootable media just as in the previous method. Alternatively, press F12 repeatedly while the computer restarts, to access the Advanced Options screen.
Step 2: In the next screen, select Troubleshoot.
Step 3: Then select Advanced Options.
Step 4: In the Advanced Options screen, select Startup Settings.
Step 5: In the next screen, click the Restart button in the bottom right portion.
Step 6: Once the system restarts, open Command Prompt with administrator privileges. To do so, search “cmd” in the Windows search bar and click “Run as administrator” option
Step 7: Type the following command and press Enter to run it:
sfc /scannow
Step 8: Wait for the scan to be concluded. If any error is detected, it will be repaired automatically. Then type Exit and press Enter to exit Command Prompt.
To check the RAM for problems, run the Windows Memory Diagnostic. Follow the steps below to do so:
Step 1: Search “memory” in the Windows search bar. As Windows Memory Diagnostic appears in the result, right-click and select “Run as administrator” option.
Step 2: Select “Restart Now and check for problems”.
Step 3: Wait for the restart and diagnostic process to conclude. Windows will detect any problem existing in the RAM.
Solution 7: Check Your Disk for Errors
The error is often caused due to a fault or corruption in the hard disk. Scanning the disk for any problem and removing it if any may fix the error. To conduct a disk scan, follow the instructions below:
Step 1: Open Command Prompt as administrator. Search “cmd” in Windows search bar, then click “Run as administrator”.
Step 2: Type the following command and press Enter:
chkdsk c: /f /r
If the system file is in any other drive, mention that drive instead of c.
Step 3: The scan may not be possible immediately if the system file is in C, the primary drive, as it is in use. You will be asked if you want to schedule the scan for the next system reboot. Type y to answer yes, and press Enter.
Step 4: Restart the system. The scan will then start automatically. Once complete, check whether the error has been rectified.
Solution 8: Kernel Security Check Failure After Overclock
Many users install overclocking software to alter the default frequency of any process or driver of the computer. This is intended to enhance the performance of the PC or any of its components. However, overclocking can lead to overheating and damage the device components, hence affecting the functioning of the PC.
This is a possible cause of the Kernel Security Check Failure error. In such a case, removing the overclocking software is the best option. Uninstall it and restore the computer to its default configuration. Then check whether the problem has been fixed.
If you have not used overclocking, this solution is not applicable.
Solution 9: Run System Restore
In case the error occurred after any recent installation of a new app or update, conducting a system restore may fix it. This involves restoring the system to a previous configuration. You should have created a suitable restore point in order to implement this solution. To go about this solution, follow the steps below:
Step 1: Open Settings and select Update and Security.
Step 3: Select “Recovery” in the left panel.
Step 4: Under “Reset this PC”, click the “Get Started” button.
Step 5: Among the displayed options, select “Keep your Files”. This will save your personal files, but some other data and features will be lost during the process.
Step 6: Proceed as per the displayed instructions to complete the System Restore.
Solution 10: Run Safe Mode
Booting the system in safe mode implies starting the system with bare minimum processes. This will help you determine whether the error is caused by a system problem, or by any other application or process. Following are the steps to restart the computer in safe mode:
Step 1: Open the Run dialogue box by pressing Windows + R and then type in it “msconfig” and press Enter.
Step 2: In the window that will open, go to the Boot tab.
Step 3: Under Boot Option, select Safe Boot. In case you want to run safe mode with an internet connection, select the Network option. Then click Apply and OK.
Step 4: In the new small window that will appear, click Restart.
If the error no longer exists after restarting, it means some other program or process was the cause. If it still persists, a system error is the cause. Depending on the case, proceed as per any of the above methods.
Read Next:
Conclusion
Thus, the various techniques of fixing the error of Kernel Security Check Failure have been discussed. If you are unable to log into Windows, try accessing the Windows Recovery options by pressing F12 or by restarting several times, or use a Bootable device. Subsequently, proceed as per any of the above methods. Depending on the cause of the error, anyone the given solutions must work.
Busca a opción Destinatario de correo no menú Enviar a en Microsoft Windows 11.
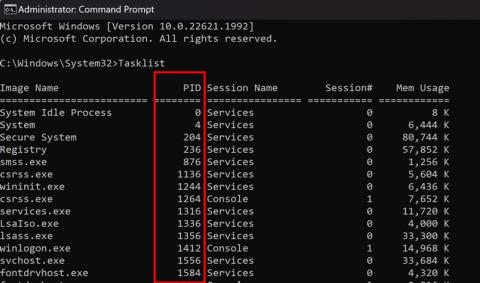
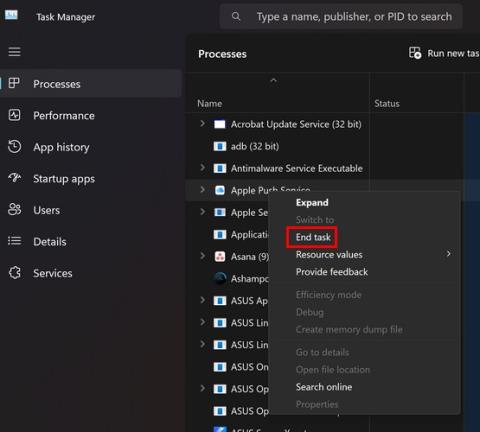
Atopa facilmente un ID de proceso de aplicación para Windows 11 usando varios dos métodos mencionados neste artigo. Aquí como obter resultados instantáneos.
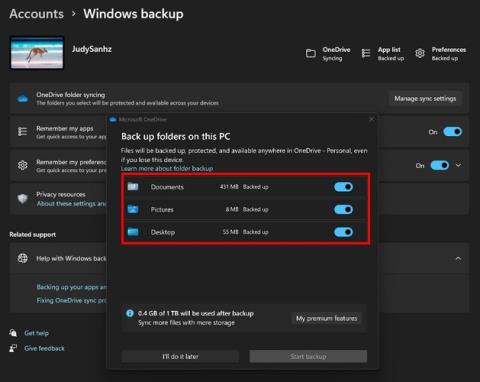
Vexa o rápido que pode restablecer o seu ordenador con Windows 11 para dar un novo comezo a eliminar eses molestos problemas. Aquí están os pasos para principiantes.
Crea e personaliza escritorios virtuais en Windows 11 seguindo estes pasos para principiantes para separar o teu traballo e as cousas persoais.
Descobre as diferentes formas en que podes comprobar a intensidade do teu sinal wifi. Vexa como ver tamén a porcentaxe exacta do sinal.
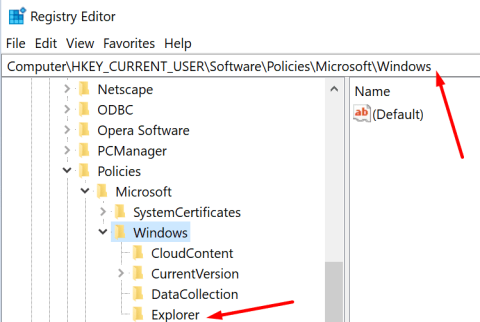
Desactivar a busca de Bing debería ser suficiente para desfacerse das buscas rápidas. Podes facelo a través do Editor de rexistro de Windows 11s.
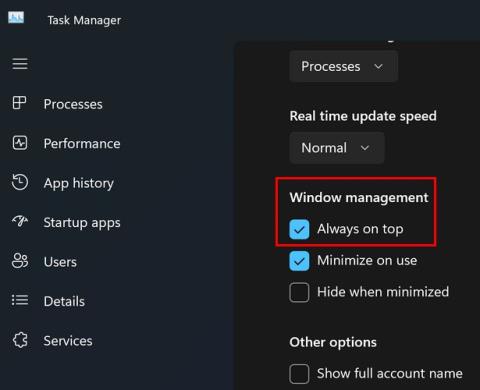
Manteña o Xestor de tarefas sempre en primeiro lugar en Windows 11 para que sexa fácil de atopar cando necesites ler a aplicación. Aquí están os pasos a seguir.
Corrixa a tecla ESC que non funciona en Windows 11 para que poidas usar o teu teclado como sempre o fixeches seguindo estes consellos sinxelos.
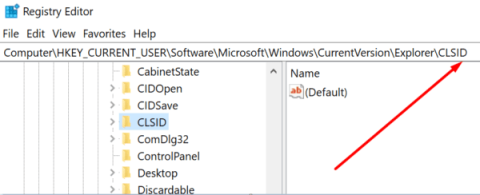
Os ficheiros baleiros do escritorio adoitan ser restos de antigas instalacións de Microsoft Office. Elimina a clave do rexistro de NameSpace para solucionar o problema.
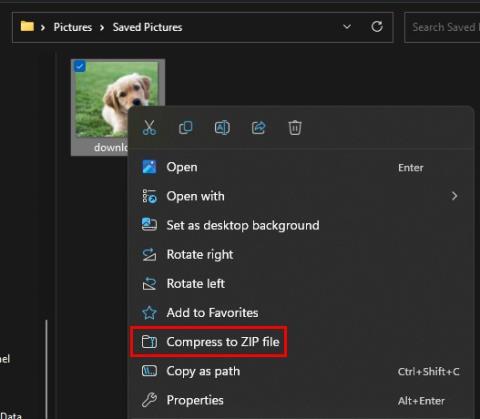
Descobre como podes comprimir facilmente ficheiros en Windows 11 sen necesidade de software de terceiros. aquí están os pasos amigables para principiantes.
