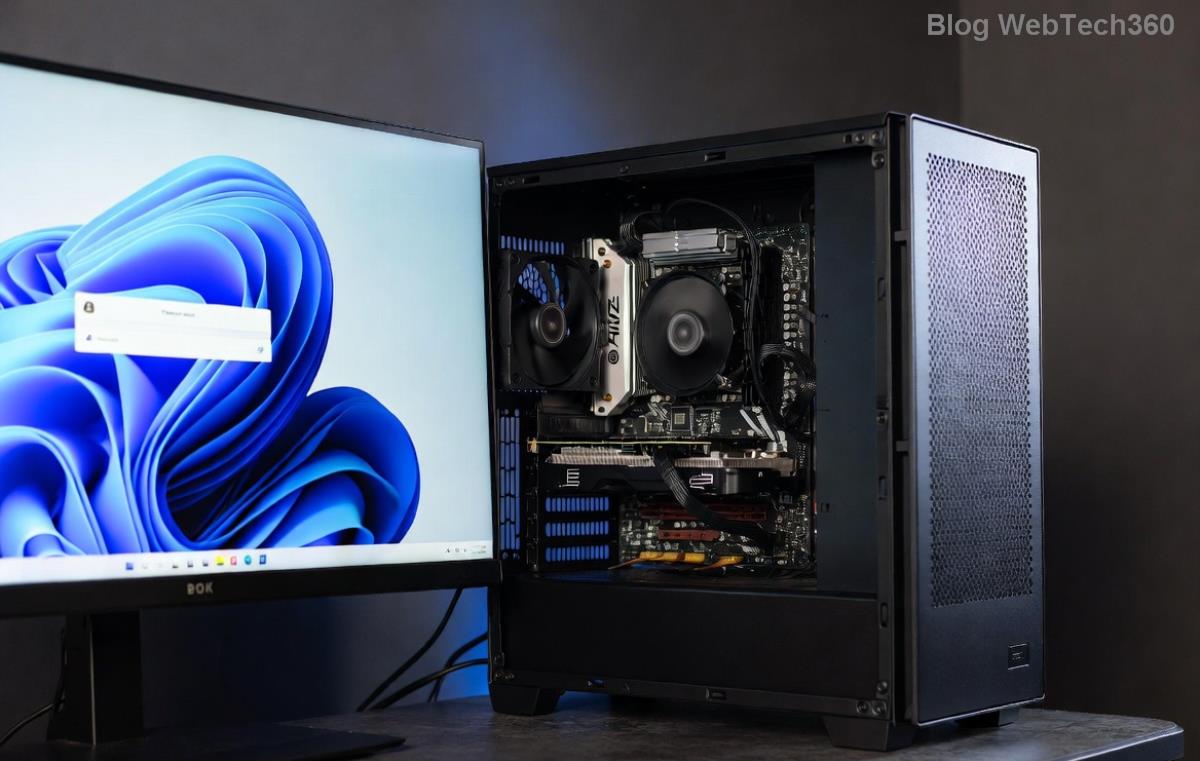
Are you excited to upgrade to Windows 11 but hitting roadblocks with hardware checks? 😊 Don't worry—enabling TPM 2.0 in your BIOS is a straightforward fix that unlocks a world of enhanced security and performance. This guide will walk you through the process with clear, actionable steps, ensuring you breeze through setup without frustration. By the end, your PC will be fully compliant and ready for the latest OS features.
What is TPM 2.0 and Why Does Windows 11 Require It?
Trusted Platform Module (TPM) 2.0 is a hardware-based security chip built into most modern motherboards. It acts like a digital vault, safeguarding encryption keys, passwords, and sensitive data from unauthorized access. Microsoft mandates TPM 2.0 for Windows 11 to bolster defenses against malware and cyber threats, making your system more resilient in today's digital landscape.
Without it enabled, you'll encounter the dreaded "This PC can't run Windows 11" message during installation. But enabling it not only satisfies requirements—it's a smart move for overall PC security. Think of it as giving your computer an invisible shield! 🚀
Before You Start: Check if Your PC Supports TPM 2.0
👆 First things first—confirm your hardware compatibility. Not all older PCs have TPM 2.0, but many do via firmware (fTPM) on AMD or Intel platforms.
- Step 1: Press Windows + R, type
tpm.msc, and hit Enter. If TPM is present but disabled, you'll see a status message.
- Step 2: For deeper checks, download Microsoft's PC Health Check app. It scans for TPM 2.0, Secure Boot, and other essentials.
- Step 3: Restart into BIOS (more on this below) and look for TPM options. If absent, your motherboard might need a BIOS update—check your manufacturer's site.
If your PC lacks native support, consider a discrete TPM module (around $20-50), but firmware-based options are free and sufficient for most users.
How to Access Your BIOS/UEFI Settings
Entering BIOS is your gateway to enabling TPM 2.0. The process varies by manufacturer, but here's the universal approach:
- Power on your PC and immediately tap the BIOS key repeatedly. Common keys include:
- Delete (Del) for ASUS, MSI, Gigabyte
- F2 for Dell, HP, Lenovo
- F10 or F12 for some Acer models
- Esc for Toshiba
- If you're on Windows 11 (or 10), use the easy method: Go to Settings > Update & Security > Recovery > Advanced Startup > Restart Now. Then, choose Troubleshoot > Advanced Options > UEFI Firmware Settings.
- Once inside, navigate using arrow keys—mouse support is limited in older BIOS versions.
Pro tip: Disable Fast Boot in Windows first (via Power Options) to ensure smooth access. You're now in the heart of your PC's configuration—exciting, right?
Step-by-Step: Enabling TPM 2.0 in BIOS
Now, the main event! Follow these tailored instructions based on your hardware. We'll keep it simple and focused. Remember, BIOS interfaces differ, so search for "TPM" or "Security" in the menu.
For Intel-Based Systems (Using PTT - Platform Trust Technology)
- Enter BIOS as described above.
- Go to the Advanced or Security tab.
- Locate PTT or Intel TPM settings.
- Set it to Enabled. If options include "Discrete TPM" vs. "Firmware TPM," choose Firmware for integrated support.
- Save changes (usually F10) and exit. Your PC will reboot.
That's it—TPM 2.0 is now active! Verify in Windows via tpm.msc; it should show "Ready for use."
For AMD-Based Systems (Using fTPM - Firmware TPM)
- Boot into BIOS.
- Navigate to Advanced > AMD fTPM or Security section.
- Enable fTPM (it emulates TPM 2.0 via firmware).
- If available, ensure Secure Boot is also enabled under the Boot tab—it's a Windows 11 must-have.
- Save and exit.
AMD users often find this seamless, as Ryzen processors support it out of the box. Post-reboot, run the PC Health Check to confirm.
Manufacturer-Specific Tips
For popular brands:
| Brand |
BIOS Menu Path for TPM 2.0 |
Key Notes |
| ASUS |
Advanced > Trusted Computing > PTT or fTPM |
Update BIOS via EZ Flash for latest support. |
| Dell |
Security > TPM Security |
Enable "TPM 2.0 Security" directly. |
| HP |
Security > System Security > TPM Device |
Select "Firmware TPM" for Windows 11. |
| MSI |
Settings > Security > Trusted Computing |
Security Device Support: Enabled. |
These paths are based on the latest firmware versions—always consult your manual for precision.
Enabling Secure Boot Alongside TPM 2.0
While focusing on TPM 2.0, don't overlook Secure Boot—it verifies bootloaders to prevent rootkits. In BIOS:
- Go to the Boot tab.
- Set Secure Boot to Enabled.
- Choose Microsoft Windows UEFI mode if prompted.
- Save and exit.
Together, they form the backbone of Windows 11's security. If Secure Boot fails, clear old keys via the BIOS option first.
Troubleshooting Common Issues When Enabling TPM 2.0
Encountering hurdles? Here's how to overcome them quickly:
- TPM Not Detected: Update your BIOS from the manufacturer's site (e.g., ASUS Support). Use a USB drive for flashing—never interrupt the process!
- BIOS Locked: Check for a supervisor password or reset CMOS by removing the motherboard battery for 5 minutes.
- Post-Enable Boot Issues: Boot into Safe Mode and verify settings. If needed, disable and re-enable TPM.
- Virtual Machines: For VMs like VirtualBox, enable TPM in hypervisor settings (e.g., Oracle's guide for 2.0 emulation).
- Error in Windows 11 Install: Run
sfc /scannow in Command Prompt to fix system files.
Most issues stem from outdated firmware, so staying current keeps things smooth. If all else fails, your PC might need professional help—better safe than sorry! 😌
Benefits of Enabling TPM 2.0 Beyond Windows 11
Enabling TPM 2.0 isn't just for OS upgrades—it's a game-changer for privacy. Enjoy features like BitLocker encryption, Windows Hello biometrics, and credential guard. In an era of rising cyber threats, this setup protects your data effortlessly, giving you peace of mind while you work, game, or browse.
Ready to take the next step? After enabling, dive into Windows 11's sleek interface and discover productivity boosts like Snap Layouts and AI-powered widgets. Your secure, future-proof PC awaits!
Final Thoughts: Secure Your Windows 11 Journey Today
Congratulations—you've mastered enabling TPM 2.0 in BIOS! This simple tweak opens doors to a safer, more efficient computing experience. If you followed along, share your success in the comments below. What's your favorite Windows 11 feature? Let's keep the conversation going. 👏
For official details, refer to Microsoft's TPM 2.0 FAQ.


