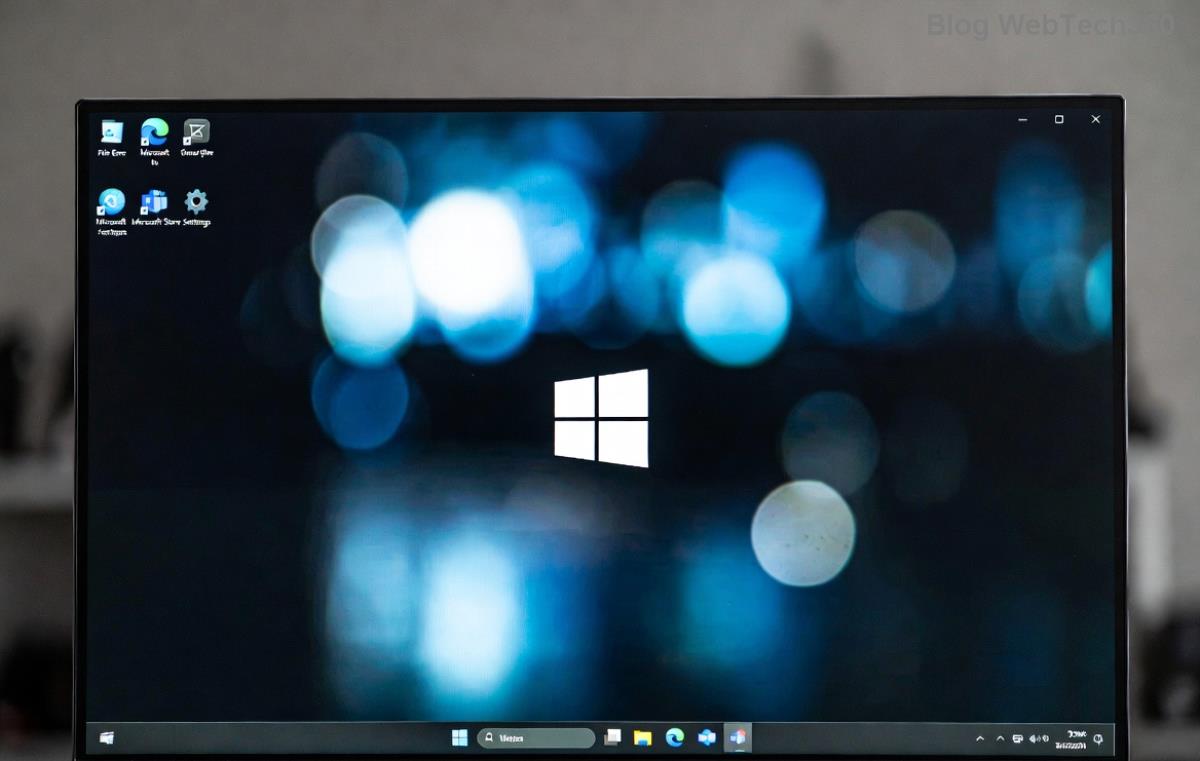
Imagine transforming your PC into a sleek, efficient powerhouse without dipping into your wallet. That's the magic of upgrading to Windows 11 for free through official channels. If you're still running an older version like Windows 10, this guide is your ticket to the future. We'll walk you through every step, ensuring you get the most out of Microsoft's latest OS. Ready to dive in? Let's make the switch smooth and exciting! 🚀
Why Choose Windows 11? The Benefits That Make It Worth the Switch
Before we jump into the how-to, let's talk perks. Windows 11 isn't just an update—it's a redesign packed with features that boost productivity and fun. Think centered Start menu, snap layouts for multitasking, and enhanced gaming with DirectStorage. Plus, it's more secure with built-in TPM 2.0 support and regular updates from Microsoft.
For many, the best part? It's free for eligible devices. If your PC meets the requirements, you can upgrade without any cost. This official path keeps everything safe, avoiding shady downloads that could harm your system. Feeling pumped? Stick around as we cover eligibility first.
Step 1: Check If Your PC Qualifies for the Free Upgrade
Not every device is ready for Windows 11, but don't worry—Microsoft makes checking easy. The key is compatibility with hardware like a compatible 64-bit processor, 4GB RAM, 64GB storage, TPM 2.0, and Secure Boot. Here's how to verify:
- Download the PC Health Check App: Head to Microsoft's official site and grab this free tool. It scans your system in seconds.
- Run the Scan: Launch the app and click "Check now." It'll flag any issues, like missing TPM, with clear fixes.
- Review Results: If compatible, you'll see a green light. If not, consider hardware tweaks or sticking with Windows 10 (supported until 2026).
Pro tip: Even if your PC is close but misses a spec, simple BIOS updates can often enable TPM. This step saves headaches later—trust us, it's worth the two minutes! 😊
Step 2: Prepare Your Device for a Flawless Installation
With eligibility confirmed, prep time! A smooth upgrade means backing up data and freeing space. Follow these essentials:
- Backup Everything: Use OneDrive or an external drive to save files. No one wants to lose precious photos mid-upgrade.
- Update Current Windows: Go to Settings > Update & Security > Windows Update and install any pending patches.
- Free Up Space: Aim for at least 20GB free. Run Disk Cleanup to ditch temporary files.
- Disable Antivirus Temporarily: Third-party tools can interfere—pause them during install.
These steps ensure your free Windows 11 upgrade goes off without a hitch, leaving you with a fresh, optimized system. Excited yet? The actual download is next.
Step 3: Download and Install Windows 11 Officially for Free
Now, the main event: getting Windows 11 for free. Microsoft offers straightforward options via their website. No product keys needed if you're upgrading from a licensed Windows 10.
Method 1: Windows Update (Easiest for Most Users)
- Open Settings on your Windows 10 PC.
- Navigate to Update & Security > Windows Update.
- Click "Check for updates." If eligible, you'll see "Windows 11 is ready" with a Download button.
- Hit Download and Install—your PC will restart a few times. Grab a coffee; it takes 30-60 minutes.
Method 2: Installation Assistant (For Manual Control)
- Visit the official Microsoft Windows 11 download page.
- Select "Download Now" under Windows 11 Installation Assistant.
- Run the tool, accept terms, and follow prompts to upgrade.
Method 3: Create Installation Media (For Clean Install or Multiple PCs)
Use the Media Creation Tool from the same page to make a USB bootable drive. Boot from it and select "Upgrade" to keep files intact.
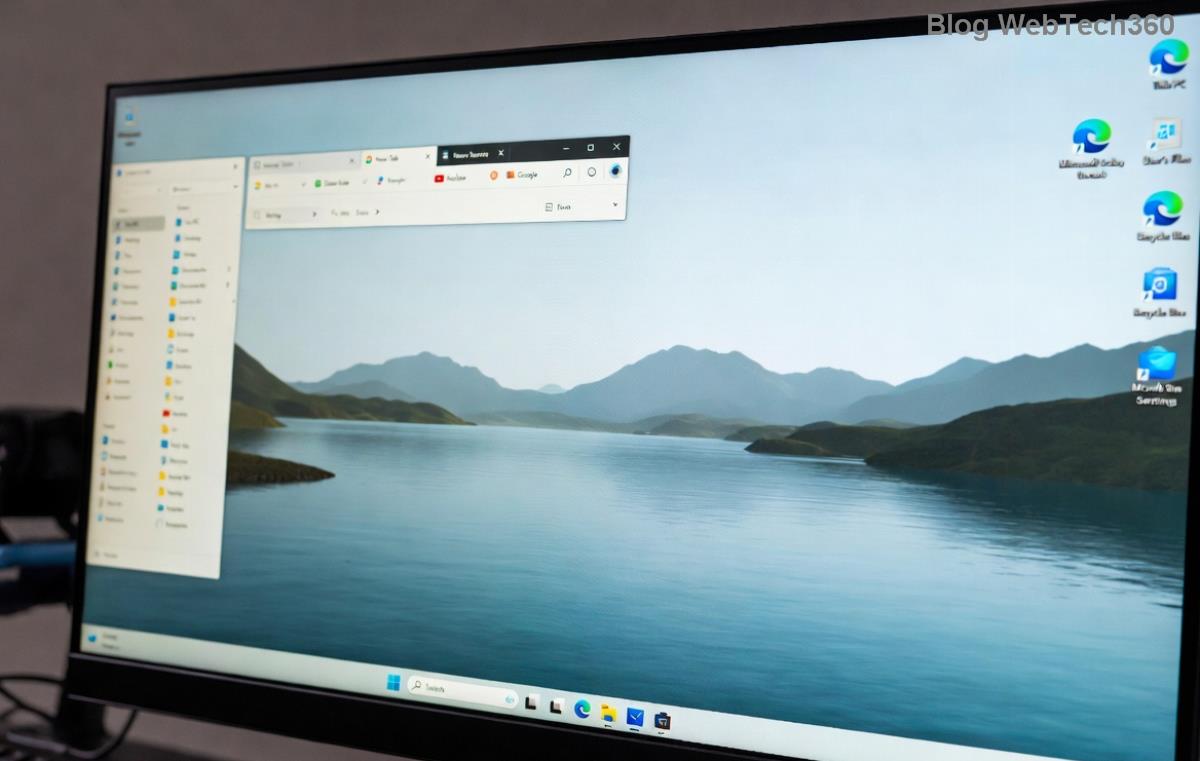
All methods are 100% official and secure. Post-install, sign in with your Microsoft account to activate automatically. Boom—you're on Windows 11 for free!
Comparing Upgrade Methods: Which One's Right for You?
To help decide, here's a quick comparison table:
| Method |
Best For |
Time Required |
Keeps Files? |
| Windows Update |
Simple in-place upgrade |
30-60 mins |
Yes |
| Installation Assistant |
Manual start with current OS |
45-90 mins |
Yes |
| Media Creation Tool |
Clean install or new PC |
1-2 hours |
Optional |
Pick based on your setup—Windows Update is our top pick for beginners. Whichever you choose, you'll love the results.
Troubleshooting Common Issues During Your Free Upgrade
Upgrades aren't always perfect, but fixes are simple. If you hit a snag:
- Error Code 0x80070002: Clear temp files and try again.
- Stuck Download: Restart and check internet stability.
- Compatibility Block: Update drivers via Device Manager.
- Post-Install Glitches: Run the built-in troubleshooter in Settings > System > Troubleshoot.
For deeper issues, Microsoft's support page has detailed guides. Most users sail through without problems, emerging with a faster, more intuitive OS.
Post-Upgrade Tips: Maximize Your New Windows 11 Experience
Congrats on your free Windows 11 install! To keep the good vibes going:
- Customize Your Setup: Tweak themes in Settings > Personalization for that personal touch.
- Explore Widgets: Add weather, news, and more to your dashboard.
- Enable Auto-Updates: Stay secure with the latest features rolling out regularly.
- Integrate with Microsoft Services: Link OneDrive and Teams for seamless productivity.
Windows 11 evolves with user feedback, so your input matters. Dive into the Microsoft Store for free apps to enhance gaming or work. You're not just upgraded—you're elevated! 👏
Final Thoughts: Start Your Windows 11 Journey Today
Getting Windows 11 for free officially is simpler than ever, turning your everyday PC into something extraordinary. By following this guide, you've got the tools for a confident upgrade. Whether you're multitasking like a pro or enjoying smoother performance, the future feels bright. Have questions? Drop a comment below—we're here to help. Now, go ahead and make the switch. Your optimized PC awaits!


