Imagine diving into your favorite game with visuals so fluid they feel alive, or scrolling through documents without a hint of stutter. That's the magic of setting your display to a 144Hz refresh rate on Windows 11. If you're tired of the default 60Hz lag that's holding back your setup, this guide is your ticket to smoother performance. We'll walk you through how to change Windows 11 refresh rate to 144Hz effortlessly, using the latest methods that keep your system optimized and your experience exhilarating. Let's get started and transform your screen into a high-speed powerhouse! 🚀
Why Upgrade to 144Hz on Windows 11? The Game-Changing Benefits
Before we jump into the steps, let's talk about why a 144Hz refresh rate is worth the switch. Your monitor's refresh rate determines how many times per second it updates the image—60Hz means 60 updates, but 144Hz delivers a whopping 144. This results in razor-sharp motion clarity, especially in fast-paced games like FPS titles or action movies.
For gamers, it's a revelation: reduced motion blur and input lag make every headshot count. Productivity users love it too—web browsing, video editing, and even casual tasks feel snappier. According to Microsoft's official display guidelines, enabling higher refresh rates on compatible hardware can boost overall system responsiveness without draining extra power. Plus, with Windows 11's latest updates, compatibility is seamless for most modern monitors.
Ready to feel the difference? Stick around as we cover everything from hardware checks to troubleshooting, ensuring you nail this setup on the first try. 😊
Essential Prerequisites: Is Your Setup Ready for 144Hz?
Not every system can handle 144Hz refresh rate out of the box. Here's a quick checklist to confirm compatibility:
- Monitor Support: Verify your display supports 144Hz. Check the specs on the manufacturer's site—look for HDMI 2.0, DisplayPort 1.2, or higher.
- GPU Capability: A dedicated graphics card like NVIDIA GTX 10-series or AMD RX 5000 or newer is ideal. Integrated graphics might struggle at higher resolutions.
- Cable Quality: Use a high-speed HDMI or DisplayPort cable; old ones won't cut it.
- Windows 11 Version: Ensure you're on the latest build for optimal display handling. Head to Settings > Windows Update to check.
If your hardware checks out, you're golden. If not, consider an upgrade—it's a small investment for massive gains. Now, let's dive into the core steps for changing Windows 11 refresh rate to 144Hz.
Step-by-Step Guide: How to Change Windows 11 Refresh Rate to 144Hz
Windows 11 makes tweaking display settings intuitive. Follow these steps to unlock 144Hz bliss. We'll use the built-in tools—no third-party software needed.
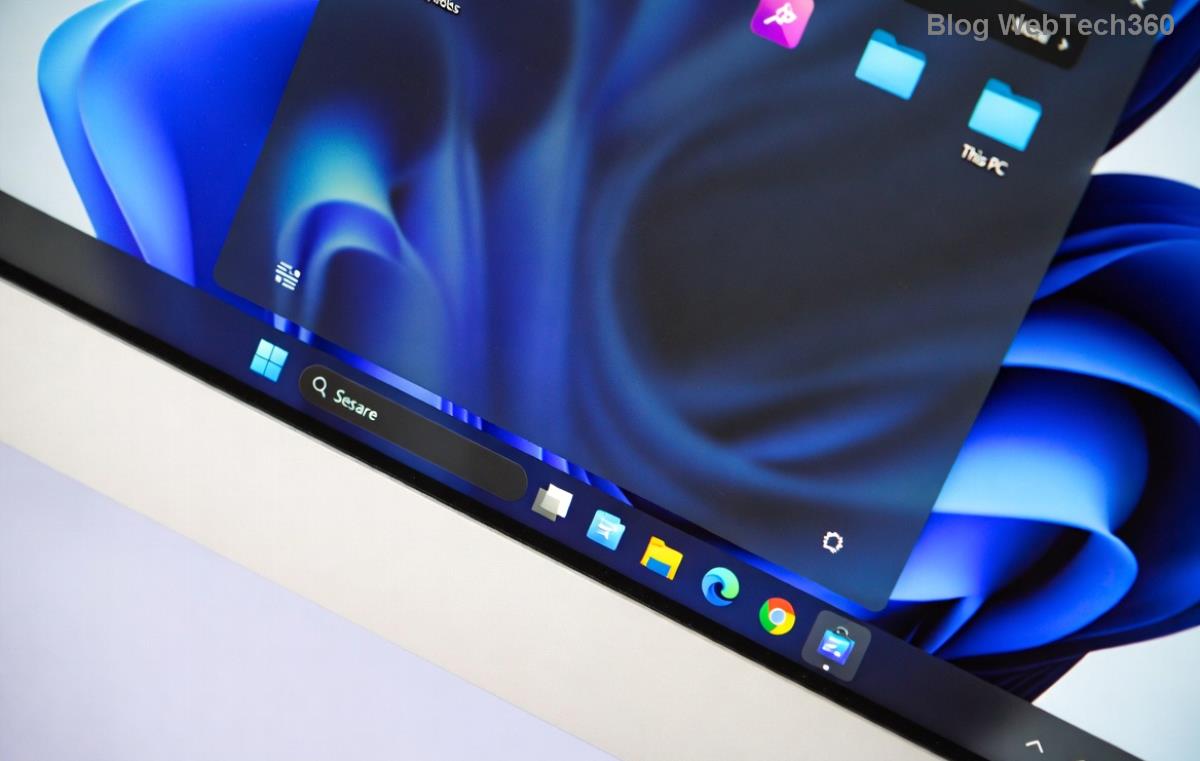
- Open Display Settings: Right-click on your desktop and select Display settings. Alternatively, press Windows key + I to open Settings, then navigate to System > Display. This is your gateway to all things visual.
- Select Your Display: If you have multiple monitors, click on the one you want to adjust under the "Select and rearrange displays" section. Multiple setups? Ensure the right one is highlighted.
- Advanced Display Settings: Scroll down and click Advanced display. Here, you'll see details like resolution and current refresh rate. If 144Hz isn't listed, don't worry—we'll fix that next.
- Choose Refresh Rate: Under "Choose a refresh rate," click the dropdown menu. Select 144Hz if available. Windows 11 auto-detects supported rates based on your connection.
- Apply Changes: Hit Apply. Your screen might flicker briefly as it adjusts—that's normal! If it looks off, select Revert within 15 seconds.
Voila! Your display should now hum at 144Hz. Test it by playing a game or watching high-frame-rate content. For NVIDIA or AMD users, you might want to fine-tune further in their control panels for even better results.
Pro Tip: If 144Hz doesn't appear, ensure your monitor is set to its native refresh rate via its on-screen display (OSD) menu. Use the physical buttons on your monitor to access this—usually under "Picture" or "Display" options. ⭐
Troubleshooting Common Issues When Setting Windows 11 Refresh Rate
Encountering hurdles? We've got you covered with solutions to keep your Windows 11 144Hz dreams alive. These tips are based on the most recent user reports and Microsoft support docs.
| Issue |
Solution |
Quick Fix Icon |
| 144Hz Not Listed in Dropdown |
Update graphics drivers from NVIDIA/AMD/Intel sites. Restart and check cable connections. |
🔧 |
| Screen Flickering or Blackouts |
Lower resolution temporarily, then reapply 144Hz. Ensure V-Sync is off in games. |
⚠️ |
| Performance Lag After Change |
Close background apps and update Windows. Use Task Manager to monitor GPU usage. |
📊 |
| Multiple Monitors Not Syncing |
Set each display individually in Advanced settings. Disable G-Sync/FreeSync if conflicting. |
🔄 |
If problems persist, Microsoft's troubleshooting guide is a goldmine. For hardware-specific advice, check your GPU maker's forums.
Optimizing Your 144Hz Setup for Peak Performance
Setting refresh rate to 144Hz is just the start. To maximize it:
- Enable Game Mode: In Windows Settings > Gaming > Game Mode, turn it on. This prioritizes resources for smoother frames.
- Adjust Resolution: Pair 144Hz with your monitor's native resolution (e.g., 1920x1080 or 2560x1440) for best results.
- Monitor Adaptive Sync: If your setup supports FreeSync or G-Sync, enable it in GPU settings to eliminate tearing.
- Power Settings: Set your power plan to High Performance via Settings > System > Power & battery.
These tweaks ensure your Windows 11 refresh rate upgrade shines in every scenario. Gamers, try it in titles like Valorant or Cyberpunk 2077—you'll notice the fluidity immediately!
Final Thoughts: Elevate Your Windows 11 Experience Today
Congratulations—you've just unlocked the full potential of your display with this how to change Windows 11 refresh rate to 144Hz guide. Whether you're a hardcore gamer or just want everyday tasks to feel premium, 144Hz delivers that wow factor. If you run into snags or have tweaks to share, drop a comment below. What's your go-to game for testing high refresh rates? Let's keep the conversation going and help each other level up. Your smoother, more vibrant world awaits—happy computing! 👏


