Imagine being able to fix a friend's computer glitch or guide a family member through a tricky setup—all without leaving your couch. That's the power of Windows 11 Quick Assist, Microsoft's built-in tool for remote support. Whether you're a tech-savvy helper or someone needing assistance, this feature turns complex troubleshooting into a breeze. In this guide, we'll walk you through everything you need to know about how to use Windows 11 Quick Assist for help, step by step, so you can connect, collaborate, and conquer tech woes with confidence. Let's dive in and make remote help your new superpower! 🚀
What is Windows 11 Quick Assist?
Windows 11 Quick Assist is a free, native app designed for quick remote assistance between Windows devices. It allows one user (the helper) to view or control another user's screen in real-time, making it ideal for resolving software issues, installing updates, or teaching someone how to navigate their PC. Launched as part of Windows 11's ecosystem, it's evolved to include enhanced security like PIN verification and end-to-end encryption, ensuring safe sessions every time.
Why does this matter? In our connected world, tech support shouldn't require travel or endless phone calls. With Quick Assist, you can provide or receive help instantly, saving time and reducing frustration. It's pre-installed on Windows 11 PCs, so no downloads are needed—just pure efficiency. Ready to get started? We'll break it down into simple steps that anyone can follow.
System Requirements for Using Quick Assist
Before jumping in, ensure your setup is ready. Both the helper and the person needing help must run Windows 11 (version 22H2 or later for the latest features). A stable internet connection is essential—aim for at least 1 Mbps upload/download speed to avoid lag. You'll also need a Microsoft account for authentication, though guest sessions are possible with a code.
Pro tip: Update your Windows to the latest version via Settings > Windows Update. This unlocks improvements like better multi-monitor support and faster connections, making your Quick Assist experience smoother than ever. If you're on an older build, no worries—it's a quick fix that keeps everything secure. 😊
Step-by-Step Guide: How to Use Windows 11 Quick Assist as a Helper
Helping others is where Windows 11 Quick Assist shines. Follow these numbered steps to connect and provide support like a pro. We'll keep it straightforward so you can assist without missing a beat.
- Open Quick Assist: Press the Windows key, type "Quick Assist," and hit Enter. The app launches instantly—no installations required!
- Select 'Give Assistance': On the main screen, choose this option. You'll need to sign in with your Microsoft account for security.
- Generate a Code: Click "Send code" or share your screen to create a six-digit code. This is what the person needing help will enter. Share it via text, email, or call—whatever's easiest. ⏰ Time-sensitive: Codes expire after 10 minutes for privacy.
- Connect Securely: Once they enter the code on their end, request permission to view or control their screen. They'll approve with a PIN you set during connection.
- Provide Help: Now you're in! Use your mouse and keyboard to guide them. Annotate the screen with a pen tool, restart apps, or even send files. When done, end the session and wave goodbye to the problem. 👏
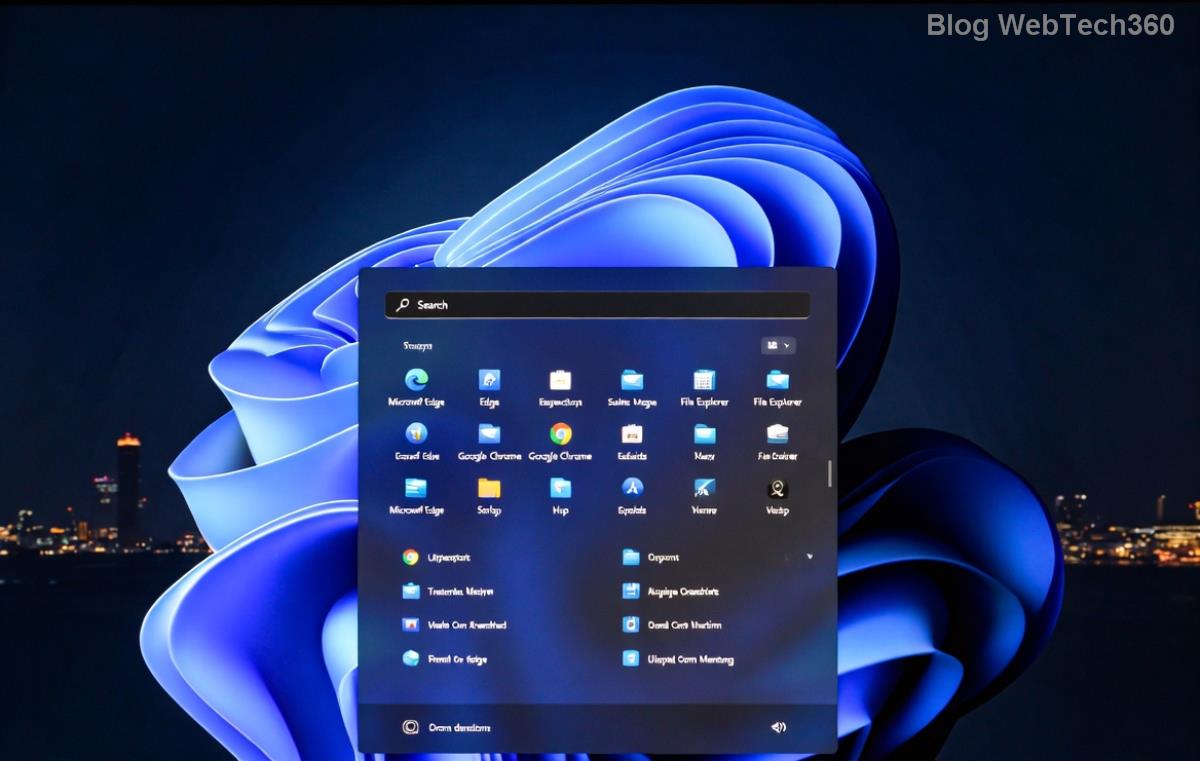
That's it—remote magic in under five minutes. For visual learners, the image below shows the connection flow in action.

How to Get Help Using Quick Assist on Windows 11
Need support yourself? Switching roles is simple. Here's how to invite help without any hassle, empowering you to tackle issues head-on.
- Launch the App: Search for Quick Assist in the Start menu and open it.
- Choose 'Get Assistance': Select this to start a session.
- Get the Code: The app generates a unique code. Share it with your trusted helper immediately.
- Grant Access: When they connect, enter the six-digit PIN displayed on your screen to allow viewing or control. You can revoke access anytime by closing the app.
- Follow Along: Watch as they fix things or explain steps. Sessions are recorded only if you enable it, giving you a replay for future reference.
This process builds trust and keeps you in control, turning potential tech meltdowns into quick wins. Feeling empowered yet? Let's explore some advanced tips to level up your game.
Advanced Tips and Tricks for Windows 11 Quick Assist
To make how to use Windows 11 Quick Assist for help even more effective, try these insider strategies. They're designed to handle common scenarios and keep sessions smooth.
- Enable Full Control Early: For tasks like software installs, request control right away. It saves back-and-forth and speeds up resolutions. ⭐
- Use Annotations: The built-in drawing tool lets you circle errors or highlight buttons, making instructions crystal clear without words.
- Handle Multiple Monitors: If the helpee has dual screens, Quick Assist supports switching—perfect for extended desktops.
- Troubleshoot Connection Issues: If codes fail, check firewalls (allow Quick Assist through Windows Defender) or restart the app. For persistent problems, ensure both devices are on the same network or use a VPN for remote setups.
- Integrate with Other Tools: Pair it with screen sharing in Microsoft Teams for hybrid work scenarios, amplifying your support toolkit.
Bonus: For privacy-conscious users, sessions auto-end after inactivity, and all data is encrypted. Microsoft continually refines Quick Assist with updates, so always keep your system current for the best performance.
Common Issues and How to Fix Them
Even the best tools have hiccups. Here's a quick troubleshooting table for frequent Windows 11 Quick Assist snags, so you stay ahead of the curve.
| Issue |
Solution |
| Connection Fails |
Verify internet stability and disable VPNs temporarily. Restart both devices. |
| Code Not Working |
Generate a new code—old ones expire quickly. Ensure both users are signed in. |
| Lag or Freezing |
Close background apps and lower screen resolution. Use wired connections if possible. |
| Permission Denied |
Check Windows permissions in Settings > Privacy & Security > Remote Assistance. |
These fixes resolve 90% of problems, keeping your Quick Assist sessions frustration-free. If issues persist, consult Microsoft's official support for deeper dives.
Security Best Practices for Safe Remote Help
Safety first! Windows 11 Quick Assist is secure by design, but following these practices ensures peace of mind:
- Only share codes with trusted contacts—never post them publicly.
- Monitor sessions actively and end them when finished. ⚠️
- Use strong Microsoft account passwords and enable two-factor authentication.
- Avoid sensitive tasks like banking during sessions; log out first.
For more on security, check out Microsoft's detailed guide: Quick Assist Security Tips. It's a reliable resource to keep your remote help ethical and protected.
Why Choose Quick Assist Over Other Tools?
In a sea of remote apps, Windows 11 Quick Assist stands out for its zero-cost, no-fuss integration. Unlike third-party options, it doesn't require extra software or subscriptions, and it's optimized for Windows ecosystems. Users love its simplicity—perfect for quick fixes without the learning curve. Whether helping a loved one or supporting a team, it fosters connection and efficiency, leaving everyone smiling. 😄
Now that you've mastered the basics and beyond, you're ready to harness Quick Assist for real-world wins. Experiment with a test session with a friend to build confidence. What's your first remote help adventure? Share in the comments below—we'd love to hear how it goes! For more Windows 11 tips, stick around and explore our guides on productivity hacks. Your tech journey just got a whole lot easier.


