Is your Windows 11 PC feeling sluggish, with storage filling up faster than you can say "delete"? You're not alone—temporary files, system caches, and old updates can quietly hog gigabytes of space. The good news? The built-in Windows 11 Disk Cleanup Utility is your secret weapon to reclaim that space effortlessly. This powerful tool scans your drives, identifies junk, and wipes it clean, all without risking your important data. In this guide, we'll walk you through every step to use Disk Cleanup Utility like a pro, helping you breathe new life into your device. Ready to feel the speed boost? Let's dive in! 🚀
What is the Windows 11 Disk Cleanup Utility?
The Windows 11 Disk Cleanup Utility is a native Microsoft tool designed to help you free up disk space by removing unnecessary files. Introduced in earlier Windows versions and refined in Windows 11, it targets categories like temporary internet files, system logs, thumbnails, and even old Windows Update files. Unlike third-party cleaners, it's safe, official, and doesn't require downloads—perfect for beginners and power users alike.
Why bother? A cluttered drive slows boot times, hampers app performance, and can even lead to errors. Running Disk Cleanup regularly keeps things optimized, ensuring your PC runs as smoothly as the day you set it up. Plus, it's quick—most scans take just minutes, leaving you with a fresher, faster system that feels rewarding to use.
Why Use Disk Cleanup in Windows 11? Benefits That'll Make You Smile 😊
Before we get to the how-to, let's talk perks. Using the Windows 11 Disk Cleanup Utility isn't just about space—it's about reclaiming control:
- Instant Space Recovery: Clear out gigabytes of temp files, recycle bin items, and more.
- Improved Performance: Less clutter means faster searches, quicker app launches, and smoother multitasking.
- Safer Browsing: Delete cached data that could harbor privacy risks from old sessions.
- Easy Maintenance: Schedule it to run automatically, so your drive stays tidy without effort.
Imagine firing up your favorite game or editing photos without lag— that's the joy of a cleaned drive. Now, let's roll up our sleeves and learn how to access this gem.
Step-by-Step Guide: How to Access and Use Windows 11 Disk Cleanup Utility
Accessing Disk Cleanup Utility in Windows 11 is straightforward. We'll cover the primary method via Search, plus alternatives for quick access. Follow these steps, and you'll be cleaning in no time.
Step 1: Launch Disk Cleanup
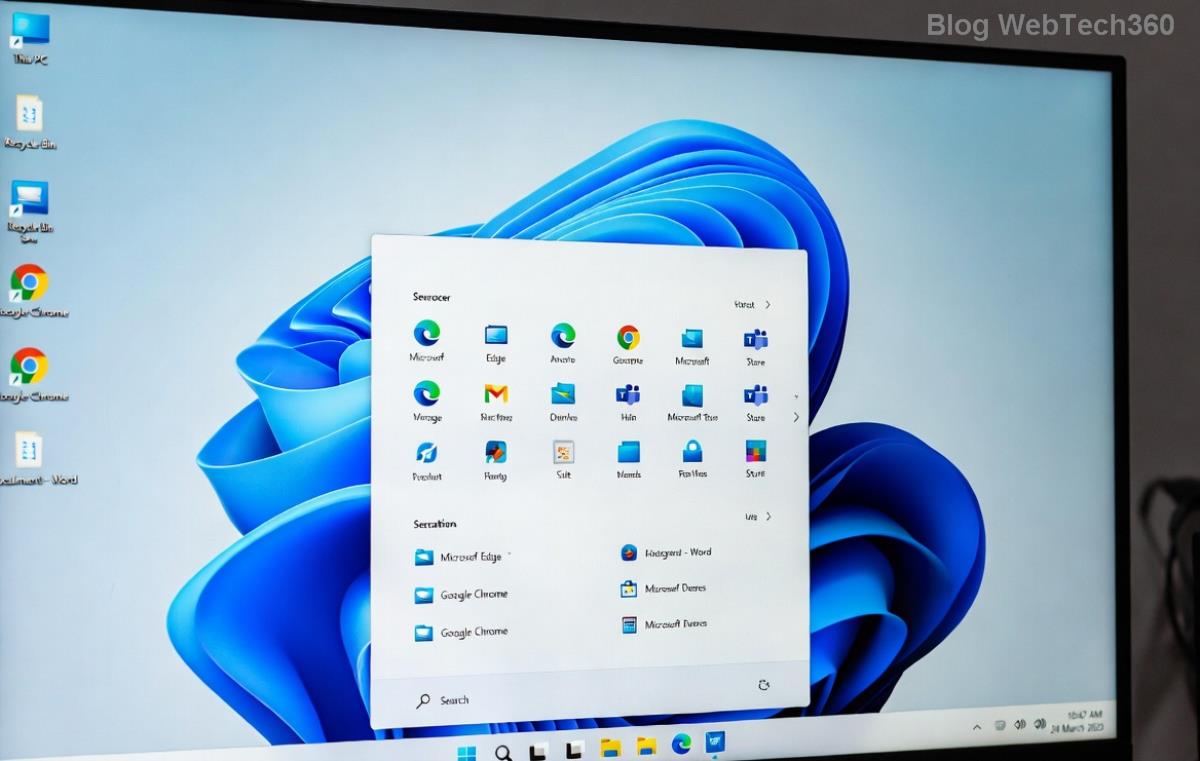
1️⃣ Press the Windows key on your keyboard (or click the Start button).
2️⃣ Type "Disk Cleanup" into the search bar.
3️⃣ Select the app from the results—it'll open as "Disk Cleanup" for your main drive (usually C:).
Pro Tip: If you want to clean a different drive, click "Change settings for selecting the drive to clean up" in the Disk Cleanup window, then choose from the dropdown.
Alternative ways to open it:
- Right-click This PC in File Explorer > Properties > Disk Cleanup (under General tab).
- Run "cleanmgr.exe" via the Run dialog (Windows + R).
Step 2: Select Your Drive and Scan
Once open, the Windows 11 Disk Cleanup Utility prompts you to select a drive. Choose the one that's fullest (C: is common for system files). Hit OK, and it scans automatically—sit back as it tallies up the junk.
The results appear in a clean list, showing categories like:
| Category |
What It Cleans |
Typical Size |
| Temporary Files |
App leftovers, downloads, and caches |
100MB - 5GB |
| Recycle Bin |
Deleted files waiting to be purged |
Varies |
| Thumbnails |
Image previews in File Explorer |
50MB - 1GB |
| Windows Update Cleanup |
Old installation files |
Up to 10GB |
| System Error Memory Dump Files |
Crash logs |
100MB - 2GB |
This table gives you a snapshot of what Disk Cleanup targets—eye-opening, right? Each category is safe to delete unless noted otherwise.
Step 3: Choose Files to Delete and Confirm
Review the list. Check the boxes for items you want to remove—start with the big hitters like Temporary Files and Windows Update Cleanup for maximum impact. For deeper cleaning, click "Clean up system files" at the bottom. This rescan includes more options, like Delivery Optimization Files (for app updates).
Double-check: Hover over items for descriptions. Uncheck anything precious, like downloaded program files if you use offline installers. Then, hit OK > Delete Files. Watch the progress bar—it's satisfying to see space freed up!
Step 4: Advanced Options for Power Users
Want more? After cleaning system files, you might see "More Options" tab. Here, you can:
- Clean program files (uninstall unused apps).
- Manage temporary setups for apps.
For automation, head to Settings > System > Storage > Storage Sense. Enable it to run Disk Cleanup tasks automatically when space is low. It's like having a personal assistant for your drive! ✨
Troubleshooting Common Issues with Windows 11 Disk Cleanup Utility
Stuck? Here's how to fix hiccups:
❌ Disk Cleanup Won't Open: Run as administrator—right-click the search result and select "Run as administrator." If it fails, use Command Prompt: Type "cleanmgr /sageset:1" to customize, then "cleanmgr /sagerun:1" to execute.
❌ Low Space Not Freed: Ensure you're on the latest Windows 11 updates (Settings > Windows Update). Restart your PC post-cleanup for changes to take effect.
❌ Errors During Scan: Check for drive errors with CHKDSK (search "cmd," run as admin, type "chkdsk C: /f"). For persistent issues, visit Microsoft's support for tailored fixes: Microsoft Free Up Space Guide.
These tweaks ensure smooth sailing, keeping your experience frustration-free.
Best Practices: Maximize Your Disk Cleanup Results
To keep your Windows 11 PC humming:
- Run Weekly: Schedule via Task Scheduler for hands-off maintenance.
- Combine with Storage Sense: Let it handle low-space alerts automatically.
- Monitor Usage: Use Settings > System > Storage to see what's eating space before cleaning.
- Avoid Over-Cleaning: Don't delete everything—system files are protected, but always review.
Pair Disk Cleanup Utility with uninstalling bloatware (Settings > Apps) for even more space. Your PC will thank you with zippy performance!
Final Thoughts: Reclaim Your PC's Potential Today
Mastering the Windows 11 Disk Cleanup Utility is a game-changer for anyone tired of storage woes. With these steps, you've got the tools to free up disk space, enhance speed, and enjoy a clutter-free experience. Give it a spin now—your future self (and faster PC) will be grateful. Got questions or tips? Drop them in the comments below; let's keep the conversation going! 👏
Stay tuned for more Windows 11 optimization guides to keep your setup top-notch.


