Imagine your Windows 11 desktop feeling cluttered or unresponsive, with themes that no longer spark joy. Whether you're troubleshooting a glitchy interface or simply craving a clean slate, knowing how to reset personalization settings in Windows 11 can breathe new life into your PC. This guide walks you through the process with clear, actionable steps, ensuring you regain control without frustration. Let's dive in and transform your experience—it's easier than you think! 😊
Why Reset Personalization Settings in Windows 11?
Windows 11's personalization features—like dynamic wallpapers, accent colors, and taskbar tweaks—make your device uniquely yours. But over time, corrupted settings can lead to visual bugs, slow performance, or a mismatched look after updates. Resetting them restores defaults, fixing issues like:
- Stuck or invisible wallpapers
- Mismatched color schemes
- Taskbar or Start menu glitches
- Overall interface sluggishness
By the end of this article, you'll not only know how to reset personalization settings in Windows 11 but also tips to prevent future headaches. Ready to refresh? Let's get started.
Step-by-Step Guide: How to Reset Personalization Settings in Windows 11
Windows 11 offers multiple ways to reset these settings, from simple UI tweaks to advanced tools. We'll cover the most effective methods, starting with the easiest. Follow along, and you'll see results in minutes.
1️⃣ Method 1: Reset via Settings App (Quick and User-Friendly)
This is the go-to for most users. It targets themes, colors, and backgrounds without deep system dives.
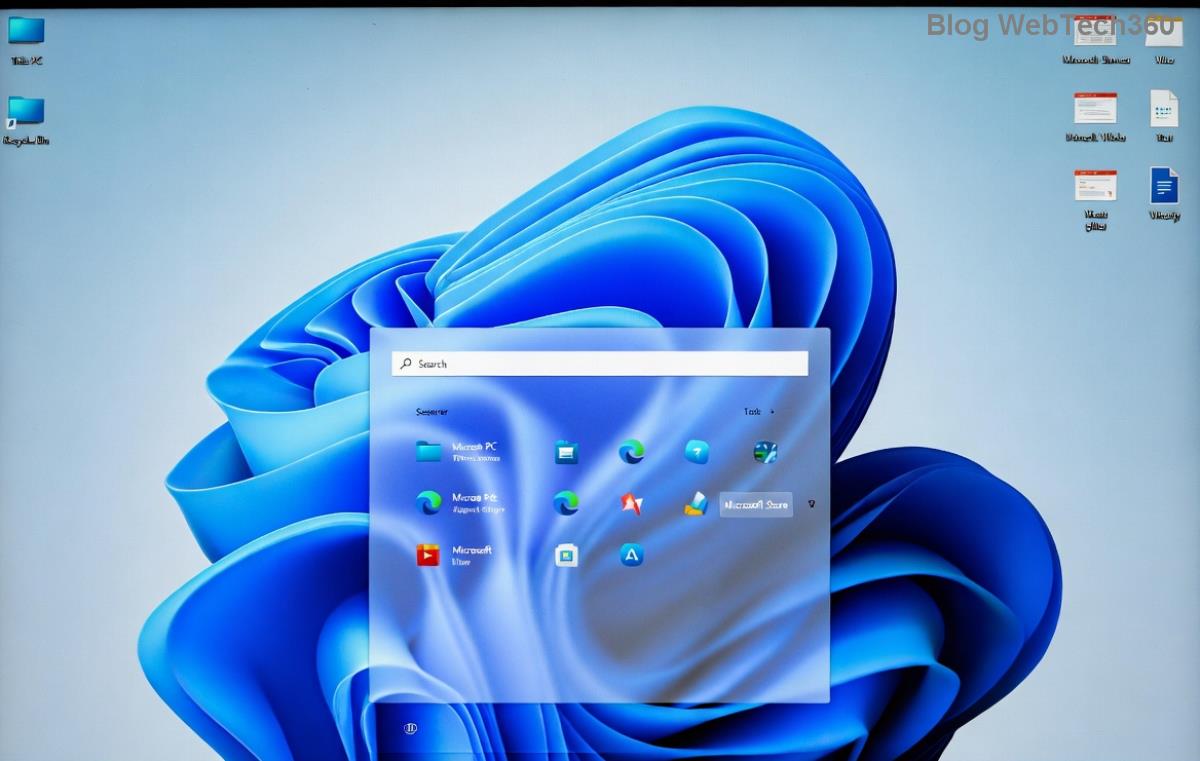
- Open the Settings app by pressing Windows + I or searching for it in the Start menu.
- Navigate to Personalization in the left sidebar.
- Click on Colors. Toggle off any custom accent colors and select "Default" to revert.
- Go back to Personalization > Background. Choose a default wallpaper or reset to the Windows spotlight.
- Head to Start and Taskbar sections to disable custom alignments or icons, then apply defaults.
- For a full sweep, scroll to Lock screen and Themes, selecting the built-in "Windows" theme.
Pro tip: If changes don't stick, sign out and back in. This method is ideal for minor tweaks and keeps your data safe. Feeling empowered yet? Keep reading for deeper resets.
2️⃣ Method 2: Use the Registry Editor for Precise Control
For stubborn issues, the Registry holds the keys (literally) to personalization data. ⚠️ Caution: Back up your registry first to avoid mishaps.
- Press Windows + R, type
regedit, and hit Enter. Approve the UAC prompt.
- Navigate to:
HKEY_CURRENT_USER\Software\Microsoft\Windows\CurrentVersion\Themes.
- Right-click the Themes folder and select Delete. Confirm to wipe custom themes.
- Next, go to
HKEY_CURRENT_USER\Control Panel\Desktop and delete keys like Wallpaper or ColorizationColor for background and color resets.
- Close Registry Editor, restart your PC, and Windows 11 will regenerate defaults.
This approach is powerful for advanced users but requires care. If you're new to registries, stick to Method 1. Success here means a pristine interface—high five! 👏
3️⃣ Method 3: Reset via Command Prompt or PowerShell (For System-Wide Fixes)
When UI methods fall short, command-line tools can force a Windows 11 personalization reset. Run these as Administrator.
- Search for Command Prompt or PowerShell, right-click, and select Run as administrator.
- Type
sfc /scannow and press Enter to scan and repair system files (this indirectly fixes personalization glitches).
- For themes specifically, enter
dism /online /cleanup-image /restorehealth to restore component health.
- Restart with
shutdown /r /t 0.
These commands are like a digital spa day for your OS, ensuring everything runs smoothly. If errors persist, consider a full system reset (detailed below).
Advanced Option: Full System Reset While Keeping Personalization in Mind
Sometimes, a broader reset is needed. Windows 11's built-in recovery tool lets you refresh without losing files.
- Go to Settings > System > Recovery.
- Under Reset this PC, click Reset PC.
- Choose Keep my files and follow prompts. This reinstalls Windows, resetting all personalization settings to factory defaults.
It's a nuclear option but incredibly effective for deep-seated issues. Post-reset, you'll start with a blank canvas—exciting, right?
Troubleshooting Common Issues After Reset
Even with perfect steps, hiccups happen. Here's a quick table of fixes:
| Issue |
Solution |
| Settings don't apply |
Run DISM /Online /Cleanup-Image /RestoreHealth in admin mode. |
| Wallpaper won't change |
Delete %AppData%\Microsoft\Windows\Themes\TranscodedWallpaper folder. |
| Colors look off |
Update graphics drivers via Device Manager. |
| Taskbar frozen |
Restart Explorer.exe in Task Manager. |
These tips ensure your reset personalization settings in Windows 11 sticks. If problems continue, check for the latest updates in Settings > Windows Update.
Best Practices to Maintain Your Windows 11 Personalization
Prevention is key! After resetting, follow these to keep things smooth:
- Update Regularly: Enable automatic updates to patch personalization bugs.
- Backup Customs: Export themes via third-party tools before major changes.
- Avoid Over-Customization: Stick to official apps like the Microsoft Store for wallpapers.
- Monitor Performance: Use Task Manager to spot resource hogs affecting visuals.
With these habits, your Windows 11 setup stays vibrant and reliable. Imagine the satisfaction of a tailored desktop that just works— that's the goal!
Final Thoughts: Reclaim Your Windows 11 Glow
Resetting personalization settings in Windows 11 isn't just a fix; it's a chance to rediscover what makes your PC feel like home. Whether you're a tech newbie or pro, these steps empower you to customize confidently. If this guide helped, why not experiment with new themes post-reset? Your fresh start awaits—dive back in and make it yours. Got questions? Drop a comment below; we're here to help! 🌟
For more official guidance, visit Microsoft's support page: Microsoft Windows Personalization.


