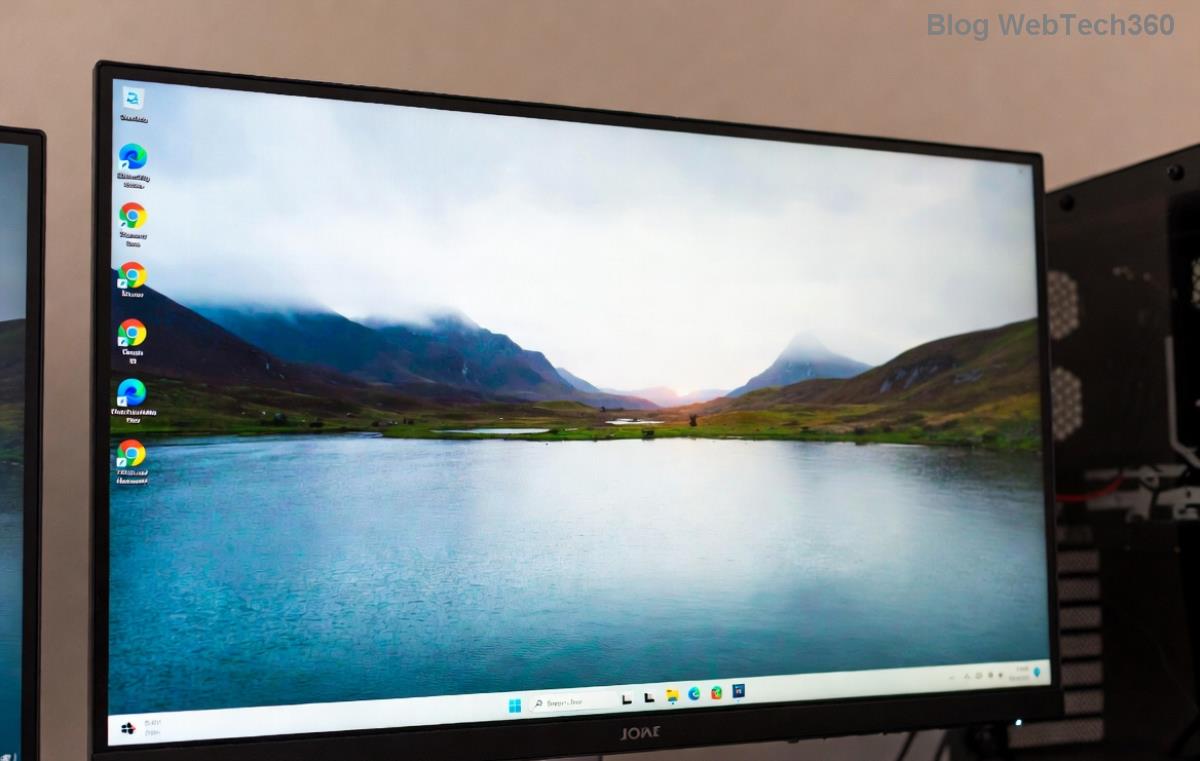
Imagine firing up your Windows 11 PC, only to find the sleek, translucent Acrylic and Mica effects missing from your taskbar, Start menu, and app windows. Those beautiful blurs and subtle transparencies are what make Windows 11 feel modern and immersive. If you're facing the frustrating issue of Windows 11 Acrylic effect not showing or Mica effect missing, don't worry—you're not alone. This guide will walk you through targeted, effective solutions to bring back that visual magic, ensuring your desktop looks as stunning as it should.
We'll focus on the most reliable fixes based on the latest Windows updates, helping you restore these effects without unnecessary hassle. By the end, you'll have a polished interface that enhances your daily workflow. Let's dive in! 🚀
Understanding Acrylic and Mica Effects in Windows 11
In Windows 11, Acrylic is the dynamic blur effect that adds a frosted glass-like transparency to UI elements, while Mica brings a more subtle, material-inspired tint that adapts to your wallpaper. These features, powered by the Fluent Design system, create depth and vibrancy. However, they can vanish due to compatibility issues, outdated drivers, or system glitches—especially after updates or hardware changes.
If your Mica effect missing Windows 11 problem stems from these, the good news is most fixes are straightforward. We'll prioritize non-destructive methods first, building confidence as you progress. Ready to reclaim that blur? Let's start troubleshooting.
Quick Checks: Ensure Basic Requirements for Acrylic and Mica
Before deep dives, verify your setup supports these effects. Windows 11 requires a compatible GPU for hardware-accelerated rendering—think modern Intel, AMD, or NVIDIA cards. Older hardware might fallback to basic visuals.
- Update Windows 11: Head to Settings > Windows Update and install the latest patches. Recent builds have refined Acrylic blur rendering for better stability.
- Check Graphics Settings: Right-click desktop > Display settings > Graphics. Ensure hardware acceleration is enabled for your apps.
- Verify Display Scaling: In Settings > System > Display, set scaling to 100% or recommended. Custom scales can interfere with transparency layers.
These steps often resolve minor hiccups. If effects still aren't showing, proceed to advanced fixes. You're making great progress already! 😊
Step-by-Step Fixes for Acrylic and Mica Not Showing
Let's tackle the core issue head-on. Follow these in order for the best results. Each method targets common culprits like registry tweaks, driver conflicts, or theme overrides.
1. Enable Transparency Effects via Settings
Sometimes, effects are simply toggled off. Navigate to:
- Settings > Personalization > Colors
- Turn on "Transparency effects"
- Under "Choose your accent color," enable "Automatically pick an accent color from my background"
This reactivates Acrylic and Mica globally. Restart Explorer.exe (via Task Manager) to see changes instantly. If no luck, your theme might be overriding it—switch to default Windows theme temporarily.
2. Update or Reinstall Graphics Drivers
Outdated drivers are a top reason for fix Acrylic blur Windows issues. GPU problems prevent proper rendering of these effects.
| Step |
Action |
Why It Helps |
| 1. Device Manager |
Right-click Start > Device Manager > Display adapters > Right-click your GPU > Update driver |
Installs latest compatible drivers |
| 2. Manufacturer Site |
Visit NVIDIA/AMD/Intel site for Windows 11-specific drivers |
Bypasses Windows' generic updates |
| 3. Clean Install |
Use DDU (Display Driver Uninstaller) for a fresh start |
Removes conflicting remnants |
After updating, reboot and test. Pro tip: For Intel users, ensure the latest Arc or UHD drivers are installed—these optimize Mica transparency in recent Windows versions.
3. Registry Tweak for Mica and Acrylic Enforcement
Warning: Back up your registry first (search "regedit" > File > Export). This method forces effects where system detection fails.
- Open Registry Editor (Win + R > regedit)
- Navigate to: HKEY_CURRENT_USER\Software\Microsoft\Windows\CurrentVersion\Themes\Personalize
- Create or modify DWORD values:
- EnableTransparency = 1
- EnableAcrylicBlur = 1
- SystemUsesLightTheme = 0 (for dark mode Mica)
- Restart your PC
This directly enables troubleshoot Mica transparency, bypassing buggy auto-detection. Many users report immediate results—it's like flipping a switch!
4. Reset Windows UI Components
If tweaks don't stick, corrupted system files might be at play. Run these in an elevated Command Prompt (right-click Start > Terminal (Admin)):
sfc /scannow
DISM /Online /Cleanup-Image /RestoreHealth
Follow with a restart. For stubborn cases, reset personalization via PowerShell: Get-AppxPackage *Windows.ImmersiveControlPanel* | Reset-AppxPackage. This refreshes the core UI engine without affecting your data.
5. Advanced: Disable Conflicting Apps and Check Hardware
Third-party themes (e.g., from Steam or custom skins) or overlay apps like Discord can block effects. Uninstall suspects via Settings > Apps, then test in Safe Mode (hold Shift during restart).
For hardware checks, use DirectX Diagnostic Tool (dxdiag) to confirm your GPU supports DirectComposition. If you're on a laptop with switchable graphics, force apps to use the high-performance GPU in Graphics settings.
Still no Windows 11 UI effects issues? Consider a repair install: Download the latest Windows 11 ISO from Microsoft's site and run setup.exe while keeping files intact. It's a safe reset that often revives visual features.
Preventing Future Acrylic and Mica Glitches
To keep your effects shining, maintain regular updates and avoid unverified customizations. Tools like Windows Central offer ongoing tips for the newest builds. Experiment with wallpapers that complement Mica—vibrant ones make the tint pop!
Congratulations on troubleshooting your setup! With these steps, your Windows 11 should now boast full Acrylic and Mica glory, making every interaction feel fresh and engaging. If issues persist, share your setup in the comments below—we're here to help refine your experience. What's your favorite Windows 11 feature now that it's back? 👏


