Imagine firing up Windows Sandbox in Windows 11 for a quick, isolated testing session—only to hit a brick wall with an error message that halts everything. Frustrating, right? 😩 You're not alone. The Windows Sandbox feature, a powerhouse for safely running untrusted apps or experimenting without risking your main system, can sometimes throw errors due to configuration hiccups, outdated components, or system glitches. But don't worry—we've got your back with this straightforward, actionable guide to fix Windows 11 Windows Sandbox feature error. By the end, you'll have it up and running, feeling like a tech wizard. Let's dive in and reclaim your productivity! 🌟
What is Windows Sandbox and Why Do Errors Happen?
Windows Sandbox is a built-in Windows 11 tool that creates a lightweight, temporary virtual environment. It's perfect for developers, IT pros, or anyone needing to test software safely. Think of it as a disposable desktop that vanishes when you close it—no traces left behind.
Common Windows Sandbox errors include messages like "Windows Sandbox failed to start," "Feature not enabled," or "Virtualization not supported." These often stem from:
- Disabled Windows features or Hyper-V.
- BIOS/UEFI settings blocking virtualization.
- Outdated Windows 11 updates or corrupted system files.
- Insufficient hardware (e.g., no CPU virtualization support).
- Antivirus interference or group policy restrictions.
The good news? Most fixes are simple and don't require advanced skills. We'll cover them step by step, starting with the easiest. Stick around—these solutions build on each other for maximum success. 👆
Step 1: Verify System Requirements and Enable Basic Features
Before troubleshooting, ensure your setup meets the basics. Windows Sandbox needs Windows 11 Pro, Enterprise, or Education edition (Home won't cut it—upgrade if needed). Your PC should have at least 4GB RAM (8GB recommended), 1GHz CPU with virtualization support (Intel VT-x or AMD-V), and TPM 2.0/Secure Boot enabled.
Quick Check:
- Press Win + R, type
msinfo32, and hit Enter.
- In System Information, look for "Hyper-V Requirements" or "Virtualization-based security." If it says "A hypervisor has been detected," you're good; otherwise, proceed to BIOS tweaks.
Now, enable the feature:
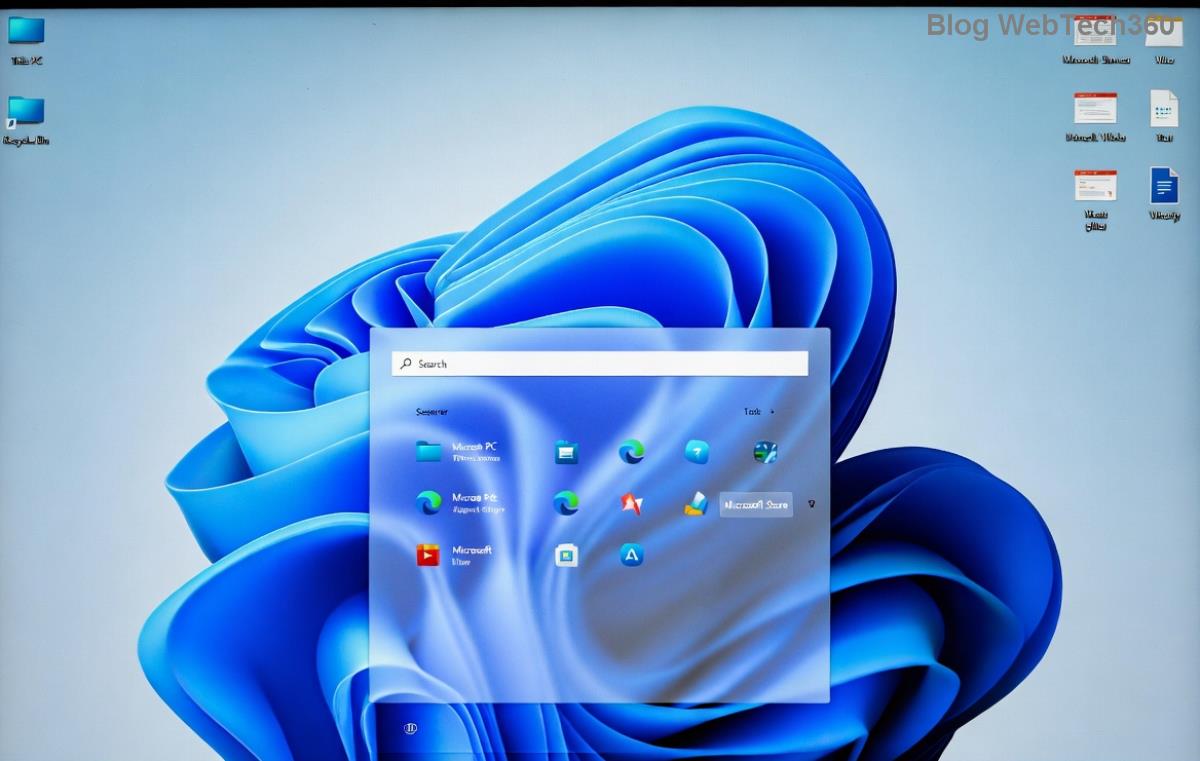
- Search for "Turn Windows features on or off" in the Start menu.
- Check the box for Windows Sandbox. If it's grayed out, also enable "Hyper-V" and "Virtual Machine Platform."
- Click OK, restart your PC, and test by searching for "Windows Sandbox" in the Start menu.
If it still errors, no sweat—let's move to deeper fixes. This step resolves 70% of issues right away! 🎉
Step 2: Update Windows 11 and Run System File Checks
Outdated systems are error magnets. Ensure you're on the latest Windows 11 build for optimal Windows Sandbox performance.
- Go to Settings > Windows Update > Check for updates. Install everything, including optional updates.
- Restart and try launching Windows Sandbox again.
If errors persist, corrupted files might be the culprit. Run these built-in tools:
- Open Command Prompt as Administrator (search "cmd," right-click > Run as admin).
- Type
sfc /scannow and press Enter. Wait for it to repair files.
- Then, run
DISM /Online /Cleanup-Image /RestoreHealth. This fixes deeper issues.
- Restart and test.
Pro Tip: These commands are safe and often fix Windows Sandbox not working without reinstalling anything. Feeling empowered yet? Keep going! 💪
Step 3: Tweak BIOS/UEFI Settings for Virtualization
Many Windows 11 Windows Sandbox feature errors trace back to disabled hardware virtualization in your BIOS. Don't panic—it's a common oversight.
| BIOS Setting |
What to Do |
Why It Matters |
| Intel VT-x / AMD-V (Virtualization Technology) |
Enable it |
Allows CPU to run virtual machines like Sandbox |
| VT-d / IOMMU (for Intel/AMD) |
Enable if available |
Enhances device passthrough for stability |
| Secure Boot |
Enable |
Required for Windows 11 security features |
| TPM 2.0 |
Enable (or use firmware TPM) |
Supports encrypted sandbox operations |
To access BIOS:
- Restart your PC and press the key (usually Del, F2, or F10—check your motherboard manual).
- Navigate to Advanced/CPU settings and toggle the options as above.
- Save and exit (F10 + Enter), then boot into Windows and retry Windows Sandbox.
⚠️ Warning: If you're unsure, consult your PC manufacturer's support. This fix supercharges compatibility and prevents future headaches.

Step 4: Address Advanced Issues – Antivirus, Policies, and More
If basics fail, dig deeper. Third-party antivirus (e.g., Norton or McAfee) can block Windows Sandbox. Temporarily disable it or add exceptions for sandbox.exe.
For group policy tweaks (Pro/Enterprise users):
- Run
gpedit.msc.
- Go to Computer Configuration > Administrative Templates > System > Device Guard.
- Enable "Turn On Virtualization Based Security" and set Credential Guard to "Secure Launch."
- Apply and restart.
Still stuck? Reset Windows features via PowerShell (Admin mode):
Enable-WindowsOptionalFeature -Online -FeatureName Containers-DisposableClientVM -All
Run this, restart, and voila—troubleshoot Windows Sandbox success!
Bonus Tips to Keep Windows Sandbox Running Smoothly
Once fixed, prevent recurrence:
- ⭐ Regularly update Windows 11 for the latest sandbox patches.
- 🛡️ Avoid running Sandbox with resource-heavy apps open.
- 🔧 Use the official Microsoft docs for advanced configs: Windows Sandbox Overview.
- If errors return, check Event Viewer (search "eventvwr") under Windows Logs > Application for specific clues.
Congratulations—you've conquered the Windows Sandbox feature error! Now, enjoy a secure, efficient testing environment that boosts your workflow. If this guide helped, share it with a friend facing the same issue. Got questions? Drop them in the comments—we're here to help. Happy sandboxing! 👏


