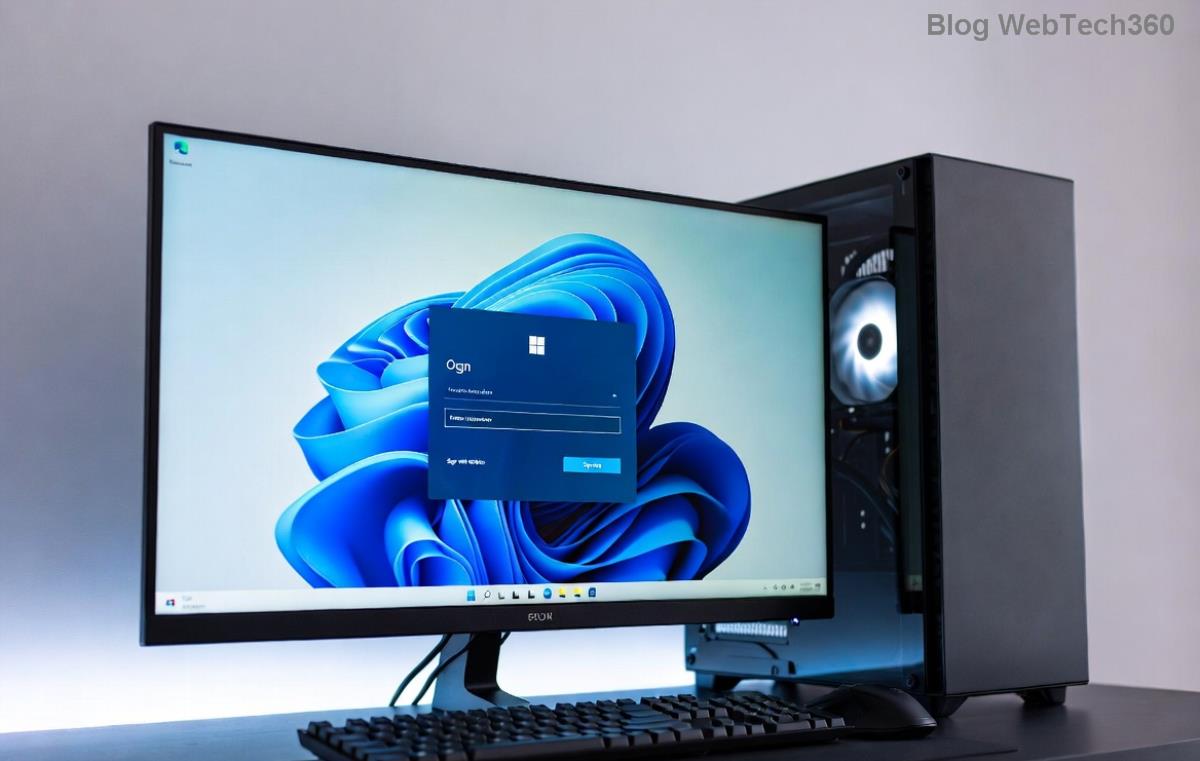
Encountering the Windows 11 "Review License Terms" error can be a real buzzkill, especially when you're eager to install updates or activate your system. This pesky issue often pops up during Windows updates, installations, or activations, leaving you stuck in a loop of frustration. But don't worry—it's more common than you think, and with the right steps, you can banish it for good. In this guide, we'll walk you through straightforward, effective solutions to fix Windows 11 Review License Terms error, ensuring your PC runs smoothly again. Let's dive in and reclaim your computing peace! 😊
What Causes the "Review License Terms" Error in Windows 11?
Before we jump into fixes, understanding the root of the problem helps you tackle it confidently. The Windows 11 "Review License Terms" error typically arises from:
- Corrupted system files: Essential files that manage licensing get damaged over time.
- Update conflicts: Incomplete or interrupted Windows updates can trigger this during the licensing check.
- Registry issues: Misconfigured registry entries related to product keys and terms.
- Third-party software interference: Antivirus or other tools might block the license verification process.
- Hardware changes: Upgrading components like your motherboard can confuse Windows' activation system.
Recognizing these triggers not only helps in fixing the error but also prevents future headaches. Now, let's get to the solutions—starting with the simplest ones that require no advanced tech skills.
Quick Fixes to Try First: Restart and Basic Troubleshooting
Sometimes, the simplest actions yield the biggest results. Before diving deeper, give these a shot to potentially resolve Windows 11 update error without hassle.
- 👉 Restart Your PC: A classic! Power off your device completely, wait 30 seconds, and restart. This clears temporary glitches in the licensing process.
- Run the Windows Troubleshooter: Head to Settings > System > Troubleshoot > Other troubleshooters. Select "Windows Update" and run it. Let it detect and fix any licensing-related snags automatically.
- Check for Pending Updates: Go to Settings > Windows Update > Check for updates. Install any available patches, as Microsoft often releases fixes for activation errors in their latest builds.
If these don't do the trick, you're not alone—many users need a bit more firepower. Keep reading for proven, deeper fixes that target the core issues.
Method 1: Use System File Checker (SFC) and DISM Tools
Corrupted files are a prime suspect for the Windows 11 license error. Microsoft's built-in tools can scan and repair them effortlessly. Follow these steps:
- Right-click the Start button and select Terminal (Admin) or Command Prompt (Admin).
- Type
sfc /scannow and press Enter. Wait for it to scan and repair system files— this might take 10-15 minutes.
- Next, run
DISM /Online /Cleanup-Image /RestoreHealth. This restores the Windows image if SFC alone isn't enough.
- Restart your PC and check if the error persists during activation or updates.
Pro tip: Run these in Safe Mode if the error blocks normal boot-up. This method has helped countless users fix Windows 11 Review License Terms error by restoring integrity to your system's core. Feeling empowered yet? Let's move to the next level.
Method 2: Reset Windows Update Components
Update glitches often tie directly to licensing checks. Resetting these components can clear the path for smooth operations.
| Step |
Command |
Purpose |
| 1. Open Admin Command Prompt |
N/A |
Ensure elevated privileges |
| 2. Stop Services |
net stop wuauserv
net stop cryptSvc
net stop bits
net stop msiserver |
Halts update and crypto services |
| 3. Rename Folders |
ren C:\Windows\SoftwareDistribution SoftwareDistribution.old
ren C:\Windows\System32\catroot2 Catroot2.old |
Clears corrupted update cache |
| 4. Restart Services |
net start wuauserv
net start cryptSvc
net start bits
net start msiserver |
Restarts for fresh start |
After this, head back to Windows Update and try again. This reset often resolves Windows 11 troubleshooting woes related to license terms by wiping out faulty data. If you're on a laptop, plug it in to avoid interruptions—smooth sailing ahead! 🌟
Method 3: Manage Registry Edits for License Issues
⚠️ Caution: Editing the registry can be risky if done wrong, so back it up first (search "regedit" > File > Export). This method targets Windows 11 license error at its registry roots.
- Press Win + R, type
regedit, and hit Enter.
- Navigate to
HKEY_LOCAL_MACHINE\SOFTWARE\Microsoft\Windows NT\CurrentVersion\SoftwareProtectionPlatform.
- Look for SkipRearm. If it exists, set its value to 1 (double-click and edit). If not, create a new DWORD (32-bit) Value named SkipRearm and set to 1.
- Restart and attempt activation via Settings > System > Activation > Troubleshoot.
This tweak bypasses certain licensing loops without harming your system. For official guidance, check Microsoft's support page on activation troubleshooting: Microsoft Activation Help.
Method 4: Reinstall or Repair Windows 11 (Last Resort)
If all else fails, a repair install can restore licensing without losing your files. It's like giving your OS a fresh coat of paint!
- Download the latest Windows 11 ISO from Microsoft's site (use the Media Creation Tool).
- Mount the ISO and run setup.exe.
- Choose "Upgrade" to keep files and apps— it will repair core components, including license handlers.
- Post-install, verify activation in Settings.
This nuclear option resolves Windows 11 update error comprehensively, but it's rarely needed if you follow the earlier steps. Pat yourself on the back for getting this far—you're almost error-free! 👏
Preventing Future "Review License Terms" Errors
To keep this gremlin away, adopt these habits:
- Enable automatic updates in Settings to stay current with Microsoft's fixes.
- Use genuine product keys and avoid cracks— they often cause activation woes.
- Run regular scans with Windows Security to fend off malware that corrupts files.
- Back up your registry and system periodically for quick restores.
By staying proactive, you'll minimize disruptions and enjoy a stable Windows 11 experience. If the error lingers, consider reaching out to Microsoft Support for personalized help.
Wrapping Up: You've Got This!
Congrats on making it through! With these targeted steps, you should now be equipped to fix Windows 11 Review License Terms error swiftly and confidently. Remember, tech hiccups are part of the journey, but resolving them builds your skills. If this guide helped, share it with a friend facing the same issue. Happy computing—your Windows 11 is ready to shine! 🚀


